소개
Follow this guide to remove and replace a broken screen for the Mate 10. This guide should be used with the bare screen replacement part that does not come pre-installed on a frame.
Note that the procedure will destructively remove the screen. The Mate 10 uses very strong adhesive to hold the screen in place, making non-invasive removal very difficult without specialty tools.
Gaining access to the screen also requires removing the firmly glued battery. Do not reuse the battery after it has been removed, as doing so is a potential safety hazard. Replace it with a new battery.
If your battery is swollen, take appropriate precautions. For your safety, discharge your battery below 25% before disassembling your phone. This reduces the risk of a dangerous thermal event if the battery is accidentally damaged during the repair.
The back cover held in place with a very strong perimeter adhesive. During removal, the adhesive may rip out parts of the coating from the glass back cover, leaving behind patches of clear glass.
필요한 것
-
-
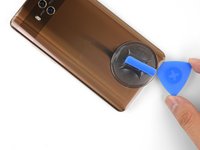
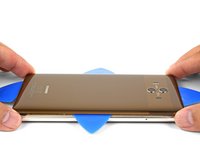
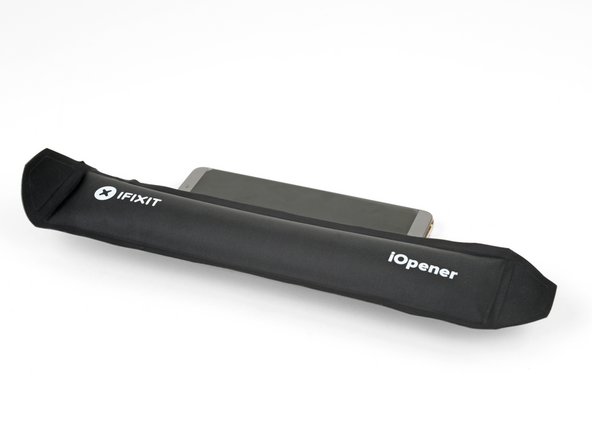
Heat an iOpener and apply it to the bottom edge of the phone for two minutes. Re-heat the iOpener as needed.
-
While you wait, note the location of the adhesive holding the back cover in place.
-
-
-
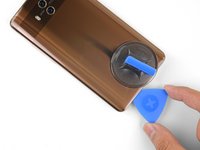
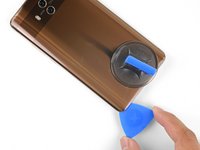
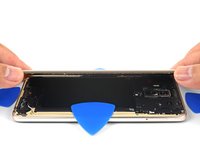
You may pull up chunks of the cover's color coating as you remove the adhesive. To reduce the chances of this occurring, apply heat or high concentration isopropyl alcohol to the adhesive to weaken it.
-
-
-
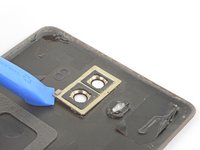
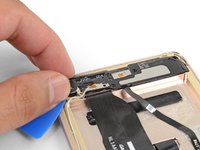
Remove the eight 3.4 mm long Phillips screws securing the plastic bracket.
-
Insert the point of a spudger underneath the right edge of the plastic bracket and pry up slightly to loosen the shield.
-
-
-
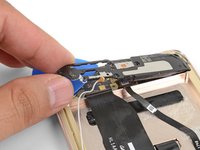
Grasp the the lower edge of the plastic bracket with your fingers and lift the edge up slightly.
-
Pull the plastic bracket away from the top edge of the phone.
-
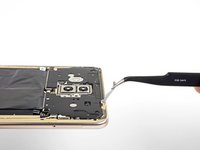
Slowly peel the black heat dissipation layer away from the phone. It is held in place with small patches of adhesive.
-
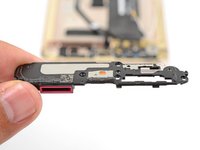
Remove the plastic bracket along with the heat dissipation layer.
-
-
-
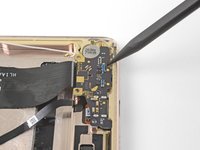
Use the point of a spudger to pry up and disconnect the battery connector from its motherboard socket.
-
-
-
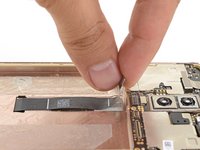
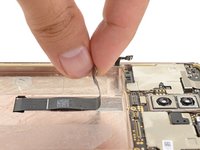
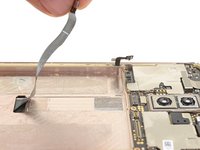
Use the point of a spudger to pry up and disconnect the wide interconnect flex cable from its motherboard socket.
-
-
-
-
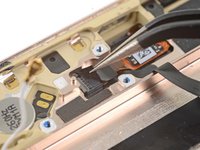
Use the point of a spudger to pry up and disconnect the button connector from its motherboard socket.
-
-
-
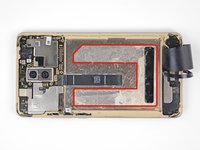
Apply a heated iOpener to the left side of the phone screen for a minute.
-
While you wait, note where the U-shaped adhesive resides on the phone frame.
-
-
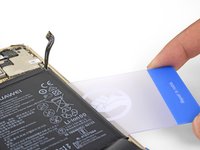
이 단계에 사용된 도구:Plastic Cards$2.99
-
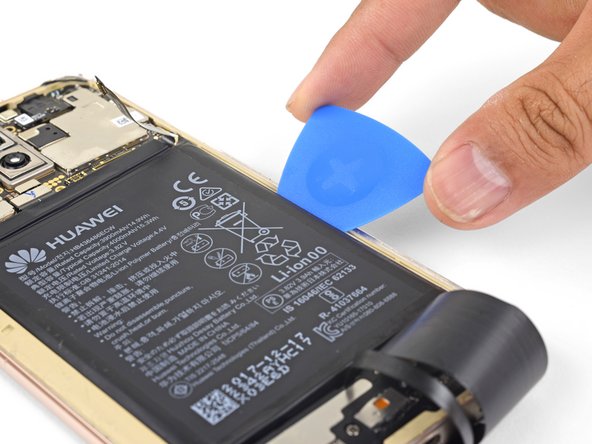
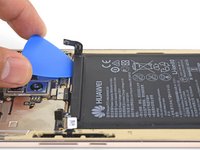
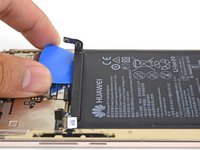
Insert a plastic card under the battery's right edge.
-
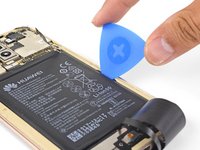
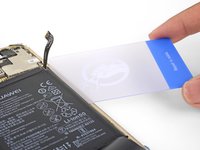
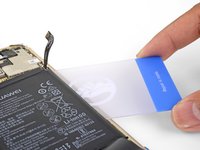
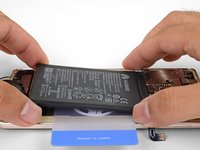
Push the card inwards to loosen the battery from the frame.
-
If you're having a hard time loosening the battery, you can apply more isopropyl alcohol, or try to soften the adhesive with more heat.
-
-
-
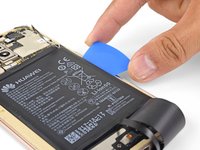
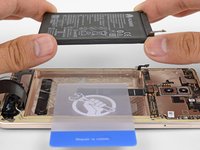
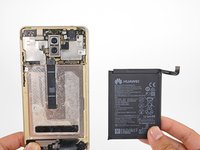
Once the battery is sufficiently loosened from the frame, slowly lift it out.
-
Remove the battery.
-
Apply new adhesive to the phone frame.
-
Gently lay the battery pack in the phone.
-
Temporarily reconnect the battery to the motherboard to ensure that the battery is properly aligned.
-
Once the battery is aligned, press it firmly in place with your fingers. Disconnect the battery from the motherboard, and resume re-assembly.
-
-
-
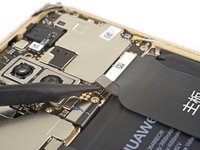
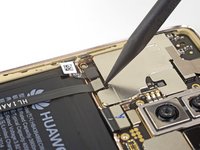
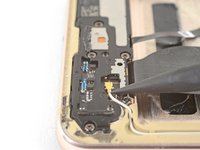
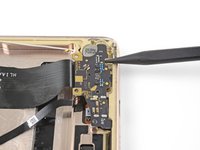
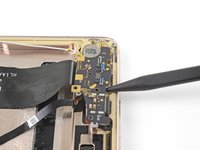
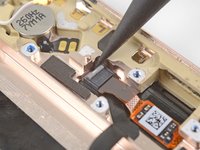
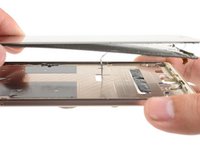
Use the point of a spudger to pry up and disconnect the white antenna cable from the bottom of the phone.
-
-
-
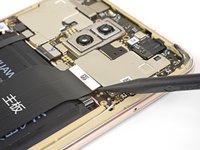
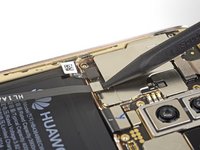
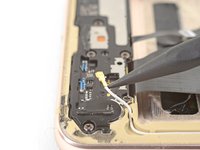
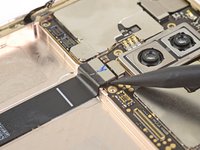
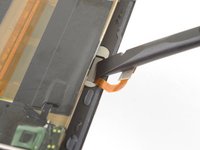
Insert the point of a spudger in one of the notches along the bottom edge of the daughterboard.
-
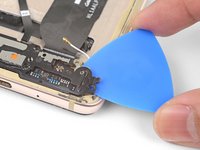
Push the daughterboard away from the bottom of the phone to loosen the board.
-
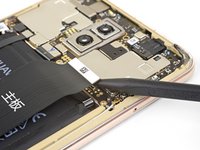
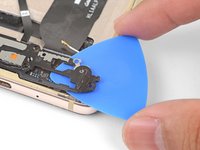
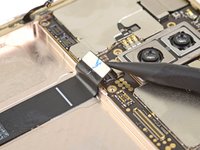
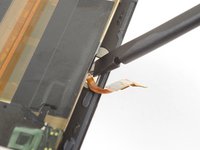
Repeat the process with a second notch to fully release the daughterboard.
-
-
-
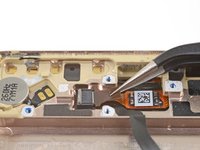
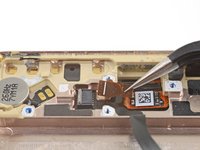
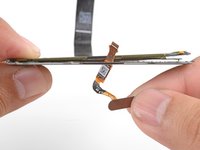
Use the point of a spudger to pry up and disconnect the display cable from its motherboard socket.
-
-
이 단계에 사용된 도구:Tweezers$4.99
-
Use tweezers to peel the tape covering the fingerprint sensor cable connector near the bottom edge of the phone.
-
Use the point of a spudger to flip up the gray bar on the socket to unlock the cable.
-
-
-
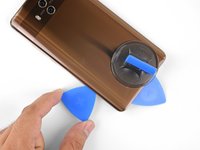
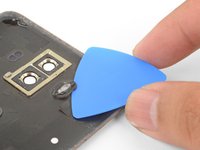
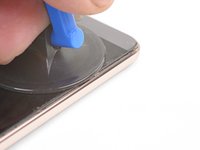
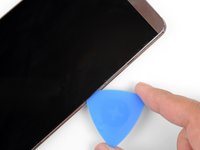
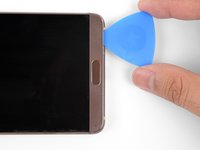
Place a suction cup near the bottom left corner of the phone. The edge there has slightly thinner adhesive.
-
Pull on the suction cup with strong, steady force to create a gap in the seam.
-
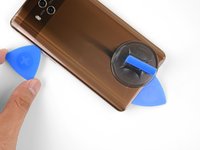
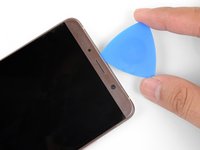
Insert an opening pick in the gap.
-
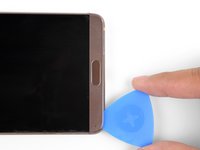
Repeat the heating and pulling process multiple times to soften the adhesive.
-
Use a playing card instead of an opening pick to insert in the gap.
-
Try heating and prying at a different location.
-
Use a Jimmy to make the initial entry. Be careful working with metal tools, as they will scratch the frame and chip the glass screen.
-
-
-
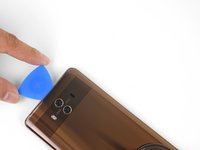
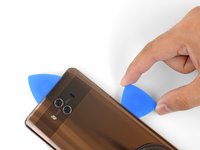
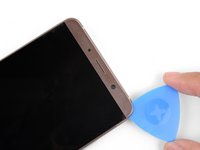
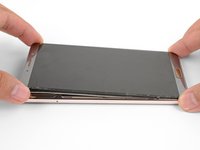
Once you have sliced around the perimeter, grasp the screen from the top corners and lift up.
-
Use an opening pick to slice through any remaining adhesive holding onto the screen.
-
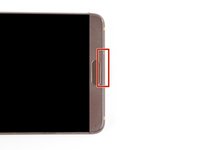
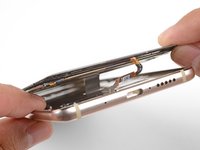
Carefully thread the fingerprint sensor cable and the display cable through their respective cutouts in the phone's frame.
-
-
-
Position your finger or the flat end of a spudger on the fingerprint sensor's backside and push gently to dislodge the sensor.
-
Carefully thread the sensor cable through the screen's cutout.
-
Remove the fingerprint sensor.
-


To reassemble your device, follow these instructions in reverse order.
Take your e-waste to an R2 or e-Stewards certified recycler.
Repair didn’t go as planned? Try some basic troubleshooting, or ask our Mate 10 Answers community for help.
To reassemble your device, follow these instructions in reverse order.
Take your e-waste to an R2 or e-Stewards certified recycler.
Repair didn’t go as planned? Try some basic troubleshooting, or ask our Mate 10 Answers community for help.
다른 8명이 해당 안내서를 완성하였습니다.


댓글 3개
Bjr alors je vient de changer l'écran sur mon Huawei mate 10 pro… LeLe problème c'est qu'il faut appuyer plusieurs fois sur le bouton power pour que l'écran afficher je sais pas où il est le problème pouvait vous m'aide et merci
thank you, for this information........... definately sending mine to the professionals.