주요 콘텐츠로 건너뛰기
수리 커뮤니티 가입 - 계정 만들기

Instant Pot 60 EPC Button Panel Replacement

필요한 것

    1. Instant Pot 60 EPC Button Panel Replacement, Button Panel: 1 단계, 이미지 3개 중 1개 Instant Pot 60 EPC Button Panel Replacement, Button Panel: 1 단계, 이미지 3개 중 2개 Instant Pot 60 EPC Button Panel Replacement, Button Panel: 1 단계, 이미지 3개 중 3개
      • Ensure the device is unplugged and cool before beginning.

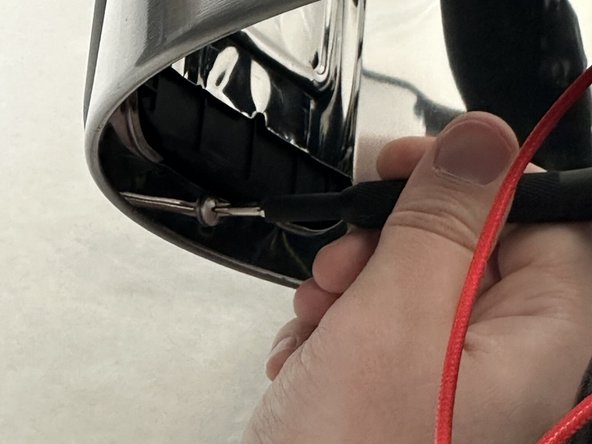
      • Remove the lid and inner pot from the Instant Pot and turn the body upside down.

      • Remove the single Torx screw.

      댓글 쓰기

    2. Instant Pot 60 EPC Button Panel Replacement: 2 단계, 이미지 2개 중 1개 Instant Pot 60 EPC Button Panel Replacement: 2 단계, 이미지 2개 중 2개
      • Turn the bottom face counterclockwise and remove it.

      댓글 쓰기

    3. Instant Pot 60 EPC Button Panel Replacement: 3 단계, 이미지 2개 중 1개 Instant Pot 60 EPC Button Panel Replacement: 3 단계, 이미지 2개 중 2개
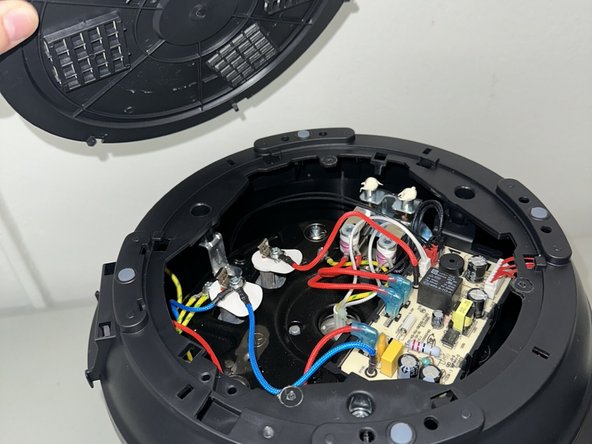
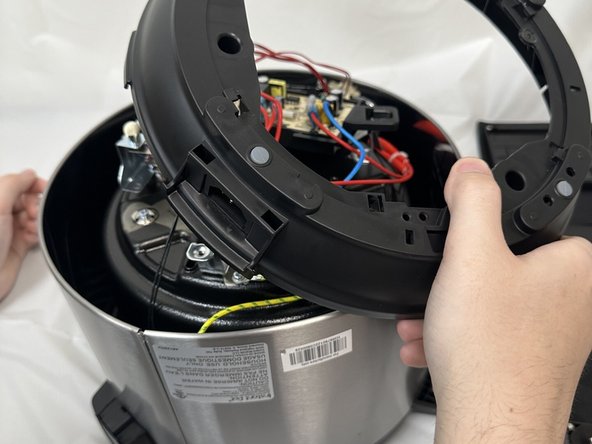
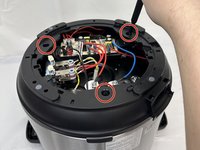
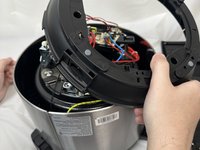
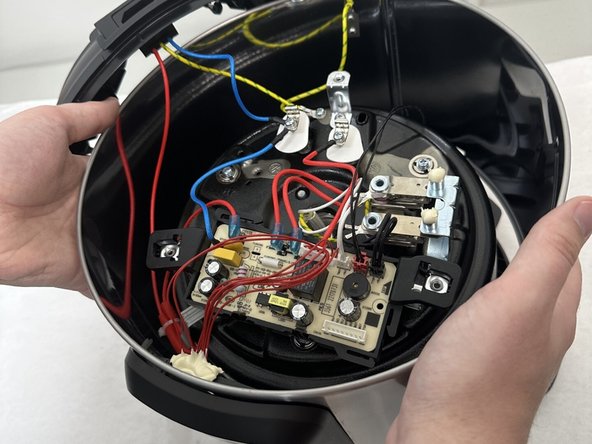
      • In order to reach the circuit board you'll need to remove the secondary frame surrounding it.

      • Remove the three Phillips screws securing the frame.

      • Lift the frame, twist and set next to the body. Take care not to damage any of the attached wiring.

      댓글 쓰기

    4. Instant Pot 60 EPC Button Panel Replacement: 4 단계, 이미지 2개 중 1개 Instant Pot 60 EPC Button Panel Replacement: 4 단계, 이미지 2개 중 2개
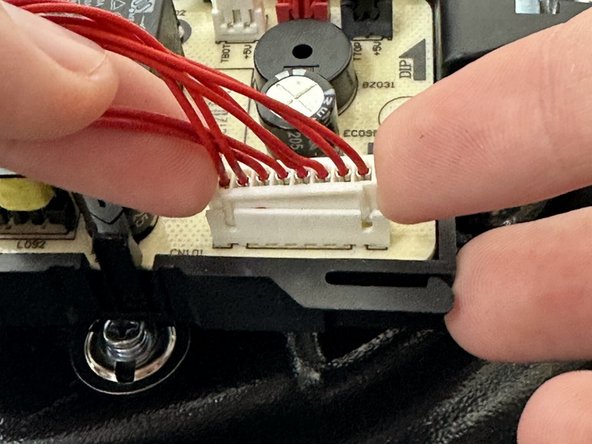
      • Disconnect the 8x1 pin control connector from the main board.

      • The plug should easily come up when pulled with slight pressure.

      • It may be helpful to also rock the plug side to side while pulling up.

      댓글 쓰기

    5. Instant Pot 60 EPC Button Panel Replacement: 5 단계, 이미지 1개 중 1개
      • Remove the single screw attaching the front panel to the main body with a Phillips screwdriver.

      • This screw may be difficult to get to; we were able to remove it by threading a screwdriver underneath the main board.

      댓글 쓰기

    6. Instant Pot 60 EPC Button Panel Replacement: 6 단계, 이미지 3개 중 1개 Instant Pot 60 EPC Button Panel Replacement: 6 단계, 이미지 3개 중 2개 Instant Pot 60 EPC Button Panel Replacement: 6 단계, 이미지 3개 중 3개
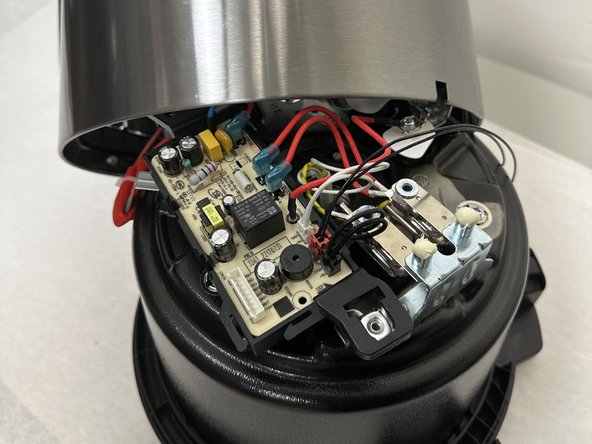
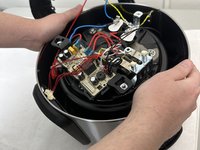
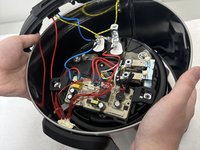
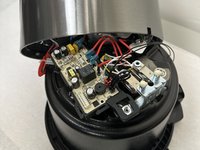
      • Remove the main body from the Instant Pot.

      • It should easily pull up with a little force and be free from the control board.

      댓글 쓰기

    7. Instant Pot 60 EPC Button Panel Replacement: 7 단계, 이미지 2개 중 1개 Instant Pot 60 EPC Button Panel Replacement: 7 단계, 이미지 2개 중 2개
      • Remove the Phillips screw.

      댓글 쓰기

    8. Instant Pot 60 EPC Button Panel Replacement: 8 단계, 이미지 2개 중 1개 Instant Pot 60 EPC Button Panel Replacement: 8 단계, 이미지 2개 중 2개
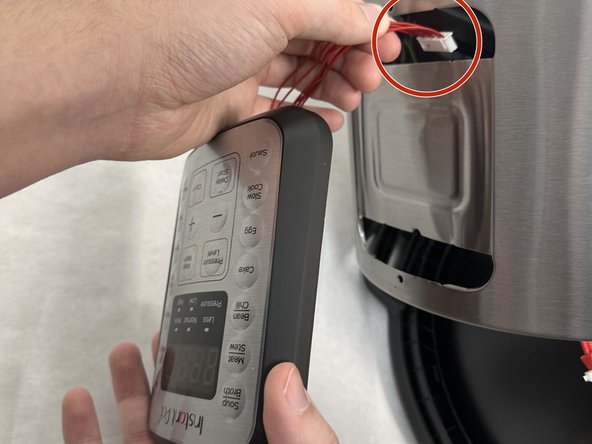
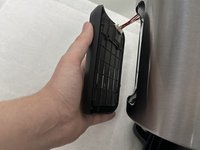
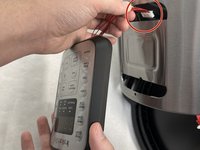
      • Pull the front panel away from the body and carefully pull out the wires that connect the front panel to the circuit board.

      • The front panel is now free to be replaced.

      댓글 쓰기

결론

To reassemble your device, follow the above steps in reverse order.
Take your e-waste to an R2 or e-Stewards certified recycler.
Repair didn’t go as planned? Try some basic troubleshooting or ask our Answers community for help.

취소: 해당 안내서를 완성하지 않았습니다.

다른 2명이 해당 안내서를 완성하였습니다.

작성자

3다른 기여자 명과 함께

Bela Hernandez

회원 가입일: 08/28/24

998 평판

안내서 5개를 작성함

0가이드 댓글

댓글 쓰기

조회 통계:

지난 24시간: 3

지난 7일: 10

지난 30일: 50

전체 시간: 816