주요 콘텐츠로 건너뛰기
수리 커뮤니티 가입 - 계정 만들기

JBL Charge Speaker Replacement

필요한 것

  1. JBL Charge Speaker Replacement, Case: 1 단계, 이미지 3개 중 1개 JBL Charge Speaker Replacement, Case: 1 단계, 이미지 3개 중 2개 JBL Charge Speaker Replacement, Case: 1 단계, 이미지 3개 중 3개
    • Make sure the device is powered off before you begin to disassemble the speaker.

    • Remove the trim from the speaker using a jimmy or metal spudger.

    댓글 쓰기

  2. JBL Charge Speaker Replacement: 2 단계, 이미지 2개 중 1개 JBL Charge Speaker Replacement: 2 단계, 이미지 2개 중 2개
    • Use the PH1 screwdriver to remove all five of the 6 mm screws from the battery cover.

    • Remove the battery cover and set the cover aside.

    댓글 쓰기

  3. JBL Charge Speaker Replacement: 3 단계, 이미지 2개 중 1개 JBL Charge Speaker Replacement: 3 단계, 이미지 2개 중 2개
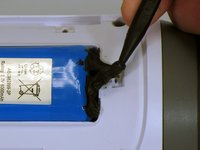
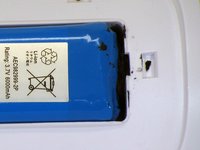
    • Use a spudger to carefully remove the liquid electrical tape that holds the battery inside the battery compartment.

    • Be careful not to puncture the battery, or damage the battery wire underneath the liquid electrical tape.

    댓글 쓰기

  4. JBL Charge Speaker Replacement: 4 단계, 이미지 2개 중 1개 JBL Charge Speaker Replacement: 4 단계, 이미지 2개 중 2개
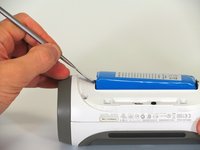
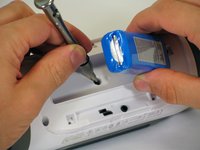
    • Use a spudger to lift the battery out of the device.

    • Lift the end of the battery that does not have the wire connection and remove the 16 mm PH2 screw underneath the battery.

    • Notice the wire that is connecting the battery to the device. Attempting to remove the battery completely could cause damage to the wire. Do not use a metal spudger to remove the battery, this could cause damage.

    댓글 쓰기

  5. JBL Charge Speaker Replacement: 5 단계, 이미지 2개 중 1개 JBL Charge Speaker Replacement: 5 단계, 이미지 2개 중 2개
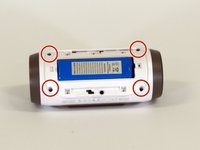
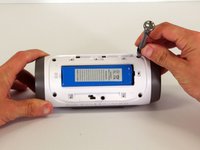
    • Remove the four 16 mm screws from the white plastic casing using the PH2 screwdriver.

    댓글 쓰기

  6. JBL Charge Speaker Replacement: 6 단계, 이미지 2개 중 1개 JBL Charge Speaker Replacement: 6 단계, 이미지 2개 중 2개
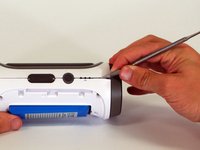
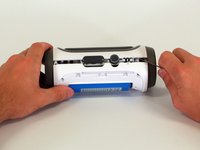
    • Starting in a corner of the device where the casing and the side meet, use a pointed metal spudger to pry the back casing off the speaker and the glue holding the seam together.

    • Slide the metal spudger along the seam to separate the back casing from the rest of the speaker.

    댓글 쓰기

  7. JBL Charge Speaker Replacement: 7 단계, 이미지 2개 중 1개 JBL Charge Speaker Replacement: 7 단계, 이미지 2개 중 2개
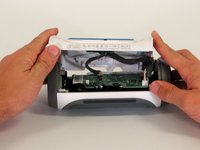
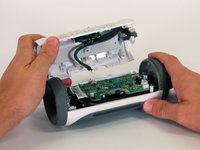
    • Once the back casing is open, disconnect the three white connectors from the motherboard.

    • Remove the upper casing.

    댓글 쓰기

  8. JBL Charge Speaker Replacement, Motherboard: 8 단계, 이미지 1개 중 1개
    • Remove the 9 mm Phillips screw in the corner of the motherboard.

    댓글 쓰기

  9. JBL Charge Speaker Replacement: 9 단계, 이미지 2개 중 1개 JBL Charge Speaker Replacement: 9 단계, 이미지 2개 중 2개
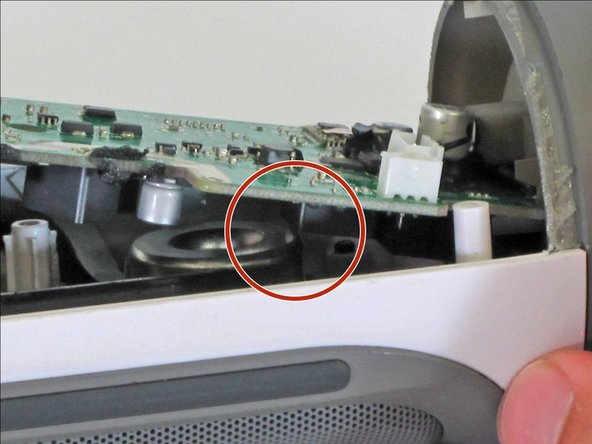
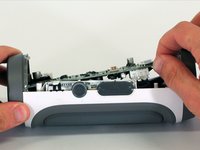
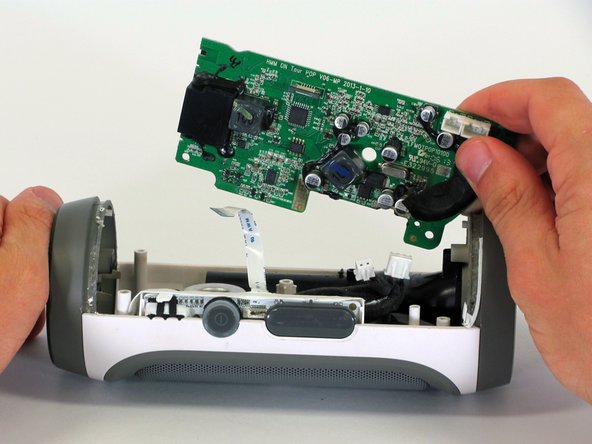
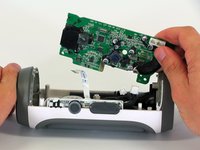
    • Remove the motherboard from the casing by lifting the corner of the board out of the device.

    • If the motherboard won't budge, be sure that the square component on the bottom of the motherboard clears the edge of the speaker.

    • During reassembly, make sure the motherboard is fully installed and not sticking up past its original position, as this could damage the motherboard.

    댓글 쓰기

  10. JBL Charge Speaker Replacement: 10 단계, 이미지 1개 중 1개
    • Disconnect the two white connectors from the bottom of the motherboard.

    댓글 쓰기

  11. JBL Charge Speaker Replacement: 11 단계, 이미지 2개 중 1개 JBL Charge Speaker Replacement: 11 단계, 이미지 2개 중 2개
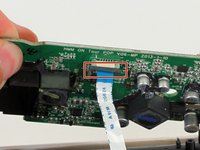
    • Pull down on the black clip holding the ribbon cable in place.

    • Pull the ribbon cable from the connector using the blue tab.

    • Remove the motherboard from the device.

    댓글 쓰기

  12. JBL Charge Speaker Replacement, Speaker: 12 단계, 이미지 1개 중 1개
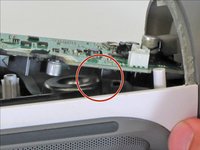
    • Using the PH1 screwdriver, remove the 9mm Phillips screw that connects the black tube to the device's interior.

    댓글 쓰기

  13. JBL Charge Speaker Replacement: 13 단계, 이미지 2개 중 1개 JBL Charge Speaker Replacement: 13 단계, 이미지 2개 중 2개
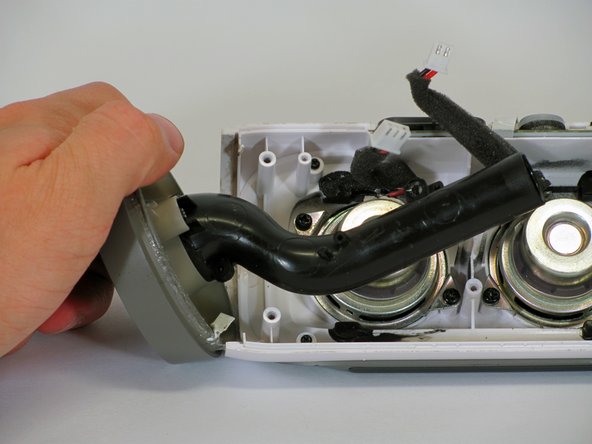
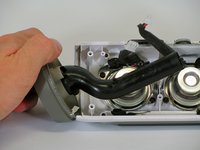
    • Slowly but firmly pull the grey cap off the device. This will provide complete access to the speakers.

    댓글 쓰기

  14. JBL Charge Speaker Replacement: 14 단계, 이미지 2개 중 1개 JBL Charge Speaker Replacement: 14 단계, 이미지 2개 중 2개
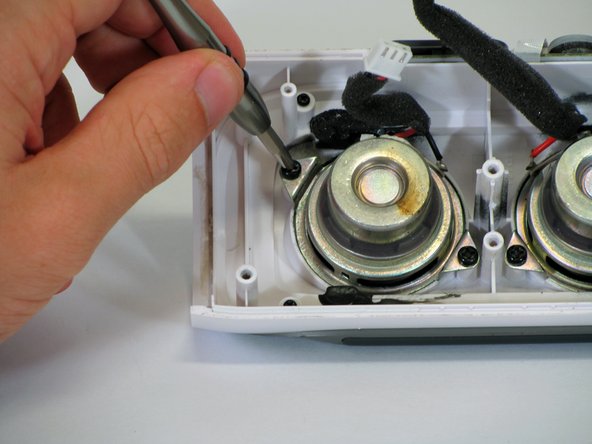
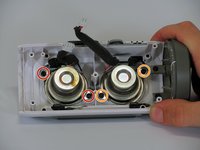
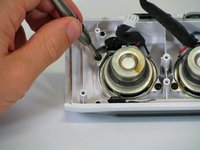
    • Each speaker is held in place with two 9mm Phillips screws. Remove the screws using the PH1 screwdriver head.

    • If you are replacing the left speaker, remove the screws and speaker on your right.

    • If you are replacing the right speaker, remove the screws and speaker on your left.

    댓글 쓰기

  15. JBL Charge Speaker Replacement: 15 단계, 이미지 1개 중 1개
    • Pull the speaker out of the casing.

    댓글 쓰기

결론

To reassemble your device, follow these instructions in reverse order.

취소: 해당 안내서를 완성하지 않았습니다.

다른 14명이 해당 안내서를 완성하였습니다.

작성자

6다른 기여자 명과 함께

Alexander Castanares

회원 가입일: 04/01/15

891 평판

안내서 2개를 작성함

Cal Poly, Team 12-4, Lancaster Spring 2015 Cal Poly, Team 12-4, Lancaster Spring 2015 회원

CPSU-LANCASTER-S15S12G4

2 회원들

안내서 20개를 작성함

12가이드 댓글

Donde encuentro las bocinas no sirven la que tiene

feliper233 - 답글 공유

Donde puedo conseguir las bocinas?

feliper233 - 답글 공유

Where can I get gthe replacement speaker?

rohit jayendra - 답글 공유

where can i get replaicment speaker?

tamaerocksxd - 답글 공유

Where do I get the replacement speakers

Robert - 답글 공유

댓글 쓰기

조회 통계:

지난 24시간: 1

지난 7일: 17

지난 30일: 93

전체 시간: 85,080