소개
The motherboard for the JBL Pulse 3 is located inside the LED light display next to the battery.
필요한 것
-
-
-
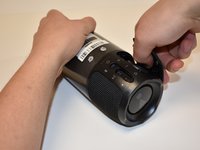
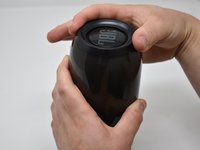
Lay the JBL Pulse 3 on its side as shown in the picture.
-
Use a plastic opening tool to lift the top right corner of the speaker grill. A small amount of force is necessary to remove the grill.
 FixBot에 문의하기
-
-
-
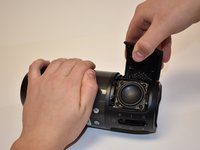
After pulling the right side of the grill off, place thumb underneath grill as shown in the picture.
-
Lift and pull straight out to pull grill off the posts.
-
-
-
Repeat steps 1-3 for the left side of the speaker grill on the JBL Pulse 3. The speaker grill should now be completely removed from the JBL Pulse 3.
-
-
-
-
-
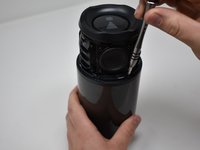
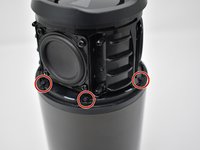
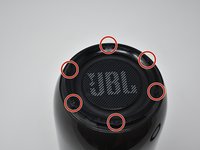
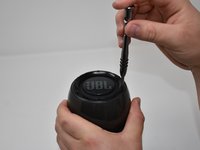
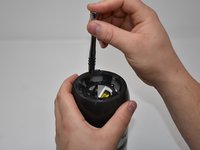
Use a Phillips #00 screwdriver to remove the six black 6mm screws on the inside of the top of the bottom section.
-
-
-
Turn the JBL Pulse 3 right-side up and unscrew the top ring of the device. A small amount of force and/or a cotton cloth may be necessary to remove this piece.
-
-
-
-
Remove the six 5mm screws on top of the JBL Pulse 3 with a Phillips #0 screwdriver.
-
-
-
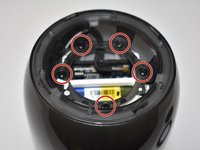
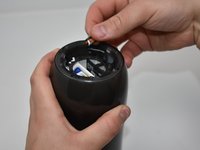
Remove the five 7mm screws on the inside of the JBL Pulse 3 with a Phillips #1 screwdriver.
-
-
-
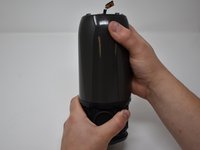
Peel off black, taped-on electrical lead from the inside side of the JBL Pulse 3.
-
-
-
Pull the top section of the JBL Pulse 3 up. The outside casing to the JBL Pulse 3 should now be removed.
-
-
-
-
-
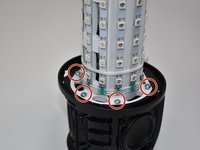
Use a Phillips #2 screwdriver to remove the six 11 mm screws that circle the bottom of the LED light display.
-
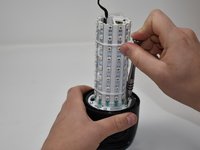
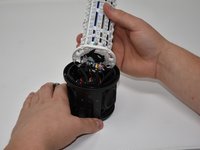
Pull the LED light display off of the JBL Pulse 3 base.
-
-
이 단계에 사용된 도구:Tweezers$4.99
-
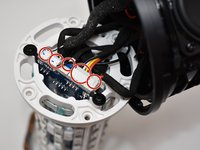
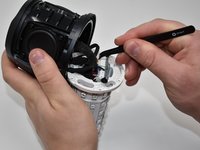
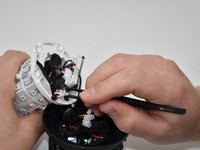
Use tweezers to pull the five connections off of the LED light display.
-
-
-
-
-
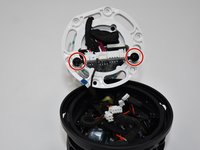
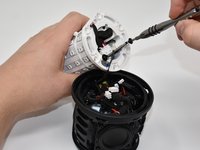
Using a Phillips #0 screwdriver, remove the two black 8mm screws on the bottom of the LED light display.
-
-
이 단계에 사용된 도구:Tweezers$4.99
-
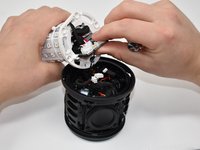
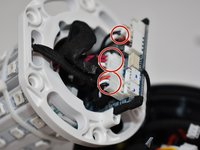
Pull out the motherboard slightly from the LED light display as shown. Using tweezers, unplug the three connections attached to the motherboard.
-
-
-
Pull the rest of the motherboard out from the LED light display.
-
Using wire cutters, snip the black wire connecting to the base of the JBL Pulse 3 at the base of the motherboard. The motherboard should now be removed from the JBL Pulse 3.
-
-






















To reassemble your device, follow these instructions in reverse order.
Note: To replace the motherboard, you will need to re-solder the black wire to the motherboard.
다른 2명이 해당 안내서를 완성하였습니다.

팀

Central Washington University, Team S1-G2, Pengilly Fall 2018 Central Washington University, Team S1-G2, Pengilly Fall 2018 회원
CWU-PENGILLY-F18S1G2
3 회원들
안내서 30개를 작성함
1가이드 댓글
tengo un pulse 3 que la placa entro en corto… me gustaria saber si alguien me puede ayudar con el diagrama esquematico o algun foto donde pueda conseguir
