소개
The battery will be replaced by dismantling the device, disconnecting the current battery and connecting a new battery.
필요한 것
-
-
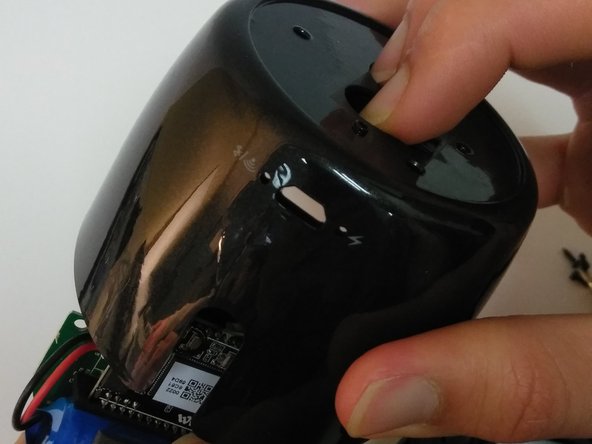
Insert the plastic opening tool underneath the mesh top.
-
Pry the cover open.
 FixBot에 문의하기
-
-
-
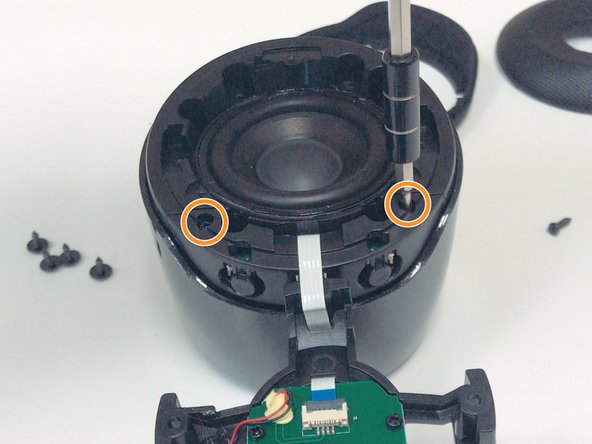
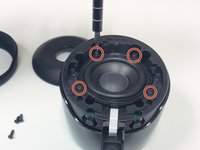
Remove the four 5mm Phillips screws that hold down the speaker in place.
-
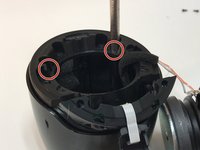
Remove the two 6mm Phillips screws that hold down the plastic casing.
-
-
-
이 단계에 사용된 도구:Halberd Spudger$2.99
-
Once all six screws are removed, use a Halberd Spudger or similar tool to lift up the speaker.
-
Pull the speaker up and out.
-
-
-
After removing all of the screws from the plastic cover, remove it by pulling up and out.
-
-
-
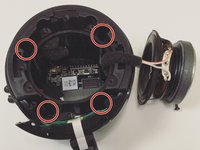
Remove the three 5mm Phillips screws that hold the motherboard in place.
-
After the screws are removed, place two fingers on the power button and Bluetooth button to push the motherboard out.
-
-
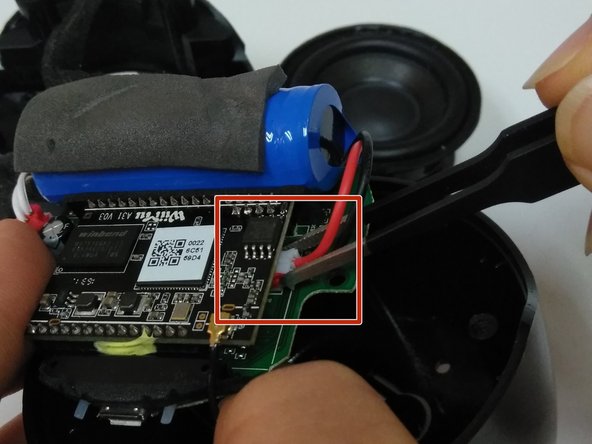
이 단계에 사용된 도구:Tweezers$4.99
-
Expose the motherboard and battery and place in a position that will be easy to access and work with.
-
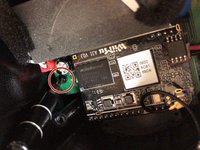
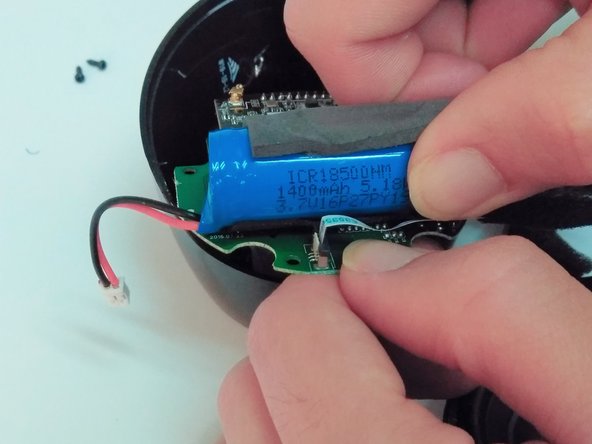
Use tweezers to remove the battery's wire from the motherboard at the connection point.
-
Pull the battery from the motherboard.
-


To reassemble your device, follow these instructions in reverse order.
다른 한 분이 해당 안내서를 완성하였습니다.
팀

Linn Benton Community College, Team S1-G1, Johnson Spring 2018 Linn Benton Community College, Team S1-G1, Johnson Spring 2018 회원
LBCC-JOHNSON-S18S1G1
4 회원들
안내서 6개를 작성함