소개
The side buttons on the Jawbone MINI JAMBOX control its power and bluetooth pairing. With excessive use or use in dirty conditions, the buttons can begin to stick. This issue should be resolved by thoroughly cleaning the button.
필요한 것
-
-
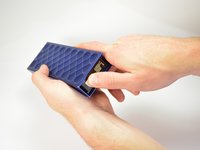
Using the standard metal spudger, begin by prying at the bottom of the plain rubber end cap (the end without the USB or auxiliary input).
 FixBot에 문의하기
-
-
-
Continue prying around the end panel, prying at different points until the entire panel is out of its seating.
-
Carefully remove the end panel.
-
-
-
Using a T6 bit, remove the flat topped 5mm screw located on the bottom of the casing, underneath the rubber foot.
-
-
-
-
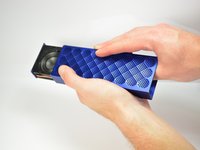
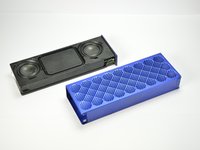
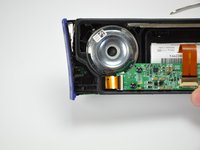
Push against the side without end cap to slide the internal components out of the case.
-
While holding the metal outset casing with one hand, press on the black inner plastic casing with your thumb.
-
-
-
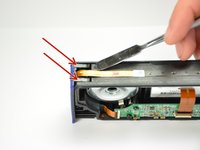
Using the standard metal spudger, carefully pry up the top 2 plastic tabs which hold the exterior button and port cover onto the interior plastic frame.
-
-
-
Using the standard metal spudger, pry up the bottom 2 tabs attaching the other side of the button panel.
-
-
이 단계에 사용된 도구:Tweezers$4.99
-
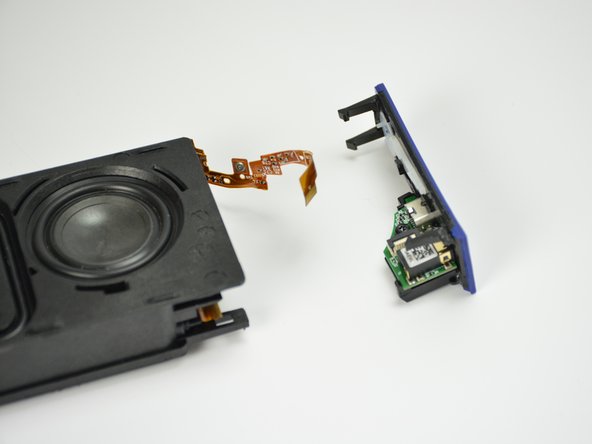
Carefully lift out the end panel.
-
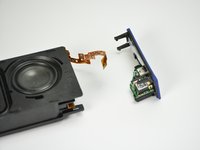
Unplug both the connection ribbon and the ZIF or "zero insertion force" ribbon using tweezers or your hands.
-
-
-
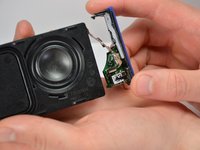
Using the spudger, push the button in and create a small gap between the outside structure and the button.
-
-
-
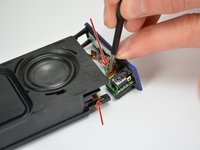
Using a computer duster, blow any contaminants out from the button junction.
-
Using a q-tip and cleaner, wipe off any stickiness from the buttons, ensuring to prevent excessive moisture.
-


To reassemble your device, follow steps 1 through 5 in reverse order.
팀

Cal Poly, Team 12-1, Lancaster Spring 2015 Cal Poly, Team 12-1, Lancaster Spring 2015 회원
CPSU-LANCASTER-S15S12G1
5 회원들
안내서 11개를 작성함