이 번역은 원본 안내서의 최신 업데이트를 반영하지 않을 수 있습니다. 번역 업데이트를 돕거나 아니면 원본 안내서 보기를 참조하세요.
소개
이 안내서를 사용하여 Nintendo Switch Joy-Con 버클 잠금 장치를 금속 또는 새 플라스틱 잠금 장치로 교체하세요.
좌우 Joy-Con는 약간의 차이가 있지만 이 절차에 영향을 미치지는 않습니다. 이 단계는 양쪽 Joy-Con에 적용됩니다.
필요한 것
-
-
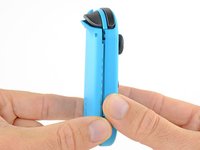
컨트롤러 하단 가장자리 접합 부분에 여는 픽을 끼우세요 (L 그리고 ZL 버튼 반대편).
-
여는 픽의 평평한 모서리를 Joy-Con 측면에서 천천히 밀어 올리세요.
-
-
-
-
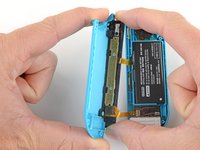
Spudger/스퍼저를 사용하여 마더보드 소켓에서 배터리 커넥터를 조심히 들어 올리세요. 이렇게 하면 수리할 때 Joy-Con 전원이 켜지지 않도록 합니다.
-
-
-
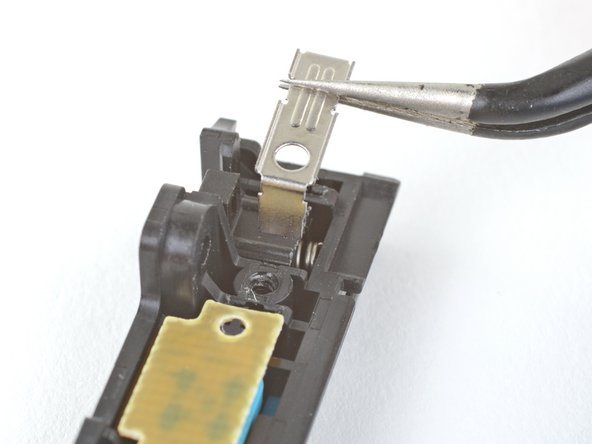
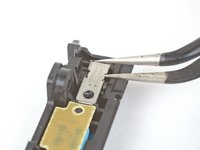
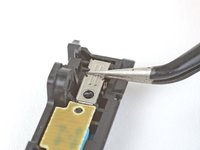
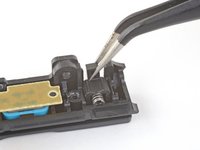
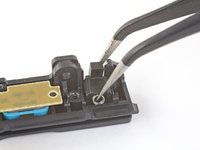
스프링을 핀셋으로 잡을 수 있을 만큼, 스프링이 충분히 보일 때까지 버클 잠금 장치를 충전 레일 슬롯에서 살짝 들어 올리세요.
-
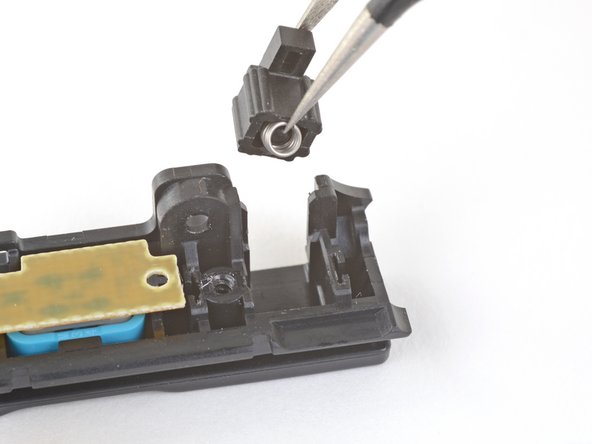
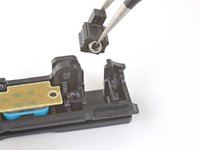
스프링이 잠금 장치 내부에 있는 상태로 잠금 장치의 양 끝을 핀셋으로 잡으며 버클 잠금 장치를 잡으세요.
-
충전 레일 슬롯에서 버클 잠금 장치를 당겨 빼세요.
-


기기를 재조립하려면, 위 단계들을 역순으로 따르세요.
전자 폐기물을 R2 또는 e-Stewards 인증 재활용 센터로 가져가세요.
수리가 계획대로 진행되지 않았습니까? 자사의 답변 커뮤니티에서 문제 해결 도움을 받으세요.
다른 150명이 해당 안내서를 완성하였습니다.
다음 번역가들에게 특별히 감사 드립니다:
94%

Christian Kim님은 저희가 세상을 수리하는데 동참하신 분입니다! 기여하시겠습니까?
번역 시작하기 ›

39가이드 댓글
I tried to do this carefully, but I ended up removing the side rail ribbon cables and I had to disassemble the whole thing just to try to get to the inside of these babies. However it seems I messed up, and now I could use some help here. I don't want to lose my left Joy-Con.
It seems rather strange.. Its pretty easy to reattach. All I have is a $@$*!& ph00 + y00 that stripped the screws so I broke the cover. Technically not my fault. I have done multiple reshells.
I tryed to do this but the 2nd at the bottom would not come out now my buckle is chiped
You mean the screws? Break off the shell! A perfect opportunity to put some clear ones :))
I bought this kit of replacement metal buckles, and they work beautifully: https://www.amazon.com/gp/product/B07BDH...
This kit comes with four buckles, two for the left Joy Con, and two for the right. If you happen to have two sets (or plan to get a second set) of Joy Cons, a whopping $9.00 will set you up right.
I did have a bit of trouble replacing the metal cover that holds the buckle in place, but that was my own stupidity as I was trying to do this repair with insufficient light. Once I shed some light on the subject and I could see what I was doing, everything went back together smooth as silk. I replaced the buckles on both of my Joy Cons, and they’re both rock solid now.