소개
Use this guide to replace a faulty mechanical key switch in a Keychron K10 Max Wireless mechanical keyboard.
A mechanical switch sits underneath each keycap and allows the keyboard to register a key press. A faulty switch may register inconsistently, fail to register at all, or feel physically damaged when pressed.
Before replacing the switch, make sure the switch is the source of the problem. If the keycap was recently removed, the switch may have been pulled loose and may only need to be reseated into the socket.
This repair requires the switch puller included with the Keychron K10 Max Wireless. One end of the tool removes the keycap, and the other end removes the mechanical switch.
Before you begin the repair, power off the keyboard and disconnect from the charger or other devices.
필요한 것
-
-
Lay the keyboard face down on the workspace.
-
Use a 2.5 mm hex screwdriver to remove the eight 4.5 mm screws from the back case.
-
Carefully separate the front frame from the keyboard and set it aside.
 FixBot에 문의하기
-
-
-
Slide the keycap puller over the keycap until it grips underneath.
-
Pull straight upward to remove the keycap.
-
-
-
-
Place the switch puller around the two small tabs on the front and back of the switch.
-
Squeeze the switch puller to release the tabs, then pull straight upward to remove the switch.
-


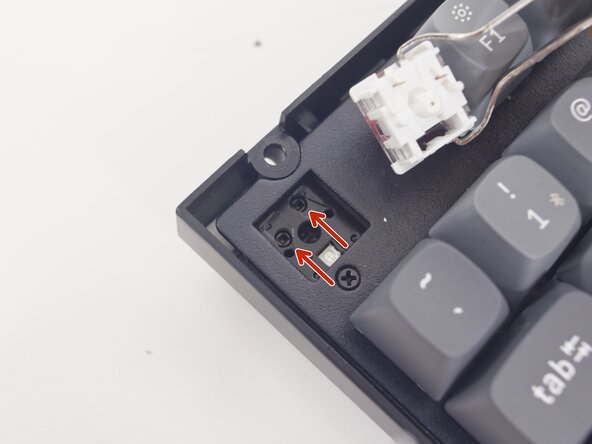


Once the switch is installed, you can reassemble your device back to normal. To reassemble your device, follow these instructions in reverse order.

팀

Purdue University Northwest, Team 7-8, Dieterle Spring 2026 Purdue University Northwest, Team 7-8, Dieterle Spring 2026 회원
PNW-DIETERLE-S26S7G8
3 회원들
안내서 5개를 작성함
