주요 콘텐츠로 건너뛰기

Kodak PixPro AZ251 Back Cover Replacement

필요한 것

  1. Kodak PixPro AZ251 Back Cover Replacement, Batteries: 1 단계, 이미지 1/2 Kodak PixPro AZ251 Back Cover Replacement, Batteries: 1 단계, 이미지 2/2
    • Slide switch to open lock position.

  2. Kodak PixPro AZ251 Back Cover Replacement: 2 단계, 이미지 1/2 Kodak PixPro AZ251 Back Cover Replacement: 2 단계, 이미지 2/2
    • Press down on the battery cover and slide outwards to open.

  3. Kodak PixPro AZ251 Back Cover Replacement: 3 단계, 이미지 1/1
    • Remove the batteries.

  4. Kodak PixPro AZ251 Back Cover Replacement, Back Cover: 4 단계, 이미지 1/3 Kodak PixPro AZ251 Back Cover Replacement, Back Cover: 4 단계, 이미지 2/3 Kodak PixPro AZ251 Back Cover Replacement, Back Cover: 4 단계, 이미지 3/3
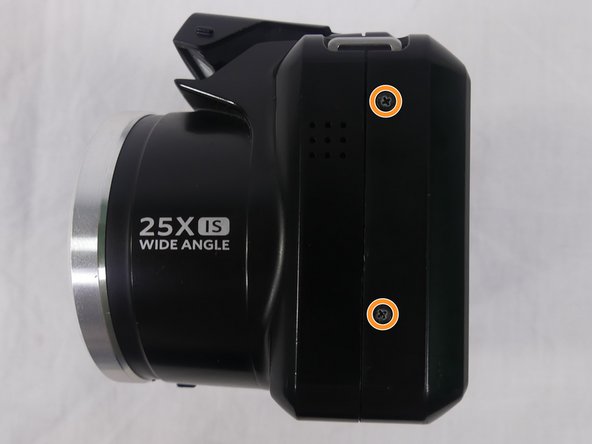
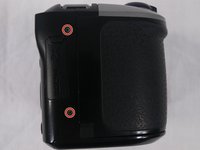
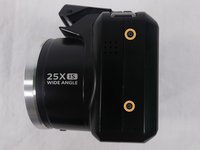
    • Remove a total of four 5mm JIS #000 screws from around the camera:

    • Two screws from the right side.

    • Two screws from the left side.

  5. Kodak PixPro AZ251 Back Cover Replacement: 5 단계, 이미지 1/1
    • Remove the single 5mm Phillips #00 screw from the bottom.

  6. Kodak PixPro AZ251 Back Cover Replacement: 6 단계, 이미지 1/2 Kodak PixPro AZ251 Back Cover Replacement: 6 단계, 이미지 2/2
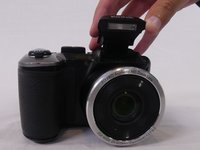
    • Open the flash module.

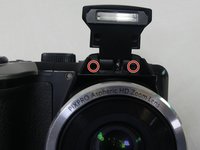
    • Remove the two 6mm JIS #00 screws found inside of the flash housing.

  7. Kodak PixPro AZ251 Back Cover Replacement: 7 단계, 이미지 1/3 Kodak PixPro AZ251 Back Cover Replacement: 7 단계, 이미지 2/3 Kodak PixPro AZ251 Back Cover Replacement: 7 단계, 이미지 3/3
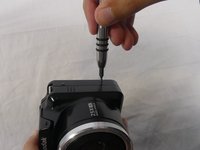
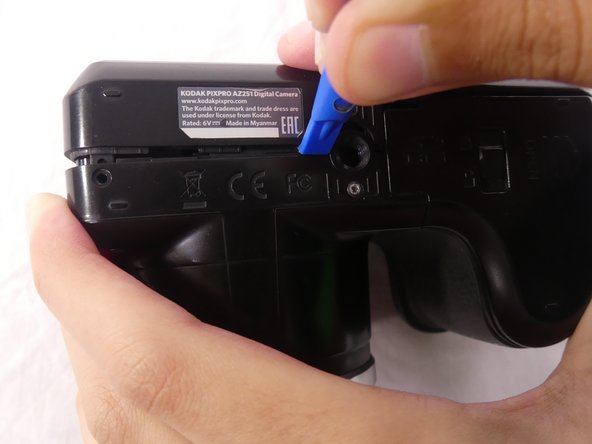
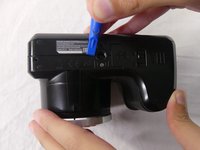
    • Use a plastic opening tool to pry apart both halves of the camera.

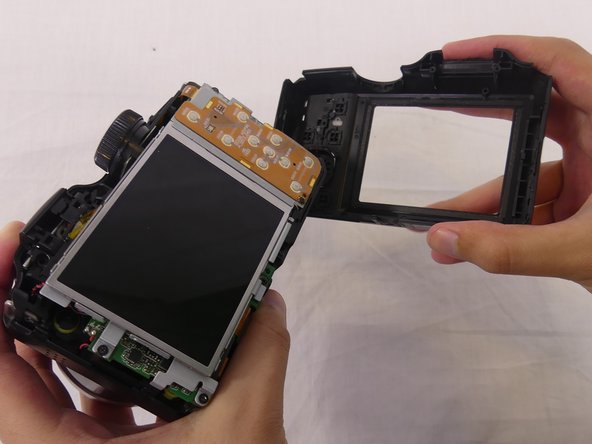
    • Remove the back panel.

결론

To reassemble your device, follow these instructions in reverse order.

다른 한 분이 해당 안내서를 완성하였습니다.

Luiza Oliveira

회원 가입일: 02/22/18

298 평판

안내서 2개 작성하였습니다

USF Tampa, Team S1-G1, Cagle Spring 2018 USF Tampa, Team S1-G1, Cagle Spring 2018 회원

USFT-CAGLE-S18S1G1

4 회원들

안내서 7개 작성하였습니다

댓글 0개

댓글 쓰기

조회 통계:

24 시간 전: 0

7일 전: 1

30일 전: 9

전체 시간: 643