주요 콘텐츠로 건너뛰기
수리 커뮤니티 가입 - 계정 만들기

LG Front Load Washing Machine Door Latch Replacement

필요한 것

    1. LG Front Load Washing Machine Door Latch Replacement, Safety Precautions: 1 단계, 이미지 2개 중 1개 LG Front Load Washing Machine Door Latch Replacement, Safety Precautions: 1 단계, 이미지 2개 중 2개
      • Before you begin your repair, perform the following:

      • Turn off the main water supply

      • Unplug your washer

      • Disconnect all water connections at the rear of your washer

      댓글 쓰기

    1. LG Front Load Washing Machine Door Latch Replacement, Open the door: 2 단계, 이미지 2개 중 1개 LG Front Load Washing Machine Door Latch Replacement, Open the door: 2 단계, 이미지 2개 중 2개
      • Open the front door completely.

      댓글 쓰기

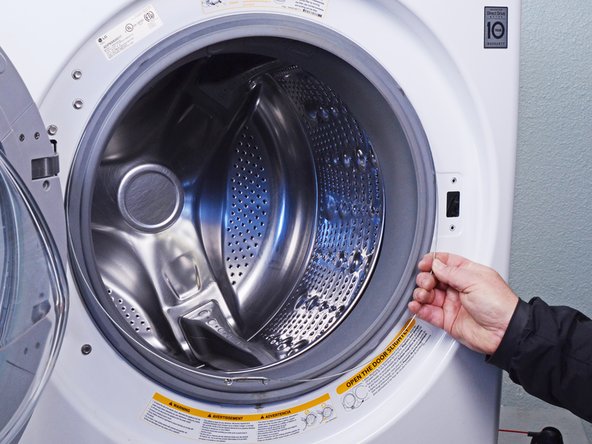
    2. LG Front Load Washing Machine Door Latch Replacement, Remove the boot ring: 3 단계, 이미지 3개 중 1개 LG Front Load Washing Machine Door Latch Replacement, Remove the boot ring: 3 단계, 이미지 3개 중 2개 LG Front Load Washing Machine Door Latch Replacement, Remove the boot ring: 3 단계, 이미지 3개 중 3개
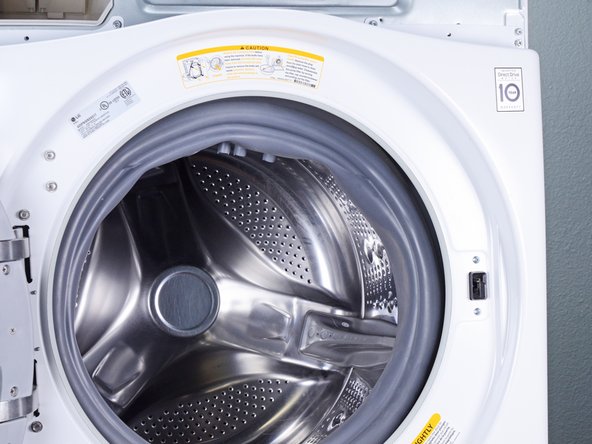
      • Use needle nose pliers to grip the spring end of the metal ring at the bottom of the rubber boot.

      • Pull the ring away from the chassis to separate it from the boot.

      댓글 쓰기

    3. LG Front Load Washing Machine Door Latch Replacement: 4 단계, 이미지 3개 중 1개 LG Front Load Washing Machine Door Latch Replacement: 4 단계, 이미지 3개 중 2개 LG Front Load Washing Machine Door Latch Replacement: 4 단계, 이미지 3개 중 3개
      • Use your hand to completely pull the ring off the boot.

      • During reassembly, perform the following:

      • Insert one end of the ring into its groove along the boot's perimeter.

      • Use pliers to slowly stretch the ring around the boot's perimeter until it's completely nested in its groove.

      • Be sure the spring is centered at the bottom of the boot when you reinstall it.

      • This procedure will take significant force.

      댓글 쓰기

    4. LG Front Load Washing Machine Door Latch Replacement, Disconnect the boot: 5 단계, 이미지 3개 중 1개 LG Front Load Washing Machine Door Latch Replacement, Disconnect the boot: 5 단계, 이미지 3개 중 2개 LG Front Load Washing Machine Door Latch Replacement, Disconnect the boot: 5 단계, 이미지 3개 중 3개
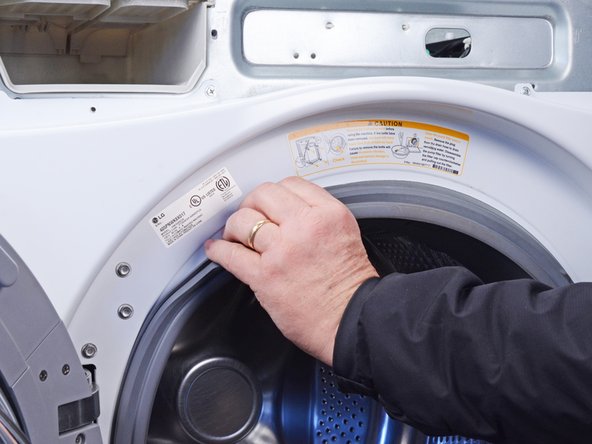
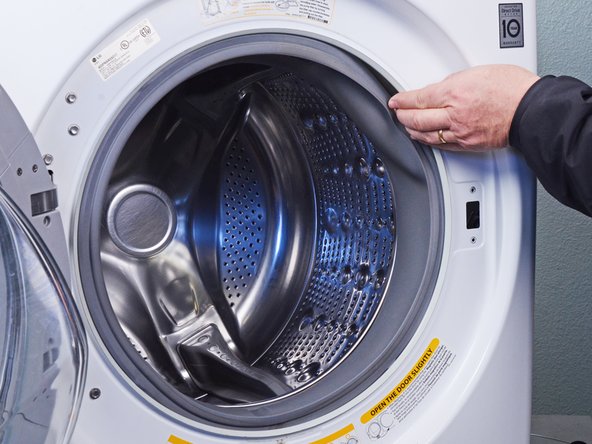
      • Use your fingers to pull the boot off its lip in the front panel.

      댓글 쓰기

    5. LG Front Load Washing Machine Door Latch Replacement: 6 단계, 이미지 3개 중 1개 LG Front Load Washing Machine Door Latch Replacement: 6 단계, 이미지 3개 중 2개 LG Front Load Washing Machine Door Latch Replacement: 6 단계, 이미지 3개 중 3개
      • Work your fingers around the boot's perimeter until it's completely separated from the panel.

      댓글 쓰기

    6. LG Front Load Washing Machine Door Latch Replacement: 7 단계, 이미지 2개 중 1개 LG Front Load Washing Machine Door Latch Replacement: 7 단계, 이미지 2개 중 2개
      • Use your hands to fold the boot into the drum.

      댓글 쓰기

    7. LG Front Load Washing Machine Door Latch Replacement, Unfasten the door latch: 8 단계, 이미지 1개 중 1개
      • Remove the screw(s) securing the door latch.

      댓글 쓰기

    8. LG Front Load Washing Machine Door Latch Replacement, Expose the door latch: 9 단계, 이미지 3개 중 1개 LG Front Load Washing Machine Door Latch Replacement, Expose the door latch: 9 단계, 이미지 3개 중 2개 LG Front Load Washing Machine Door Latch Replacement, Expose the door latch: 9 단계, 이미지 3개 중 3개
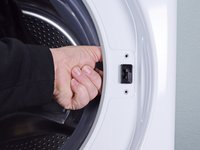
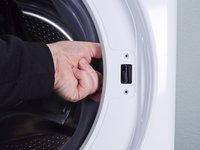
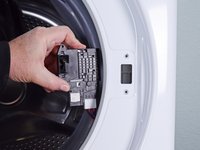
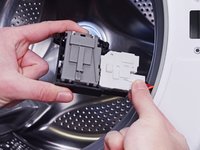
      • Reach between the boot and the chassis to grip the door latch.

      • Pull the door latch out of its slot in the chassis to expose it.

      • Don't try to fully remove the door latch yet. It's still connected to a cable harness.

      댓글 쓰기

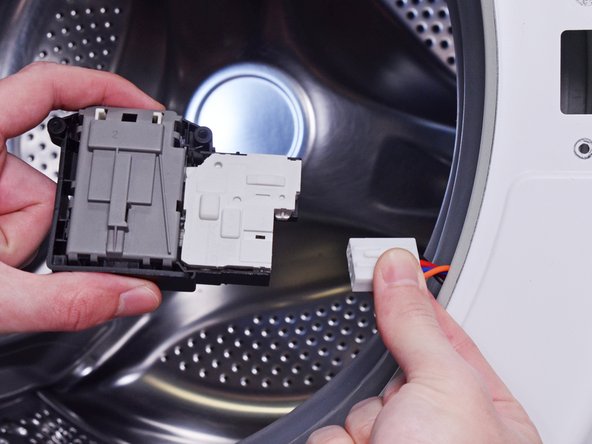
    9. LG Front Load Washing Machine Door Latch Replacement, Remove the door latch: 10 단계, 이미지 2개 중 1개 LG Front Load Washing Machine Door Latch Replacement, Remove the door latch: 10 단계, 이미지 2개 중 2개
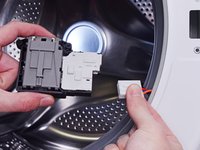
      • Disconnect the cable harness from the door latch.

      • Always grip cables by their connectors and not the wires themselves.

      • Remove the door latch.

      댓글 쓰기

결론

To reassemble your device, follow these instructions in reverse order.

Take your e-waste to an R2 or e-Stewards certified recycler.

Repair didn’t go as planned? Ask our Answers community for help.

취소: 해당 안내서를 완성하지 않았습니다.

다른 3명이 해당 안내서를 완성하였습니다.

작성자

3다른 기여자 명과 함께

Bill Gilbert

회원 가입일: 06/30/22

40,177 평판

안내서 261개를 작성함

iFixit iFixit 회원

Staff

123 회원들

안내서 61,650개를 작성함

0가이드 댓글

댓글 쓰기

조회 통계:

지난 24시간: 7

지난 7일: 84

지난 30일: 372

전체 시간: 11,147