필요한 것
-
-
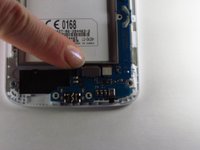
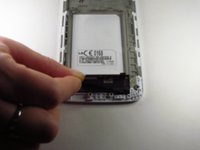
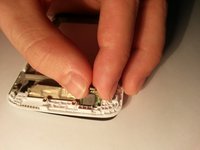
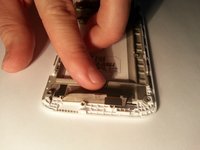
Remove the back cover by placing your fingernail in the crease between the cover and the charging port.
-
Pry upward and the cover should pop off easily
-
-
-
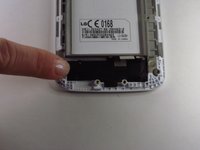
Remove the battery from the battery bay by prying with your finger at the groove on the lower end of the battery bay.
-
-
-
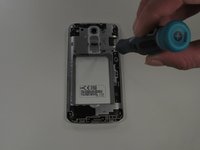
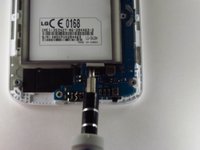
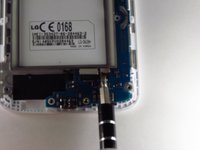
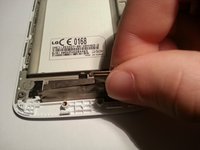
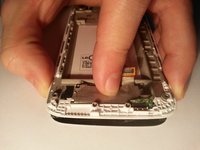
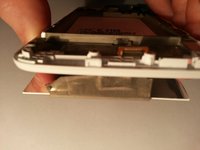
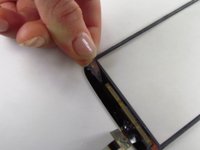
Use a plastic opening tool to pry away the cover by placing it between the cover and the screen bezel.
-
Pry all the way around the phone about every centimeter until the cover is completely separated from the phone.
-
-
-
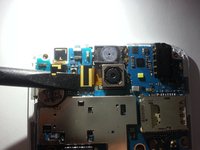
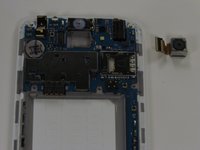
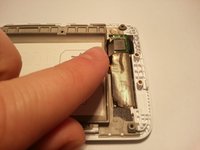
Locate the rear facing camera.
-
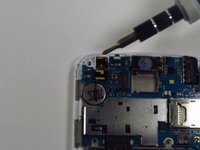
Pry the ribbon cable off of it's connector using the plastic spudger tool.
-
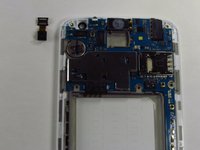
Use your finger to remove the camera.
-
-
-
-
Locate the front facing camera.
-
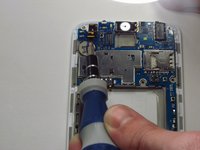
Pry the ribbon cable off of it's connector using the plastic spudger tool.
-
Use your finger to remove the camera.
-
-
-
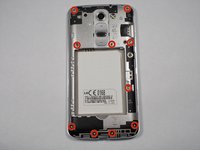
Use the plastic spudger tool or a flat head screwdriver to pry the ribbon cables off of their connectors.
-
-
-
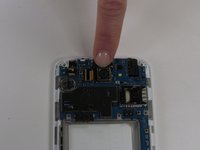
Use your finger to lift the motherboard from the edge and remove it from the phone.
-
-
-
Pull from the tabs on the edges of the security tape.
-
This piece is not absolutely necessary to replace when putting the phone back together, but it secures the cables against movement from day to day activities. If you have some electrical tape lying around, use it to secure the cables during the process of putting the phone back together.
-
-
-
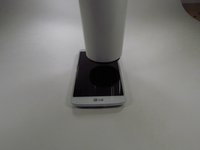
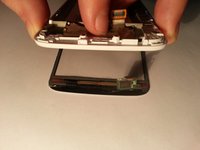
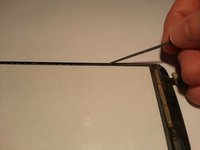
Use a heat gun to heat the edges of the LCD screen and melt the adhesive that holds the glass on.
-
Pry the edges of the glass away from the phone using a plastic spudger tool. Do this quickly before the glass cools down and starts to stick again.
-
-
-
Push the ribbon cable connected to the Digitizer through the hole in the case and then pull the glass screen away from the phone.
-
-
-
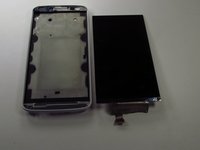
Push the ribbon cable connected to the LCD screen through the hole in the case.
-
Pull the LCD screen away from the case.
-
At this point you are ready to replace the LCD with a working one.
-
-
-
Peel off the excess adhesive from the bezel of the glass screen.
-
Line the bezel of the glass screen with 3M double sided adhesive tape. You will be able to stick it back on easily.
-


To reassemble your device, follow these instructions in reverse order.
다른 15명이 해당 안내서를 완성하였습니다.
팀

UMass Dartmouth, Team 1-9, Shastany Fall 2014 UMass Dartmouth, Team 1-9, Shastany Fall 2014 회원
UMASSD-SHASTANY-F14S1G9
3 회원들
안내서 10개를 작성함