소개
Use this guide to replace or remove a broken or worn out loudspeaker in the LG G3 (D855).
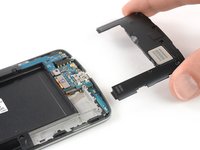
The loudspeaker in the LG G3 is attached to the bottom half of the plastic panel above the daughterboard. To replace the loudspeaker, it’s necessary to replace the panel as well.
필요한 것
-
-
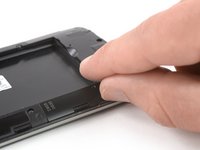
Insert a thumbnail, or a prying tool like a spudger, into the notch at the bottom left of the back cover.
-
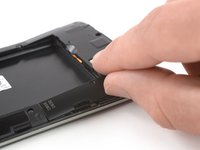
Pry the back cover up to separate its plastic clips.
-
-
-
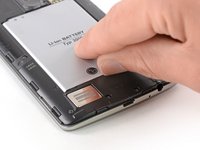
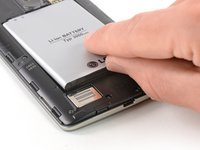
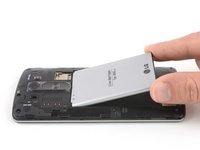
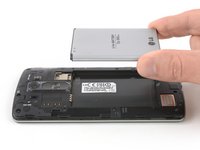
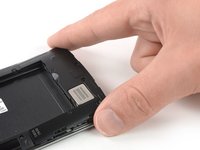
Use a fingernail or a prying tool at the marked notch to lever the battery out of its recess.
-


If possible, turn on your device and test your repair before installing new adhesive and resealing.
Take your e-waste to an R2 or e-Stewards certified recycler.
Repair didn’t go as planned? Try some basic troubleshooting, or ask our Answers Community for help.
다른 8명이 해당 안내서를 완성하였습니다.
