소개
The rear-facing camera may be causing problems due to either the ribbon cable not being connected properly or because the camera is broken. This guide should help you fix both problems.
필요한 것
-
-
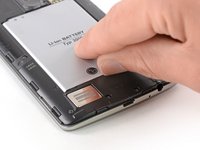
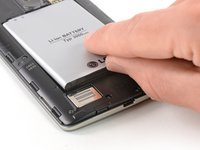
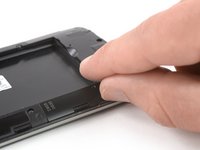
Insert a thumbnail, or a prying tool like a spudger, into the notch at the bottom left of the back cover.
-
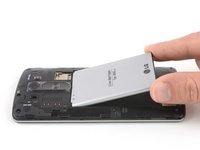
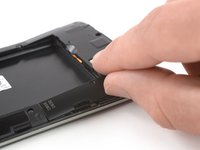
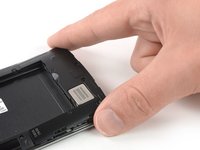
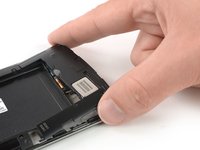
Pry the back cover up to separate its plastic clips.
 FixBot에 문의하기
-
-
-
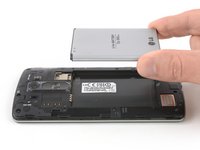
Use a fingernail or a prying tool at the marked notch to lever the battery out of its recess.
-
-
-
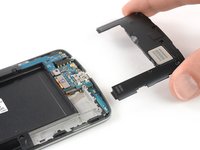
Insert a thumbnail, or a prying tool like a spudger, into the notch at the bottom left of the back cover you used earlier to remove the back cover.
-
Pry up the plastic panel, including the loudspeaker, until you can get a good grip.
-
-
-
Carefully remove the plastic panel including the loudspeaker by gently pulling it away from the phone assembly.
-
-
-
-
Remove the eight Phillips #00 screws (4 mm length).
-
-
-
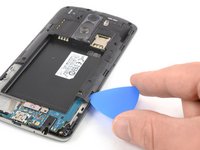
Insert an opening pick between the bottom right corner of the motherboard cover and the motherboard.
-
Pry up the motherboard cover to open the plastic clips which hold the cover in its place.
-
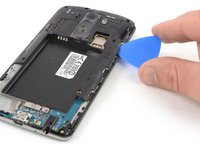
Work your way along the right edge.
-
-
-
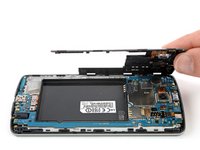
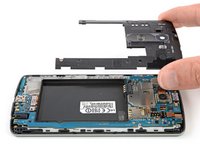
Carefully lift the right edge of the motherboard cover.
-
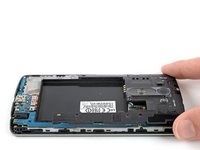
Remove the motherboard assembly.
-
-
-
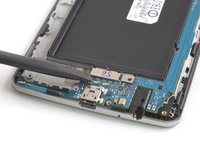
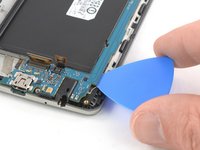
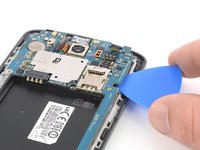
Slide an opening pick under the bottom right corner of the motherboard and slowly pry it out of its recess by rotating the opening pick sideways.
-
-
-
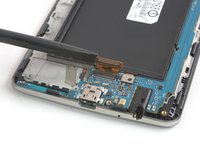
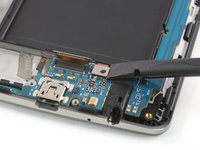
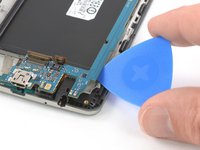
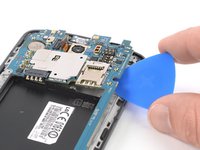
Slide the opening pick under the right edge of the motherboard where the SIM card slot is located and pry it up by rotating the opening pick sideways.
-
-
-
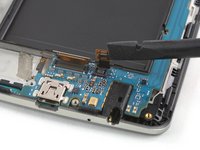
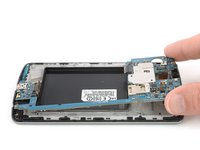
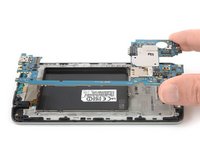
Grab the top section of the motherboard and carefully lift it out of the phone.
-
-
-
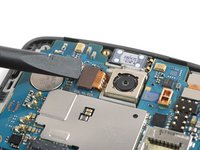
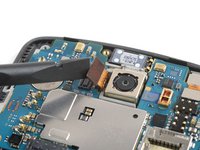
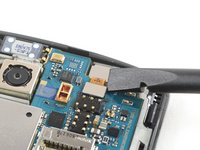
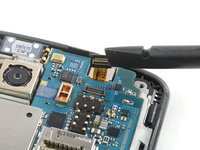
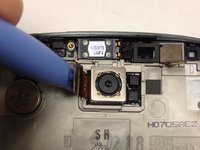
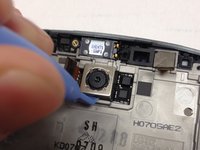
Take the plastic opening tool and remove the rear-facing camera by wedging it into the sides and lifting up
-


To reassemble your device, follow these instructions in reverse order.
다른 26명이 해당 안내서를 완성하였습니다.
팀

UMass Dartmouth, Team 1-3, Duarte Fall 2014 UMass Dartmouth, Team 1-3, Duarte Fall 2014 회원
UMASSD-DUARTE-F14S1G3
4 회원들
안내서 16개를 작성함
7가이드 댓글
perfect. Camera had stopped functioning on my G3 (due to some clumsiness on my part). Followed the steps and disconnect camera ribbon, then reconnected and reassembled. Now all functioning perfectly.
Andy Corps - 답글 공유
how was it not functioning? Mine suddenly wont even detect that there is a back camera and I am debating whether to try this and risk ruining the phone or just spending the extra cash and having it done professionally since I can't get a new one until april.
Mine the camera started crashing 'unfortunately camera stopped' but the selfie cam worked. Reset did nothing have to try this.
Gad Mugane - 답글 공유
Will the phone work with out the camera in it?
Mike Kizer - 답글 공유
Excellent guide. Bad auto focus, replaced -> works !
Would add in step 6, top panel is held on by small plastic tabs on the edges.
As with all electronic dis/assembly, make sure take appropriate anti-static precautions.