소개
If the outer plastic casing of the phone is damaged, it can easily be replaced with these steps.
필요한 것
-
-
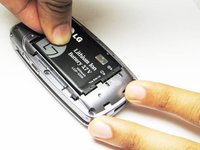
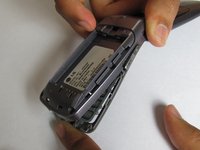
Hold the phone case in your palm and slide the back cover towards yourself using your thumb
-
-
-
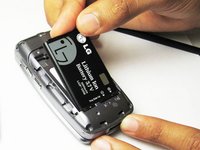
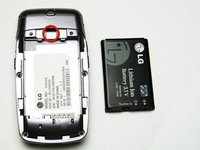
Slide a tool or finger into the notch at the top of the battery to carefully remove it.
-
-
-
-
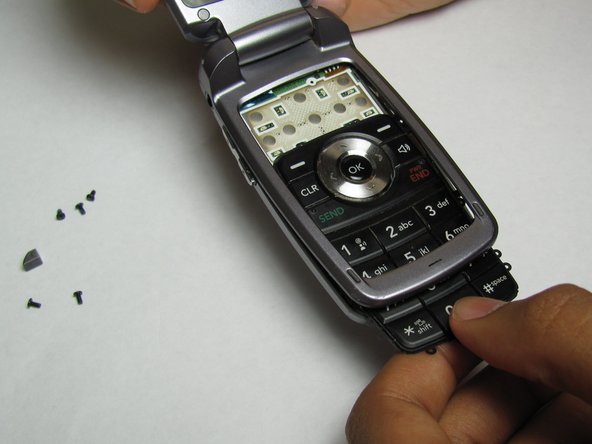
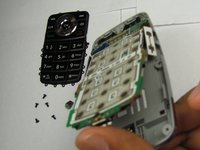
Take the Philips screwdriver and unscrew the four visible screws on the backside of the phone indicated by the four red circles.
-
-
-
Then, take the pointed end of a spudger and pry out the rubber stopper to reveal the last screw at the top indicated with the blue circle.
-
-
-
Lay out and organize the parts of the phone. You can now put the inner parts of the phone into the new case.
-


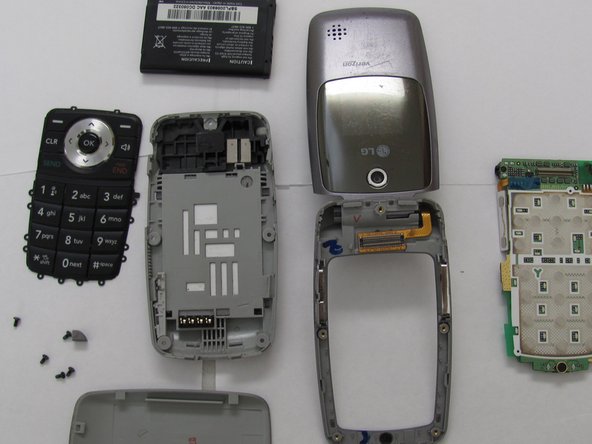
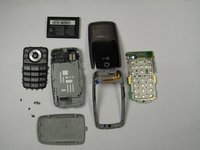
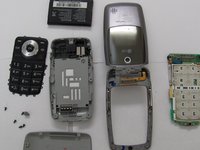
To reassemble your device, follow these instructions in reverse order.
팀

Cal Poly, Team 26-26, Regan Spring 2010 Cal Poly, Team 26-26, Regan Spring 2010 회원
CPSU-REGAN-S10S26G26
4 회원들
안내서 21개를 작성함