소개
Device & Model: LG VX8560
When the keys are sticky or not working, you can replace the keypad yourself. The keys get dirty or misaligned and sometimes the receivers are dead. In this guide, you will learn how to replace the keypad.
필요한 것
-
-
Remove the battery by sliding the battery cover off the phone.
-
Unscrew all 4 screws along the edge of the phone using the Philips #00 Screwdriver.
 FixBot에 문의하기
-
-
-
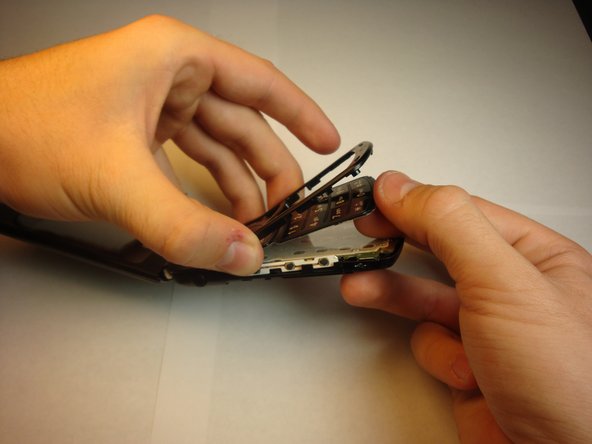
Insert the iFixit Opening Tool between the phone’s keypad cover and the back cover, and gently pull apart.
-
-
-
-
Gently snap the cover frame back to the right position.
-
Replace the screws using the Phillips #00 Screwdriver.
-
Insert the battery and snap the back cover on.
-


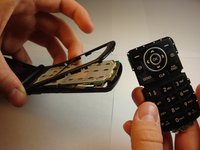

The keypad is successfully replaced.
다른 한 분이 해당 안내서를 완성하였습니다.

팀

Cal Poly, Team 13-62, Johann Spring 2013 Cal Poly, Team 13-62, Johann Spring 2013 회원
CPSU-JOHANN-S13S13G62
4 회원들
안내서 24개를 작성함