소개
The guide outlines the steps necessary to replace the keypad on the LG VX8700. The keypad is used to to help direct actions on the phone.
필요한 것
-
-
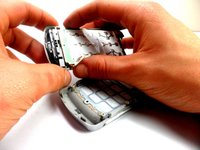
Slide the back cover off using the release latch with your fingers to expose the battery.
 FixBot에 문의하기
-
-
-
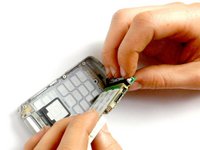
Lift one side of the battery using a plastic opening tool or your fingers.
-
Carefully remove the battery and set it aside.
-
-
-
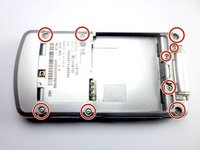
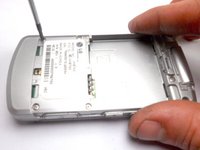
Remove the nine 4 mm screws from the back cover with a Phillips #0 screwdriver.
-
-
-
-
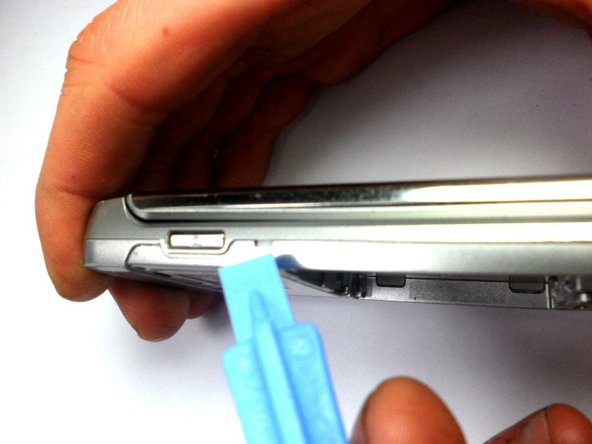
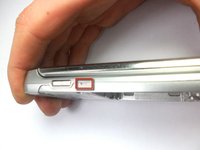
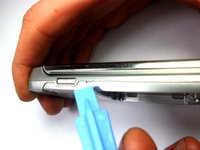
Insert the tip of the iFixit opening tool into the small notch on the side of the case.
-
Slide the opening tool along the seam and around the edge of the phone to separate the case.
-
-
-
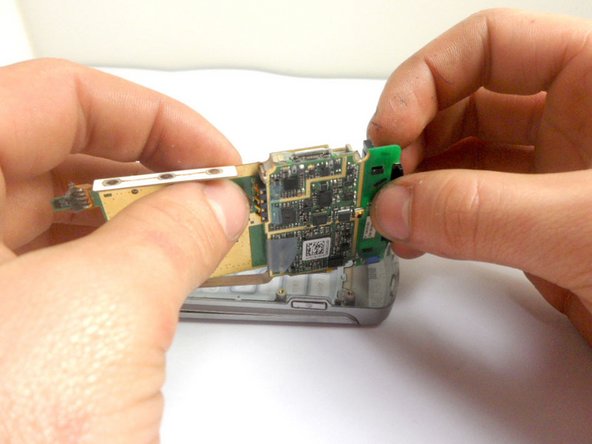
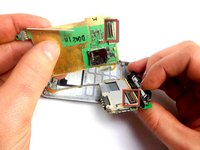
Hold the phone casing with one hand and the keypad assembly with the other.
-
Separate the phone casing from the keypad/motherboard.
-


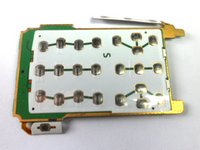
To reassemble your device, follow these instructions in reverse order.
팀

Cal Poly, Team 8-16, Maness Winter 2012 Cal Poly, Team 8-16, Maness Winter 2012 회원
CPSU-MANESS-W12S8G16
4 회원들
안내서 28개를 작성함
1가이드 댓글
When I separated the two halves a small brass piece came out and your instructions do not show nor mention what this is or where it goes. Not even a caution about it coming out upon separation of the halves. It appears to belong on one of the screw posts and because it is brass I believe it is supposed to complete a circuit.