주요 콘텐츠로 건너뛰기
수리 커뮤니티 가입 - 계정 만들기

Le Pan II Screen Replacement

필요한 것

  1. Le Pan II Screen Replacement, Screen: 1 단계, 이미지 2개 중 1개 Le Pan II Screen Replacement, Screen: 1 단계, 이미지 2개 중 2개
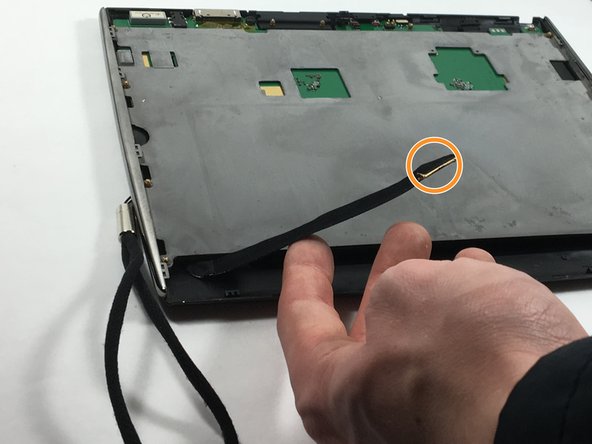
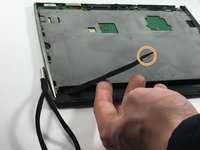
    • Insert metal spudger between front and back panel to pry apart.

    • Continue to pry while moving the metal spudger along the crevice to completely separate two panels.

    • Avoid using metal when opening devices, as it can damage or crack the screen.

  2. Le Pan II Screen Replacement: 2 단계, 이미지 2개 중 1개 Le Pan II Screen Replacement: 2 단계, 이미지 2개 중 2개
    • Use the plastic opening tool to disconnect the flat ribbon cable from the motherboard connector.

    • Disconnect the flat ribbon by gently pulling it out from its connecting port.

  3. Le Pan II Screen Replacement: 3 단계, 이미지 2개 중 1개 Le Pan II Screen Replacement: 3 단계, 이미지 2개 중 2개
    • Use the plastic opening tool to disconnect the display cable from its motherboard connector.

    • Disconnect the display cable by gently pulling it out from its connecting port.

  4. Le Pan II Screen Replacement: 4 단계, 이미지 1개 중 1개
    • Remove grey metal backing from screen.

  5. Le Pan II Screen Replacement: 5 단계, 이미지 1개 중 1개
    • Flip the tablet so the screen is facing upward, and use the metal spudger to pry apart the screen from the side pieces.

  6. Le Pan II Screen Replacement: 6 단계, 이미지 1개 중 1개
    • Lift and carefully remove the LCD display from the front cover.

결론

To reassemble your device, follow these instructions in reverse order.

작성자

1다른 기여자 명과 함께

Kelly Moniz

회원 가입일: 10/20/16

525 평판

안내서 5개를 작성함

UMass Dartmouth, Team 6-3, Martin Fall 2016 UMass Dartmouth, Team 6-3, Martin Fall 2016 회원

UMASSD-MARTIN-F16S6G3

3 회원들

안내서 10개를 작성함

0가이드 댓글

댓글 쓰기

조회 통계:

지난 24시간: 3

지난 7일: 9

지난 30일: 32

전체 시간: 458