소개
In this guide, you will be instructed step-by-step through the replacement process of your broken Le Pan S screen. Please note that this screen is attached to the plastic casing using adhesives and will require special attention during the steps outlined below. The LCD display will be removed first in order to prevent potential damage to the parts. Pay careful attention when using the heat gun or blow dryer in order to avoid skin burns.
필요한 것
-
-
Remove the two 3.5 mm Phillips #00 screws that are covered by the micro SD port.
 FixBot에 문의하기
-
-
-
Insert the spudger between the front and back panel in order to pry them apart.
-
Pry open the rest of the Le Pan S by dragging the spudger across the side.
-
-
-
Once the front and back faces are completely separated, remove the back cover to reveal the inside components.
-
-
-
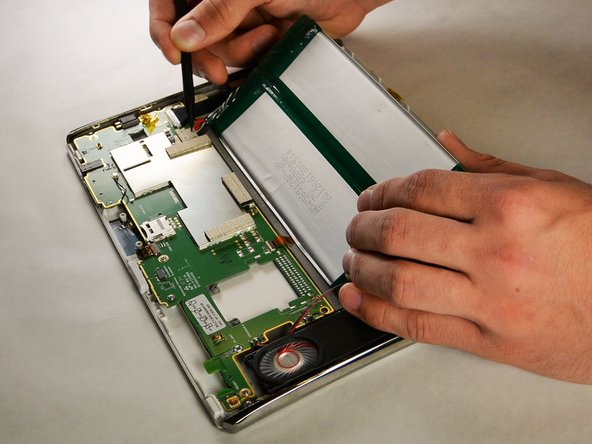
Disconnect the display cable connector by gently pulling the white connection head out of its base.
-
Repeat for the cable's other end attached near the top of the tablet.
-
-
-
-
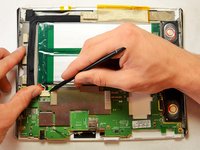
Disconnect the flat ribbon cable by disconnecting the zero insertion force (ZIF) connector.
-
-
-
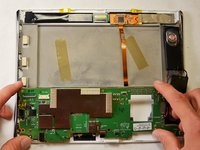
Remove the six 2.5 mm Phillips #00 screws securing the green electrical board.
-
-
-
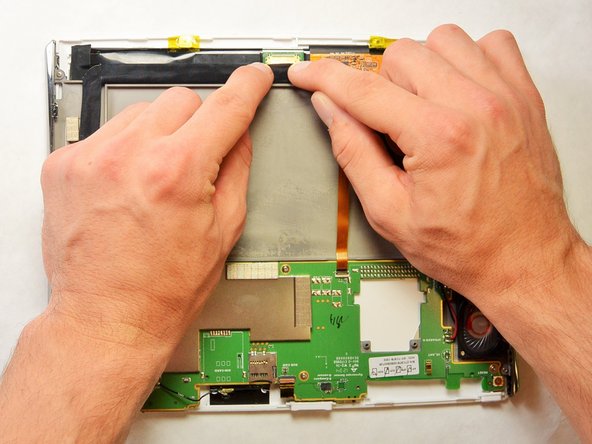
Flip the green electrical board back so that the screen is separated from the green board.
-
-
-
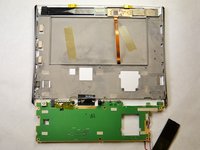
Remove the seven 3.5 mm Phillips #00 screws that connect the grey backing to the screen.
-
-
-
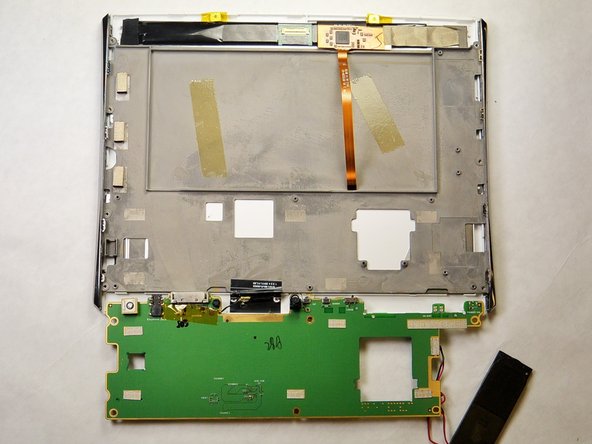
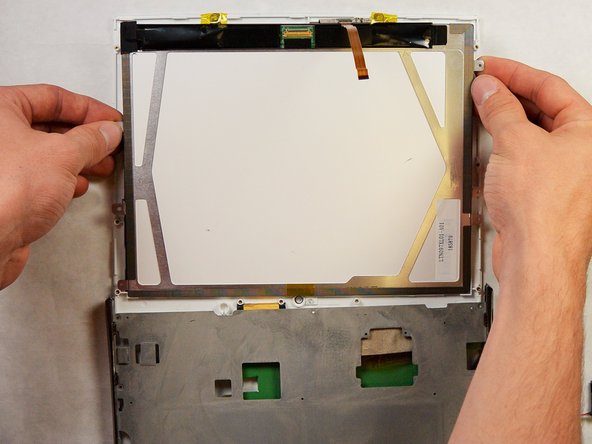
Take the gray backing off of the screen so that only the back of the LCD display is showing.
-
-
-
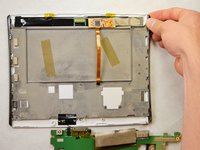
Flip the device over to the front.
-
Use a heat gun or hairdryer to help loosen any adhesive present on the screen. Start with a low, evenly applied heat and slowly increase the temperature as needed.
-
Use the plastic spudger and the plastic opening tool to prop the screen off of the adhesive at one corner.
-
-
-
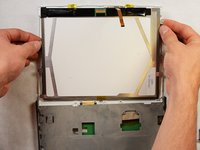
Slide the metal opening tools across the sides of the screen in order to separate the adhesive away from the screen.
-
Continue this process until all the sides of the screen are disconnected from the Le Pan S.
-


To reassemble your device, follow these instructions in reverse order.
다른 한 분이 해당 안내서를 완성하였습니다.
팀

IUPUI, Team 2-1, Harley Fall 2015 IUPUI, Team 2-1, Harley Fall 2015 회원
IUPUI-HARLEY-F15S2G1
5 회원들
안내서 10개를 작성함