소개
This replacement guide will enable users to properly remove the fingerprint scanner on the Lenovo ThinkPad X280.
The fingerprint scanner is commonly used as an authentication device to grant users access to the device.
If your device’s sensor is dirty and failing to work properly, your device is unresponsive to your fingerprint, and/or fails to recognize your fingerprint, your fingerprint scanner may be insufficient.
It is important to note that typically only one finger can be used to relay an appropriate response from your device. Using multiple fingers can result in an ‘error’ or ‘fingerprint cannot be read’ message. In addition, in order to remove or replace the fingerprint scanner, you must first remove the battery.
Before consulting this guide, review this document for more solutions.
필요한 것
-
-
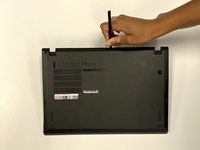
Use a Phillips #1 screwdriver to unscrew the five captive screws on the back panel until a small pop is heard.
-
-
-
Gently wedge an opening tool or spudger under the back panel, and loosen the clips around the perimeter until the back panel comes off.
-
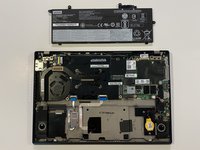
Remove the back cover.
-
-
-
-
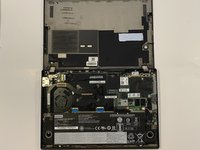
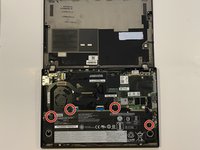
Using the Phillips #1 screwdriver, remove the four 5 mm screws that are holding the battery down.
-
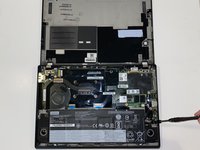
Remove the battery.
-
-
-
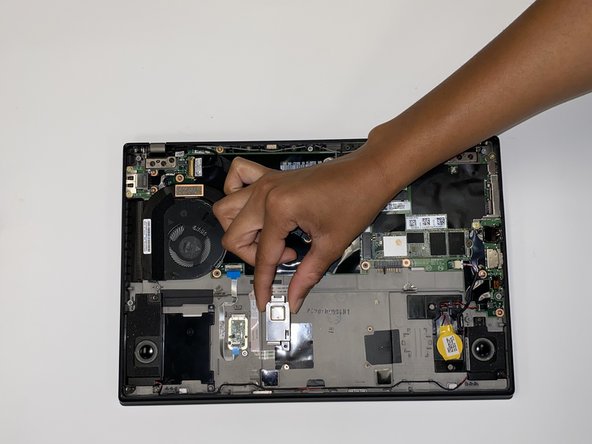
Using a Phillips #1 screwdriver, remove one 5 mm screw from the fingerprint sensor.
-
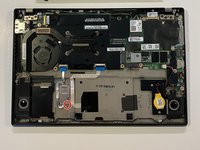
Remove the metal plate covering the sensor.
-
-
-
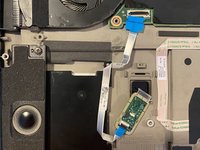
Using the black spudger tool, flip up the small hinged locking flap connected to the motherboard.
-
Gently pull the cable out of the connection site.
-


To reassemble your device, follow these instructions in reverse order.
다른 2명이 해당 안내서를 완성하였습니다.

팀

University of Alabama, Team 1-3, Bedsole Fall 2021 University of Alabama, Team 1-3, Bedsole Fall 2021 회원
UA-BEDSOLE-F21S1G3
4 회원들
안내서 8개를 작성함