소개
When the Lenovo ThinkPad Yoga laptop powers down unexpectedly, one of the most common issues may be faulty RAM (otherwise known as Random Access Memory). Use this guide to identify the problem and identify whether or not your device needs new RAM.
필요한 것
-
-
Flip the laptop over so the bottom is facing you.
-
Remove the ten screws using a Phillips #1 screwdriver.
-
Using the plastic opening tool, pry the bottom cover off the laptop.
 FixBot에 문의하기
-
-
-
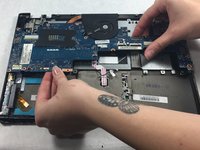
Remove two screws from the battery using a Phillips #1 screwdriver.
-
Disconnect the battery connector from the motherboard.
-
Remove the battery from the laptop.
-
-
-
-
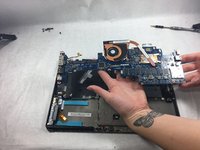
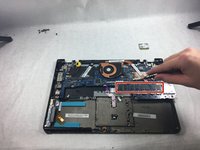
Remove nine screws from the motherboard with a Phillips #1 screwdriver.
-
Remove all ribbon cables attached to the motherboard.
-
Lift the motherboard out of the device.
-


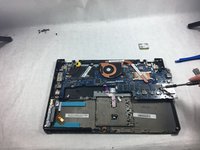
To reassemble your device, follow these instructions in reverse order.

팀

UMass Dartmouth, Team 4-4, Gulbrandsen Fall 2021 UMass Dartmouth, Team 4-4, Gulbrandsen Fall 2021 회원
UMASSD-GULBRANDSEN-F21S4G4
3 회원들
안내서 10개를 작성함