소개
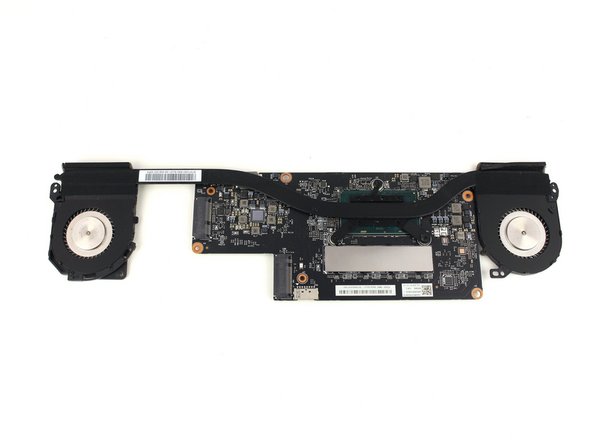
This guide will show you how to replace the fan assembly and heatsink from the motherboard of your 13” Lenovo Yoga 900 (900-13ISK). The heatsink and fans work together to dispel excess heat produced by the CPU and keep the computer from overheating. Common symptoms indicating the system is not working properly are loud noises from the fans, excessive heat emanating from the bottom case, or the computer shutting down frequently due to overheating. If you are experiencing any of these issues, replacing or servicing the fan assembly may alleviate your problems.
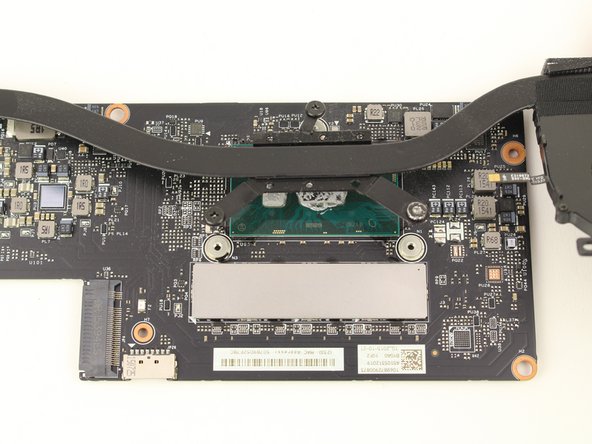
The heatsink relies on a layer of thermal paste between it and the CPU to effectively transmit heat up and out the fans. If this thermal paste becomes dried out, it can lose efficiency and cause the CPU to overheat. Cleaning and replacing the thermal paste is necessary any time the heatsink is removed from the CPU, but this simple act may help with thermal management on its own.
Also to note, the fans may collect dust over time, reducing their efficacy in dispersing heat. If you notice significant dust buildup in the fans, you may be able to restore functionality to the system by cleaning out the dust, without having to remove the heatsink from the motherboard.
Be sure to unplug and completely turn off your device before you start working.
필요한 것
-
-
Using a T5 Torx screwdriver, remove the ten 5.5 mm screws from the back case of the laptop.
-
-
-
Use a Phillips #00 screwdriver to remove the 2.7 mm screw that is holding down the SSD card.
-
-
-
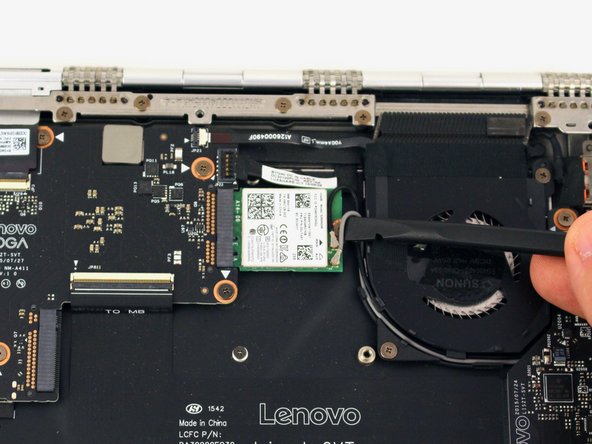
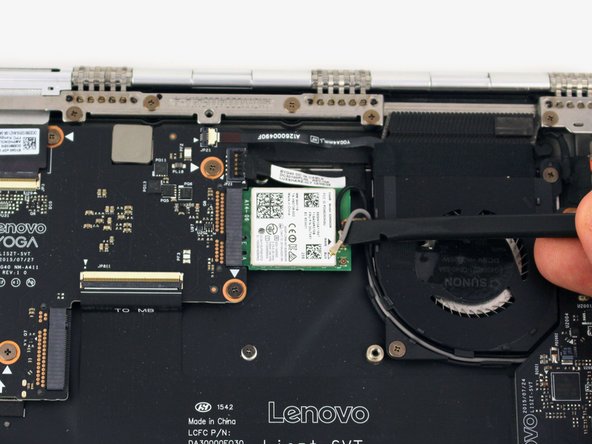
Pry up the gray and black coaxial cables from the Wi-Fi card using a spudger.
-
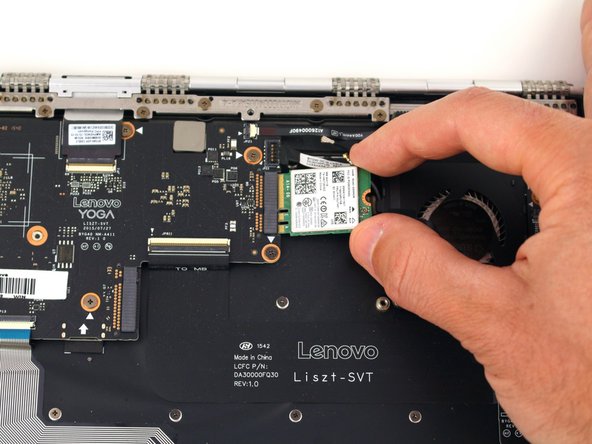
Move the cables to the side.
-
-
-
-
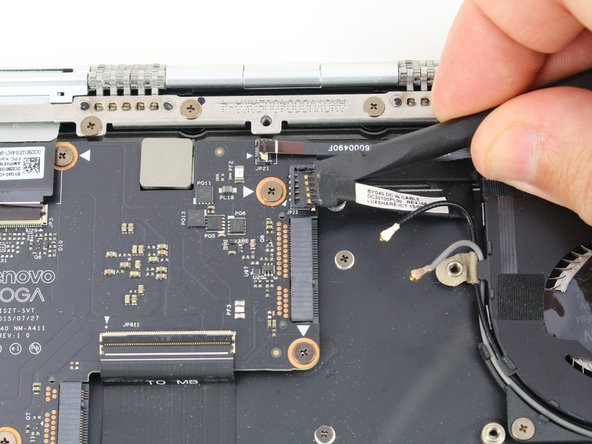
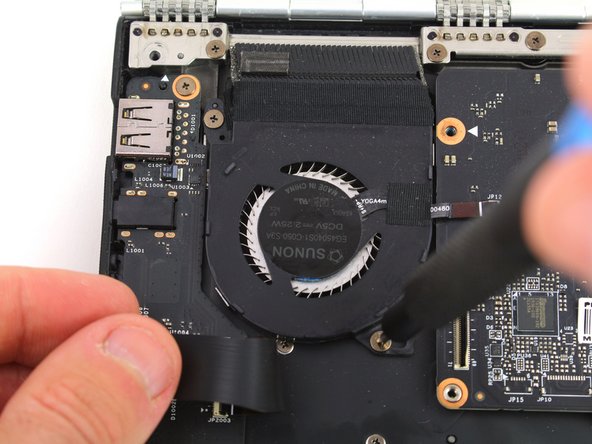
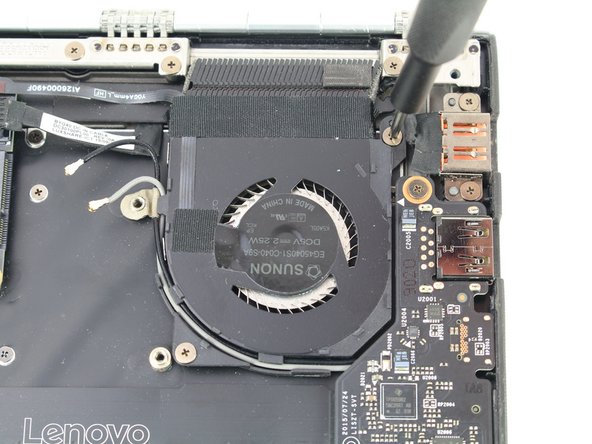
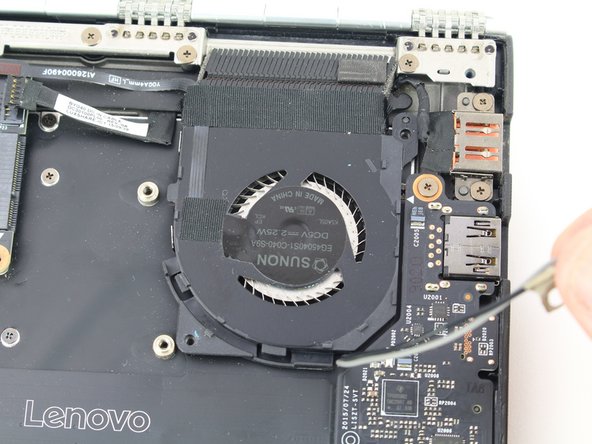
Using the pointed end of a spudger, flip up the hinged locking tabs of the eight ZIF connectors on the motherboard.
-
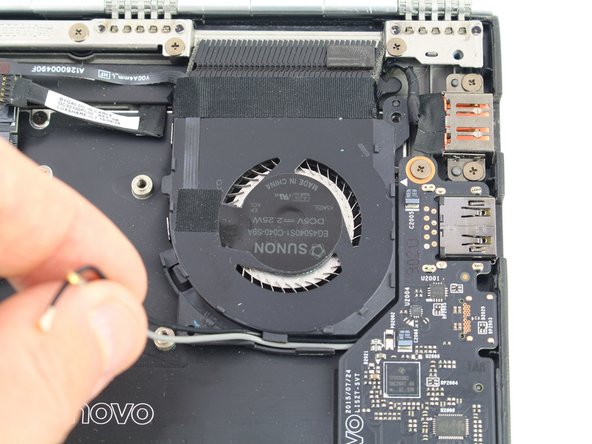
Pull the eight cables out from their connectors using a pair of blunt nose tweezers.
-


To reassemble your device, follow these instructions in reverse order.
To reassemble your device, follow these instructions in reverse order.
다른 한 분이 해당 안내서를 완성하였습니다.

