소개
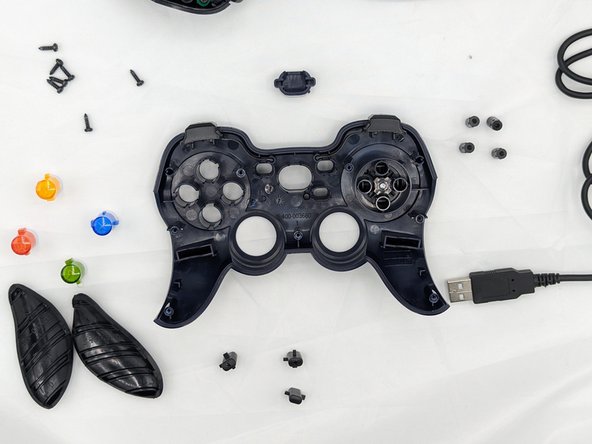
Have the buttons on your controller been through enough wear and tear? If so, here is the guide to help you with that. All you need is a Phillips #1 driver head, and a pry-tool. This guide will help you replace the buttons on your Logitech Gamepad F310.
The buttons is the input for controller to transmission's to pc for gaming purpose. The buttons are necessary for controller to play the gaming because it will not work if the buttons aren't working property. So that is reason to replacement for the buttons.
No special tools or skills are required.
필요한 것
-
-
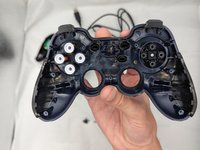
Press along the seams of the controller and gently pull the front and rear case apart.
-
-


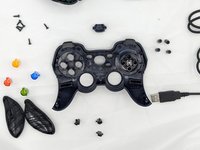
You're all finished! To reassemble your device, follow these instructions in reverse order.

팀

University of North Texas, Team 2-6, Kilpatrick Fall 2023 University of North Texas, Team 2-6, Kilpatrick Fall 2023 회원
UNT-KILPATRICK-F23S2G6
1 회원
안내서 1개 작성
1가이드 댓글
Any idea where I can get the d-pad rubber dome replacement part?