소개
Follow this guide to remove and replace the battery on a Logitech K830 keyboard.
For your safety, discharge the battery below 25% before disassembling your keyboard. This reduces the risk of a dangerous thermal event if the battery is accidentally damaged during the repair. If your battery is swollen, take appropriate precautions.
필요한 것
-
-
Insert the pointed end of a spudger under the edge of one of the feet.
-
Push the spudger underneath the outside edge of the foot and pry up to release its adhesive.
-
Once the edge is up, you will be able to see the heads of the screw underneath. There is no need to fully remove the foot, which damages the adhesive.
-
Repeat this step for the remaining three feet.
-
-
-
Use a Phillips screwdriver to remove the eight 6.8 mm-long screws securing the upper case to the lower case.
-
-
-
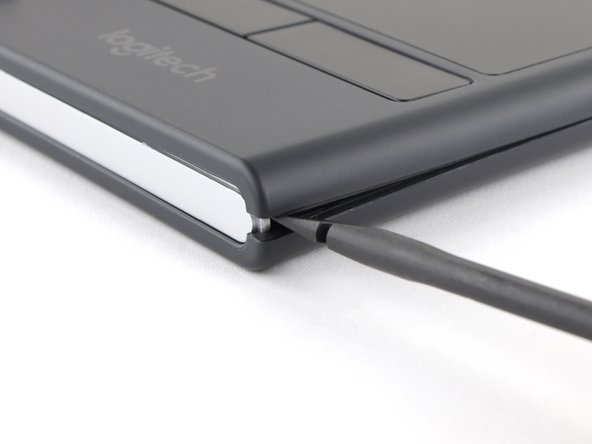
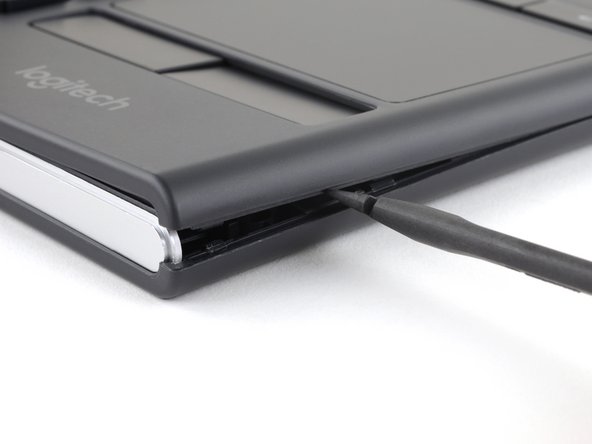
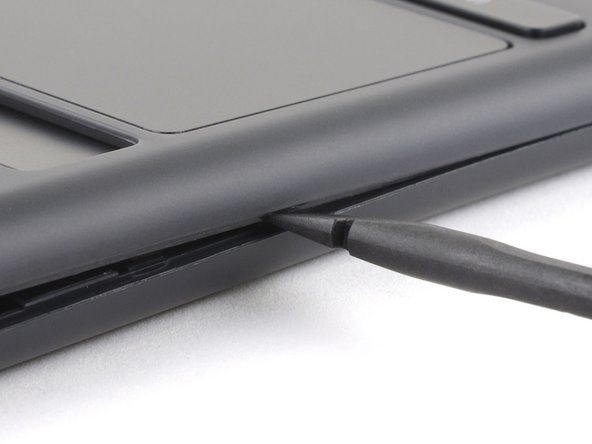
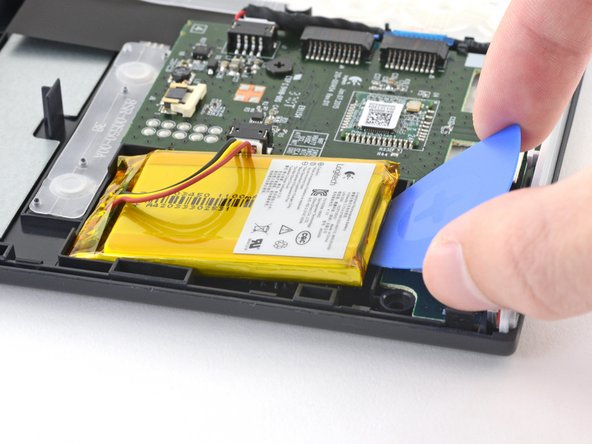
Insert an opening pick about 2 mm into the gap between the upper case and lower case at the bottom-right corner of the keyboard.
-
-
-
-
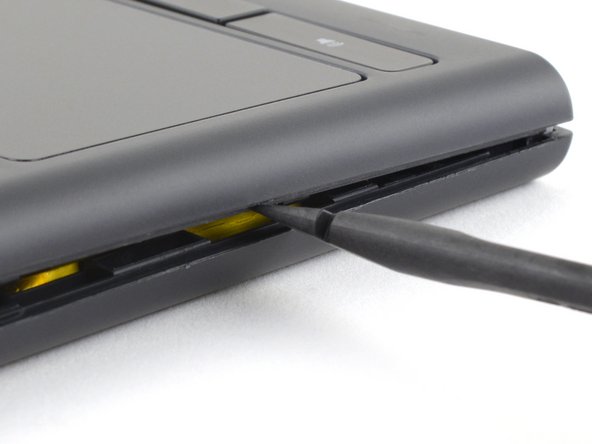
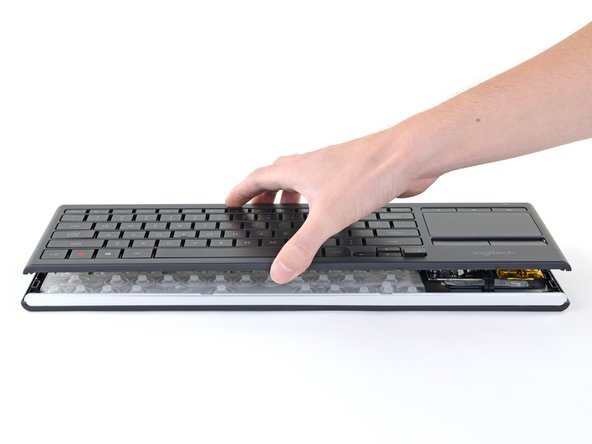
Lift the upper case up by about 2 cm.
-
Tilt the upper case about 45 degrees so that the keycap letters are upside-down.
-
-
-
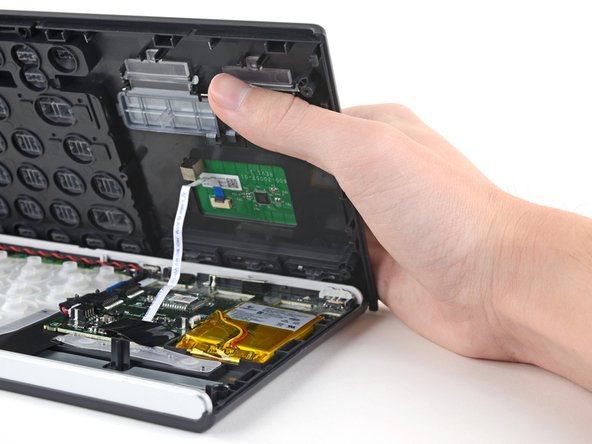
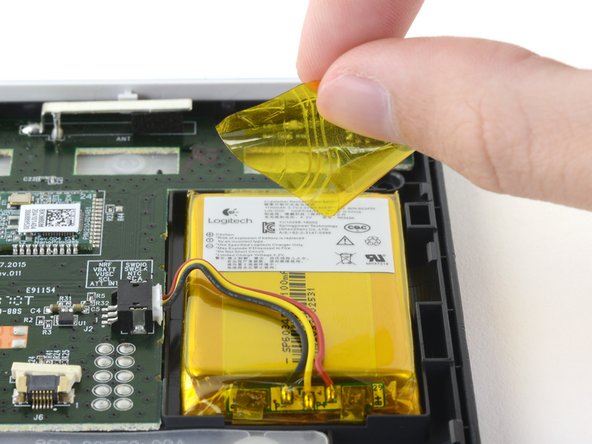
Remove the black tape covering the interconnect cable connector.
-
-
이 단계에 사용된 도구:Tweezers$4.99
-
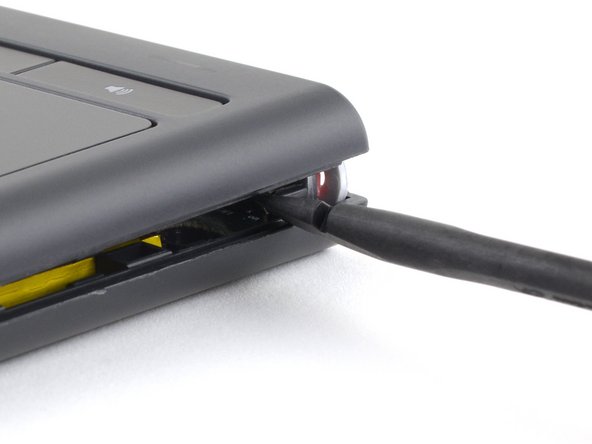
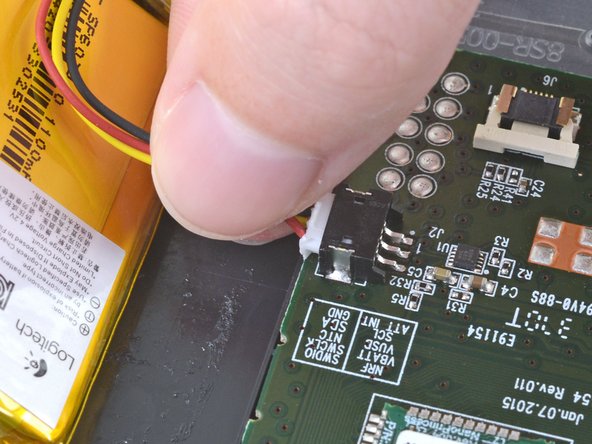
Use a pair of blunt tweezers to grip the interconnect cable by the blue section close to the connector.
-
Pull the interconnect cable out of its connector in the direction of the cable.
-
Make sure the locking tab is in the unlocked position.
-
Insert the ribbon cable so that the black line on the cable lines up with the white rectangle's edge closest to the cable.
-
Use your fingernail to move the locking tab into the locked position.
-
-
-
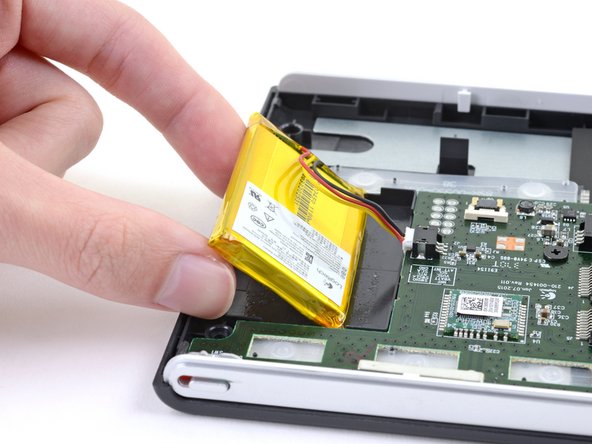
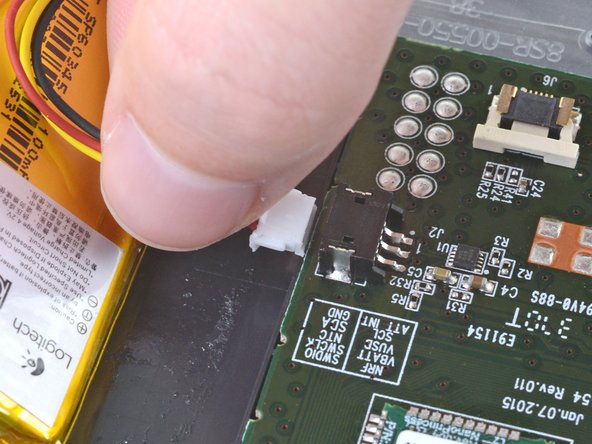
Remove the battery from the keyboard.
-
If there's any alcohol solution remaining in the keyboard, carefully wipe it off with a coffee filter or allow it to air dry before installing your battery.
-


Compare your new replacement part to the original part—you may need to transfer remaining components or remove adhesive backings from the new part before installing.
To reassemble your device, follow these instructions in reverse order.
Take your e-waste to an R2 or e-Stewards certified recycler.
Repair didn’t go as planned? Try some basic troubleshooting, or ask our Logitech K830 Answers community for help.
다른 7명이 해당 안내서를 완성하였습니다.

3가이드 댓글
Thanks Kyle - absolutely superb instructions - couldn't be clearer.
I have this keyboard and the T and V keys stopped responding, I used alcohol to key the contacts at first but ultimatly I used a rubber eraser to "polish' the T contact points. The trick brings that particular key back to life
Hey there, I actually did the same thing with alcohol and had them all the keys working again, but when I came back to the keyboard some time later the keys were not working anymore. What do you mean by "I used a rubber eraser to 'polish' the T contact points"?
What are the T contact points you are talking about?