소개
If your speaker is experiencing hardware failure, software issues, has faced water damages or even if some of your parts have been discontinued, it may be time to replace the motherboard. The following guide will show you how to replace the motherboard in the Logitech UE MegaBoom 3. The motherboard is the circuit board that connects all of your hardware to your processor, distributes electricity from your power supply, and defines the commands that the buttons control.
Before starting this guide make sure that the other parts of the speaker are not the issue. If all of the other parts of the speaker are functioning you will need to use this guide to remove the motherboard.
This is a difficult guide to complete so be sure to read the entire guide thoroughly before starting.
필요한 것
-
-
-
To access all internal components, first flip the speaker upwards to where you can see the base.
-
Place your blue iFixit opening picks inside the gap between the speaker and the base to act as a lever when opening the speaker.
 FixBot에 문의하기
-
-
-
Using the flat head #4.5 screw driver, carefully lever and rotate the driver around the edge of the speaker to enlarge the gap further.
-
Pry off the base of the speaker and remove the end cap.
-
-
-
-
-
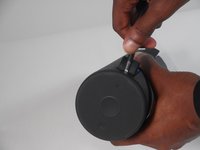
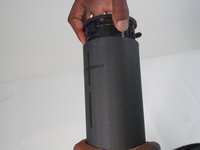
Take off the fiber cover by prying it from the top of the speaker using the flathead 4.5 mm screwdriver.
-
After the cover is loosened, the cap can finally be pulled off.
-
-
-
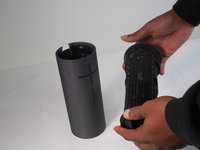
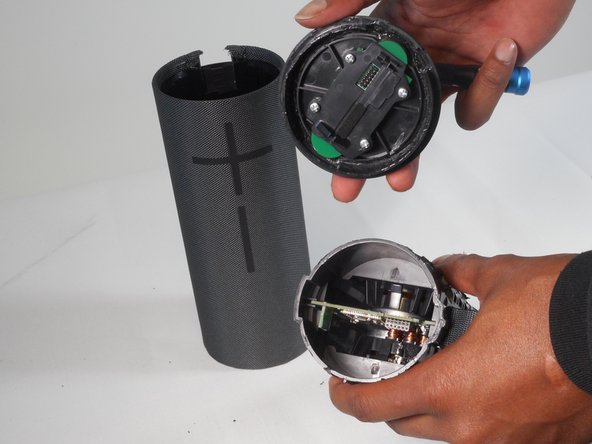
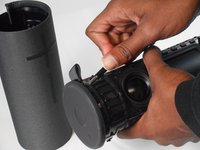
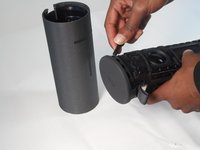
Remove the top half of the speaker using the 4.5 mm flat head screwdriver.
-
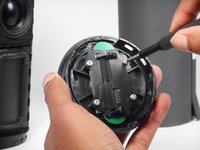
Now remove the top of the speaker by prying and releasing the tab around the cap using the same screwdriver.
-
-
-
-
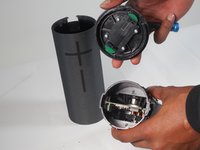
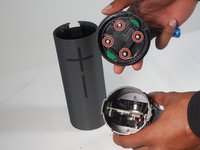
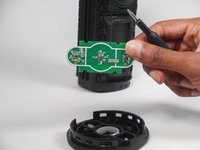
With the cap removed, using Phillips #0 screwdriver remove all four 2.0 mm screws to take off the control board.
-
Now you can replace the power button control board.
-
-
-
-
-
Take of the metal rods by gently prying them out using the metal spudger.
-
-
-
Once the rods are removed, you can pry it off and disconnect the speaker driver.
-
Repeat the same steps to disconnect the speaker driver on the other side of the speaker.
-
-
-
-
-
Take off the metal rods by gently prying them out using the metal spudgers
-
-
-
One the rods are removed you can pry it off and disconnect the passive radiator.
-
Repeat the same steps to disconnect the passive radiator on the other side of the speaker.
-
-
-
-
-
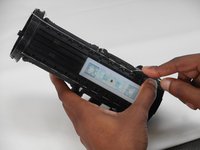
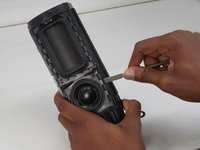
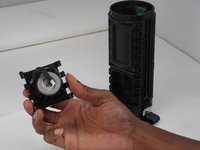
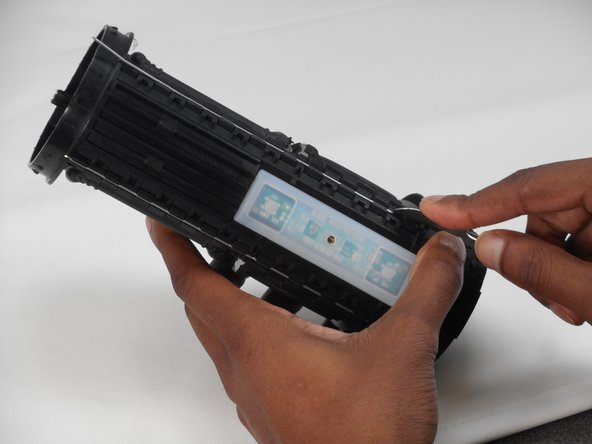
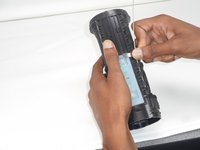
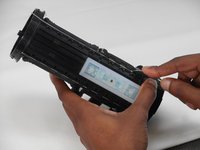
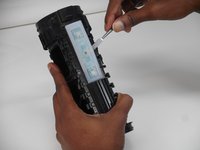
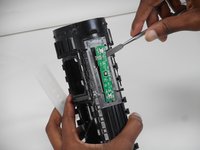
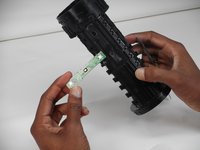
Using the metal spudger, remove the volume control board to prevent any damage.
-
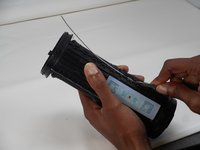
Remove the clear silicone cover to access the board.
-
Carefully pull off the board and disconnect it from the motherboard.
-
-















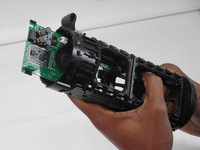
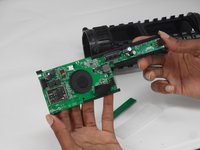
To reassemble your device, follow these instructions in reverse order.
다른 3명이 해당 안내서를 완성하였습니다.

팀

University of Memphis, Team 1-2, Sneed Fall 2023 University of Memphis, Team 1-2, Sneed Fall 2023 회원
UM-SNEED-F23S1G2
4 회원들
안내서 19개를 작성함
