소개
Replacing the upper case requires removal of nearly every component inside your MacBook Pro.
필요한 것
-
-
Remove the following ten screws securing the lower case to the upper case:
-
Three 13.5 mm (14.1 mm) Phillips screws.
-
Seven 3 mm Phillips screws.
-
-
-
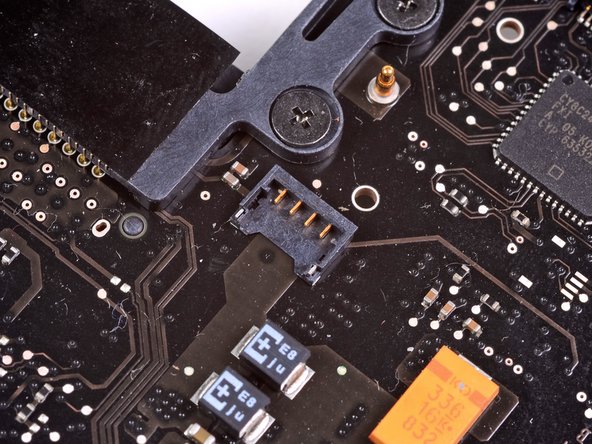
Use the edge of a spudger to pry the battery connector upwards from its socket on the logic board.
-
-
-
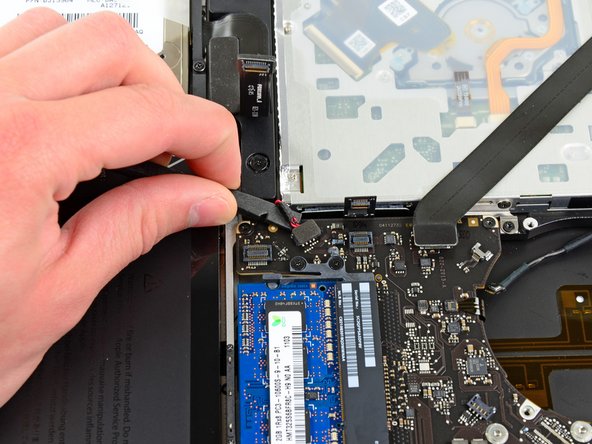
Use the flat end of a spudger to lift the right fan connector out of its socket on the logic board.
-
-
-
-
Carefully lift the logic board assembly from its left side and work it out of the upper case, minding the optical drive cable and the I/O ports that may get caught during removal.
-
If necessary, use the flat end of a spudger to separate the microphone from the upper case.
-
Pull the I/O port side of the logic board away from the side of the upper case and remove the logic board assembly.
-
-
-
Remove the two 7.5 mm ( 7.2 mm )Tri-point screws securing the battery to the upper case.
-
-
-
Remove the following six screws securing the subwoofer and right speaker to the upper case:
-
Two 3.2 mm ( 3.0 mm ) Phillips screws.
-
Two 12.3 mm Phillips screws.
-
One 2.5 mm Phillips screw.
-
One 8.3 mm ( 8.1 mm ) Phillips screw.
-
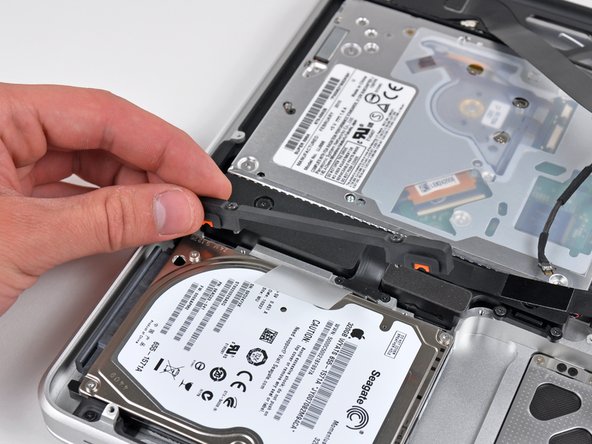
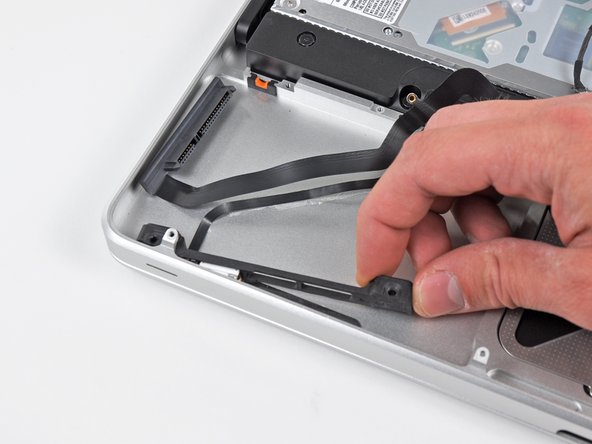
Lift the subwoofer and right speaker assembly out of the upper case.
-
-
-
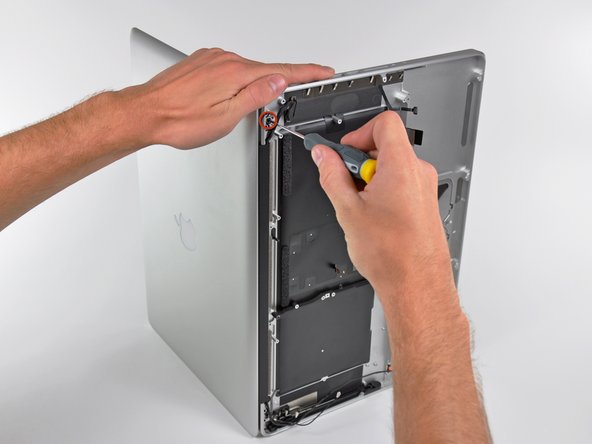
Grab the upper case with your right hand and rotate it slightly toward the top of the display so the upper display bracket clears the edge of the upper case.
-
Rotate the display slightly away from the upper case.
-
Lift the display up and away from the upper case, minding any brackets or cables that may get caught.
-
To reassemble your device, follow these instructions in reverse order.
To reassemble your device, follow these instructions in reverse order.
다른 56명이 해당 안내서를 완성하였습니다.
댓글 6개
I ordered a new topcase for my early 2011 MBP from We Love Macs in CA after I accidentally spilled beer on mine (sob) and after cleaning/drying everything worled but the power switch. This guide walked me through it beautifully and I now have a working MBP again! Thanks so much iFixit.
This task is definitely for a more technically inclined person. There are a lot of fragile connectors that can be damaged, and even though I am very technically inclined I had sweat on my brow the whole way through. Follow the directions carefully and keep all the small parts separate from each step so you won't get confused when you put it all back. Also, the tools from ifixit, or similar ones are a must.
Thanks iFixit!
Category 5 - 답글
I replaced my trackpad and battery. Now it freezes when I click the trackpad, moving the cursor works fine and it works fine with an external mouse too. Any idea what might cause the issue?
Thanks a lot for this tutorial, I was able to replace my faulty keyboard (even though the tutorial doesn't go this far, I managed to figure it out ^^).
Next step is to bake my logic board to fix GPU well-known issue…
Hi, is there any parts removed in this tutorial that do not require removal to replace the keyboard? I need to do this myself, and dont want to remove unnecessary parts


