소개
This guide is intended to replace the subwoofer in the Marshall Stanmore II Bluetooth Speaker.
The subwoofer produces the low-frequency sounds in a speaker. Low-frequency sounds--or bass--are what allow the listener to feel the richness and depth of music. Without bass, anything played through the speaker would sound tinny and mechanical.
Before using this guide, check the adjustments for the bass and treble using the dials on top of the speaker or through the Marshall Bluetooth app. Adjusting these configurations usually fixes any sound quality issues one may come across when this problem arises. If adjusting the bass and treble doesn't solve the issue, follow the troubleshooting steps on the Marshall Stanmore II Bluetooth Speaker Troubleshooting page for more possible solutions before disassembling the device.
Before removal, take note of the magnet that is on the subwoofer. Try to keep magnet-sensitive items concealed, or away, during removal.
필요한 것
-
-
Lay the speaker with the back panel facing up on a flat, stable work surface.
 FixBot에 문의하기
-
-
-
Use a Phillips #2 screwdriver to remove the ten 20.5 mm screws that secure the rear panel to the chassis.
-
-
-
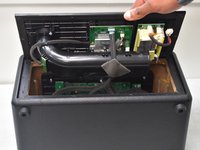
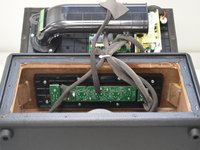
Carefully lift the rear panel and let it rest on an object, like a stack of books, to avoid straining the cables.
-
-
-
-
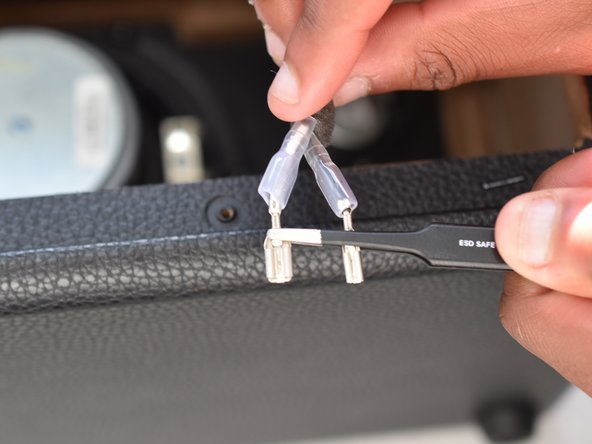
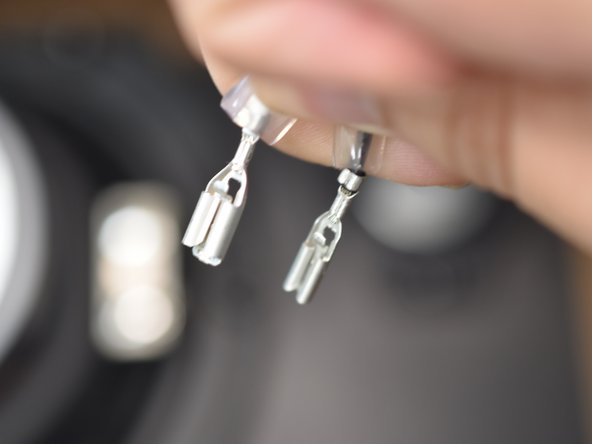
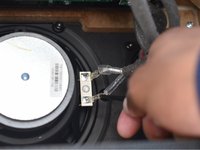
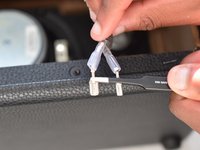
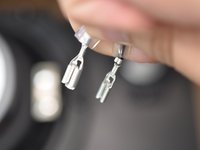
Pull back the clear sheaths on the end of each wire to expose the terminals.
-
Using a pair of tweezers, or your fingernail, depress the small latch and gently pull the wire off of the metal tabs.
-
-
-
Remove the six 20.5 mm T20 Torx screws that secure the subwoofer to the housing.
-





To reassemble your device, follow these instructions in reverse order.

팀

University of North Texas, Team 2-1, Kilpatrick Spring 2024 University of North Texas, Team 2-1, Kilpatrick Spring 2024 회원
UNT-KILPATRICK-S24S2G1
5 회원들
안내서 6개를 작성함
