주요 콘텐츠로 건너뛰기
수리 커뮤니티 가입 - 계정 만들기

Microtek ScanMaker 5900 New Locking Mechanism Replacement

필요한 것

    1. Microtek ScanMaker 5900 New Locking Mechanism Replacement, Remove serial port connection: 1 단계, 이미지 3개 중 1개 Microtek ScanMaker 5900 New Locking Mechanism Replacement, Remove serial port connection: 1 단계, 이미지 3개 중 2개 Microtek ScanMaker 5900 New Locking Mechanism Replacement, Remove serial port connection: 1 단계, 이미지 3개 중 3개
      • Loosen the screws on the serial port by turning them counter clockwise by hand.

      • After loosening the screws, pull the serial port out.

      댓글 쓰기

    2. Microtek ScanMaker 5900 New Locking Mechanism Replacement, Remove Lid: 2 단계, 이미지 3개 중 1개 Microtek ScanMaker 5900 New Locking Mechanism Replacement, Remove Lid: 2 단계, 이미지 3개 중 2개 Microtek ScanMaker 5900 New Locking Mechanism Replacement, Remove Lid: 2 단계, 이미지 3개 중 3개
      • Lift lid to its vertical position.

      • Pull lid straight up to remove it from the scanner.

      댓글 쓰기

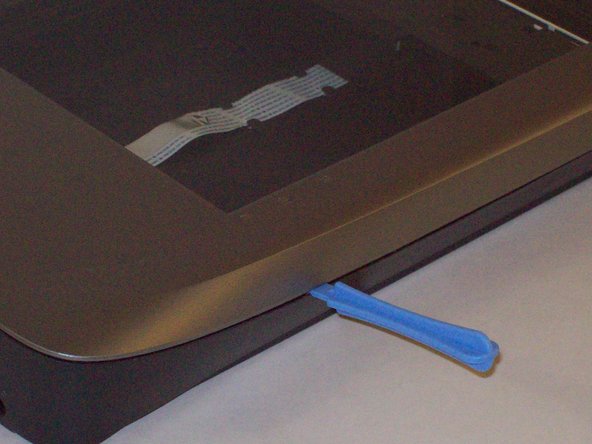
    1. Microtek ScanMaker 5900 New Locking Mechanism Replacement, Detach plastic latches: 3 단계, 이미지 3개 중 1개 Microtek ScanMaker 5900 New Locking Mechanism Replacement, Detach plastic latches: 3 단계, 이미지 3개 중 2개 Microtek ScanMaker 5900 New Locking Mechanism Replacement, Detach plastic latches: 3 단계, 이미지 3개 중 3개
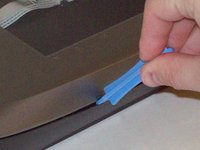
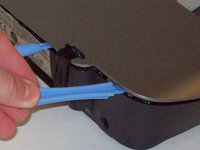
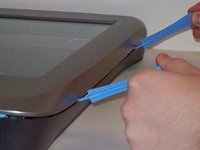
      • Push the plastic opening tools into the crack between the top and the bottom of the chassis.

      댓글 쓰기

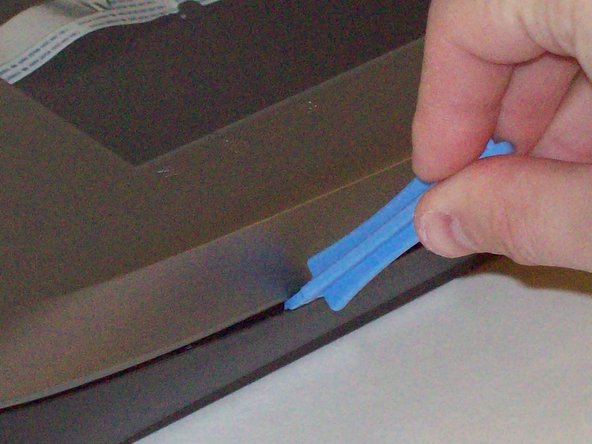
    2. Microtek ScanMaker 5900 New Locking Mechanism Replacement, Continue latch detachment: 4 단계, 이미지 3개 중 1개 Microtek ScanMaker 5900 New Locking Mechanism Replacement, Continue latch detachment: 4 단계, 이미지 3개 중 2개 Microtek ScanMaker 5900 New Locking Mechanism Replacement, Continue latch detachment: 4 단계, 이미지 3개 중 3개
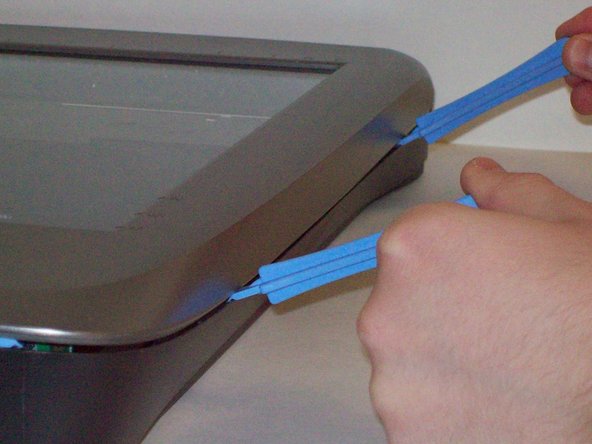
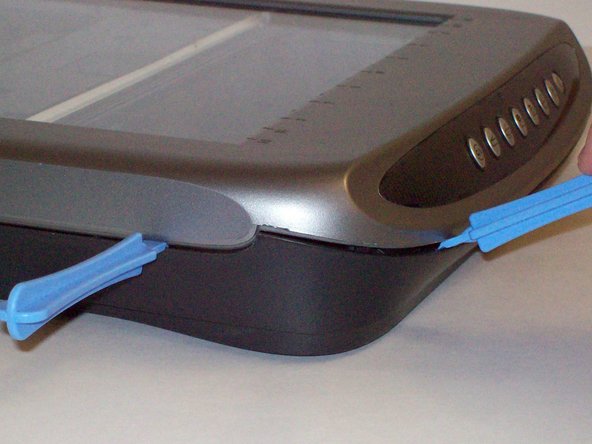
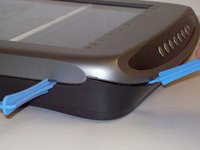
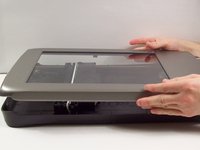
      • After placing one plastic opening tool into the slit, slide other plastic opening tools along the slit to detach the top from the bottom of the chassis.

      • Go all the way along the chassis until you can lift the upper lid.

      댓글 쓰기

    3. Microtek ScanMaker 5900 New Locking Mechanism Replacement, Fully remove the upper lid: 5 단계, 이미지 3개 중 1개 Microtek ScanMaker 5900 New Locking Mechanism Replacement, Fully remove the upper lid: 5 단계, 이미지 3개 중 2개 Microtek ScanMaker 5900 New Locking Mechanism Replacement, Fully remove the upper lid: 5 단계, 이미지 3개 중 3개
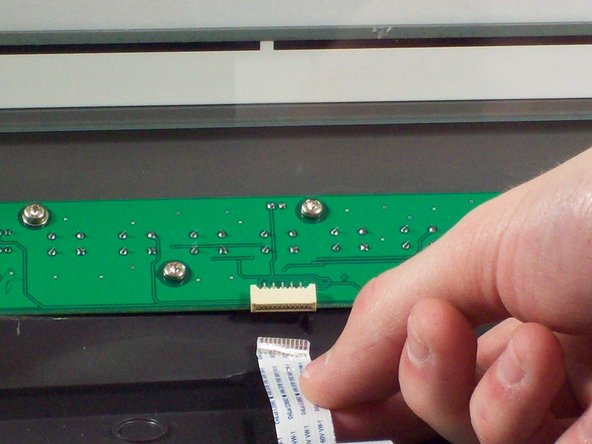
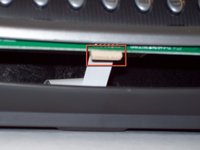
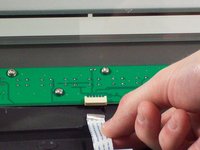
      • Do not fully remove the lid until you remove the ribbon cable attached to the front of the upper lid.

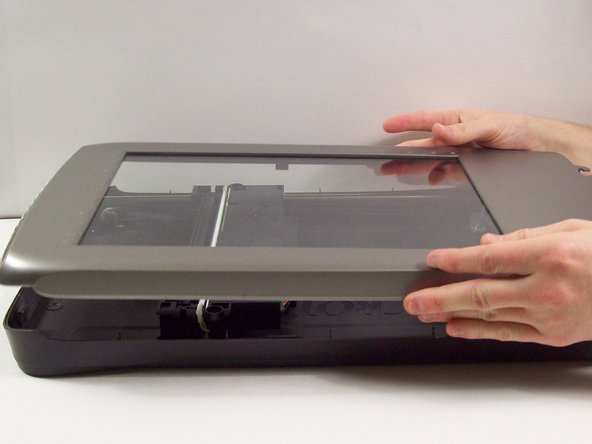
      • Do this by grabbing the upper lid from the sides and rotating it ninety degrees so it is perpendicular to the bottom lid.

      • Grab the ribbon cable and gently pull it out of its slot with your fingers.

      • The upper lid can now safely be removed from the bottom lid.

      댓글 쓰기

    1. Microtek ScanMaker 5900 New Locking Mechanism Replacement, Remove locking mechanism: 6 단계, 이미지 3개 중 1개 Microtek ScanMaker 5900 New Locking Mechanism Replacement, Remove locking mechanism: 6 단계, 이미지 3개 중 2개 Microtek ScanMaker 5900 New Locking Mechanism Replacement, Remove locking mechanism: 6 단계, 이미지 3개 중 3개
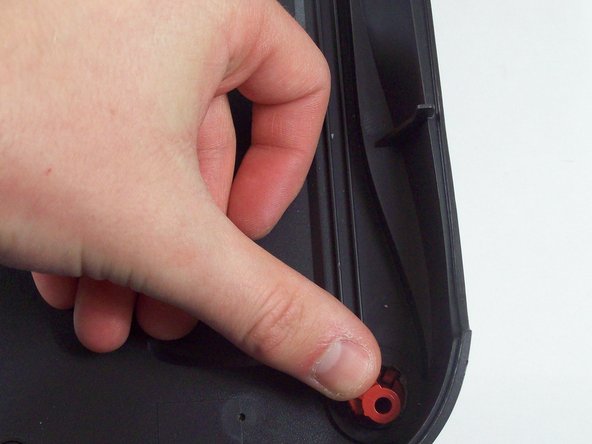
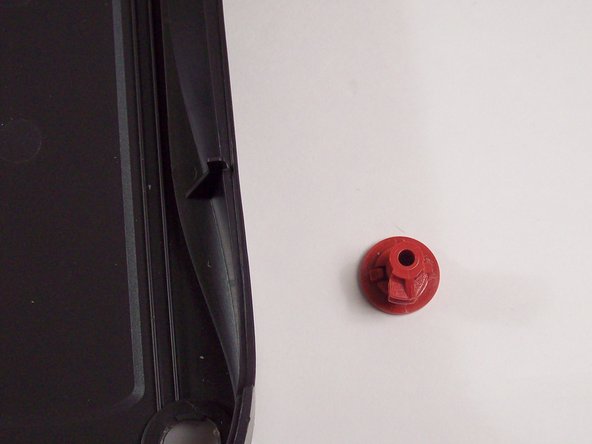
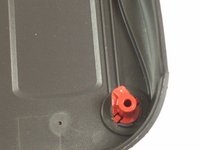
      • Locate the locking mechanism in the front left hand corner of the device.

      • Gently push on it until it becomes loose.

      • Rotate and jiggle it until it comes out the bottom of the scanner.

      • Find a replacement locking mechanism and insert it into the scanner.

      댓글 쓰기

결론

To reassemble your device, follow these instructions in reverse order.

취소: 해당 안내서를 완성하지 않았습니다.

다른 한 분이 해당 안내서를 완성하였습니다.

작성자

3다른 기여자 명과 함께

Taylor Nesheim

회원 가입일: 10/11/11

59 평판

안내서 7개를 작성함

Cal Poly, Team 6-9, Regan Fall 2011 Cal Poly, Team 6-9, Regan Fall 2011 회원

CPSU-REGAN-F11S6G9

2 회원들

안내서 99개를 작성함

0가이드 댓글

댓글 쓰기

조회 통계:

지난 24시간: 1

지난 7일: 9

지난 30일: 37

전체 시간: 1,768