소개
This guide is part of the set of guides that show how to disassemble a Motorola C261 in order to replace the front housing.
필요한 것
-
-
Pinch the latch upwards towards the top of the phone.
-
Lift the back cover of the phone.
-
-
-
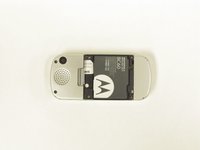
Remove the battery by pressing on the edge of the battery from the top of the phone towards the bottom and lifting up.
-
-
-
-
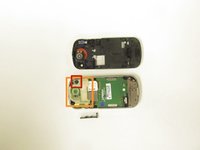
Remove the four 8.5 mm screws from under the battery cover with a T4 Torx screwdriver.
-
Remove the two 8.5 mm screws from the top of the phone with a T4 Torx screwdriver.
-
-
-
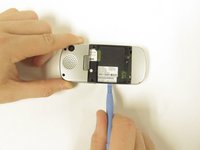
Using the plastic pry tool remove the rear housing from the rest of the phone. You may have to pry around all edges of the phone, not just the edge shown.
-
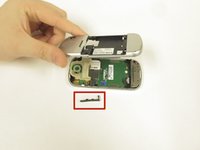
When you remove the rear housing, the rubber cover for the headphone jack/charge port may fall out. If not, remove it.
-
-
-
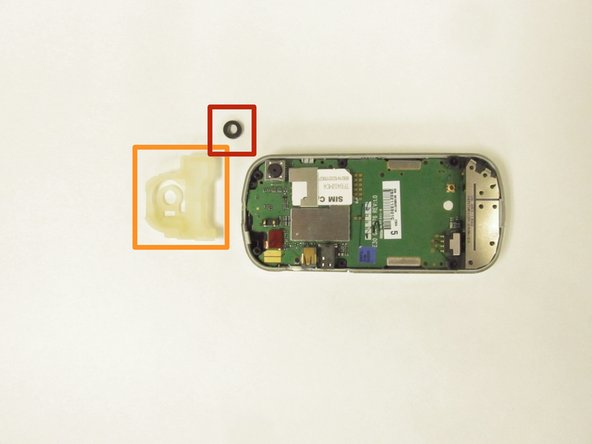
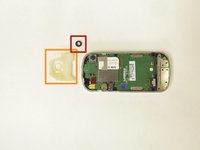
Remove the small black circular rubber spacer.
-
Remove the white rubber spacer.
-
-
-
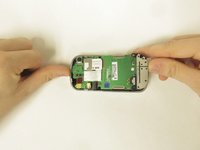
Gently remove the motherboard assembly from the front housing.
-
Now, the front housing is free to be replaced, as well as the cosmetic keypad.
-


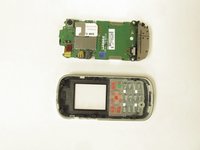
To reassemble your device, follow these instructions in reverse order.
팀

Michigan Tech, Team 1-6, Lauer Fall 2014 Michigan Tech, Team 1-6, Lauer Fall 2014 회원
MTU-LAUER-F14S1G6
3 회원들
안내서 11개를 작성함