주요 콘텐츠로 건너뛰기
수리 커뮤니티 가입 - 계정 만들기

Motorola Defy Display Assembly Replacement

필요한 것

    1. Motorola Defy Display Assembly Replacement, Display Assembly: 1 단계, 이미지 2개 중 1개 Motorola Defy Display Assembly Replacement, Display Assembly: 1 단계, 이미지 2개 중 2개
      • Remove the battery cover and the battery itself.

      댓글 쓰기

    2. Motorola Defy Display Assembly Replacement: 2 단계, 이미지 2개 중 1개 Motorola Defy Display Assembly Replacement: 2 단계, 이미지 2개 중 2개
      • Using a Torx T5 screwdriver, remove both screws near the camera.

      댓글 쓰기

    3. Motorola Defy Display Assembly Replacement: 3 단계, 이미지 1개 중 1개
      • Using the Torx T5 screwdriver, remove all 7 screws around the mobile: 3 on each side + 1 on the botton.

      댓글 쓰기

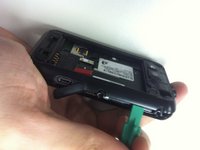
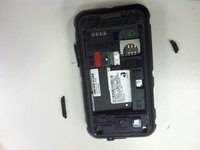
    4. Motorola Defy Display Assembly Replacement: 4 단계, 이미지 3개 중 1개 Motorola Defy Display Assembly Replacement: 4 단계, 이미지 3개 중 2개 Motorola Defy Display Assembly Replacement: 4 단계, 이미지 3개 중 3개
      • Using a plastic opener tool, open the device removing the back cover.

      • Remove the power button and volume button.

      댓글 쓰기

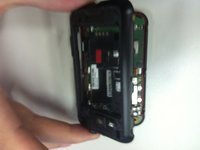
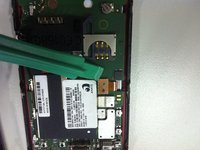
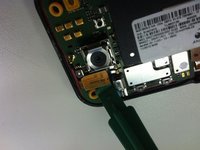
    5. Motorola Defy Display Assembly Replacement: 5 단계, 이미지 3개 중 1개 Motorola Defy Display Assembly Replacement: 5 단계, 이미지 3개 중 2개 Motorola Defy Display Assembly Replacement: 5 단계, 이미지 3개 중 3개
      • After opening the device, carefully, using the plastic opening tool, peel off the lcd and digitalizer conectors from the mainboard.

      댓글 쓰기

    6. Motorola Defy Display Assembly Replacement: 6 단계, 이미지 1개 중 1개
      • Remove the two yellow rubber protectors near the screws. The rectangular yellow rubber protector might fall off too so put it aside.

      댓글 쓰기

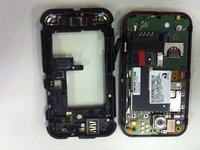
    7. Motorola Defy Display Assembly Replacement: 7 단계, 이미지 1개 중 1개
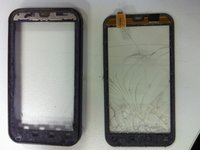
      • Separate the Frame + Digitizer, the LCD and the mainboard.

      댓글 쓰기

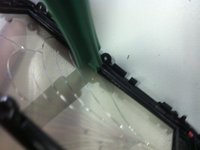
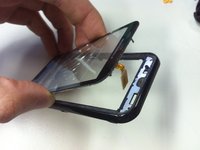
    8. Motorola Defy Display Assembly Replacement: 8 단계, 이미지 3개 중 1개 Motorola Defy Display Assembly Replacement: 8 단계, 이미지 3개 중 2개 Motorola Defy Display Assembly Replacement: 8 단계, 이미지 3개 중 3개
      • Now, using a plastic opening tool, carefully insert it between the frame and the glass and force it slowly to remove the adhesive. You may also heat it to help.

      • Now, Remove the rest of adhesive from the frame to better apply the new digitizer on it.

      • Follow this backwards to reassemble the mobile.

      댓글 쓰기

결론

To reassemble your device, follow these instructions in reverse order.

취소: 해당 안내서를 완성하지 않았습니다.

다른 11명이 해당 안내서를 완성하였습니다.

작성자

8다른 기여자 명과 함께

Leandro Fuscaldi Albergaria

회원 가입일: 01/12/12

285 평판

안내서 1개를 작성함

0가이드 댓글

댓글 쓰기

조회 통계:

지난 24시간: 0

지난 7일: 6

지난 30일: 32

전체 시간: 6,178