Motorola Droid Turbo 2 LCD Screen and Digitizer Assembly Replacement
소개
Follow this guide to replace the display assembly, including the display frame. This requires the battery as well as many other components to be removed from the old frame and transferred to the new frame.
Your replacement part should look like this. If your replacement part consists only of the display assembly, you must complete additional steps, which are not covered by this guide.
For your safety, discharge your battery below 25% before disassembling your phone. This reduces the risk of a dangerous thermal event if the battery is accidentally damaged during the repair.
Heat an iOpener and apply it to the top edge of the phone for a minute.
A hair dryer, heat gun, or hot plate may also be used, but be careful not to overheat the phone—the display and internal battery are both susceptible to heat damage.
Angle an opening pick and firmly press so that it slips under the back cover.
Depending on the age of the phone, this can be difficult. Additional heating with the iOpener may help. You can pry carefully with a metal spudger to create a gap for the opening pick.
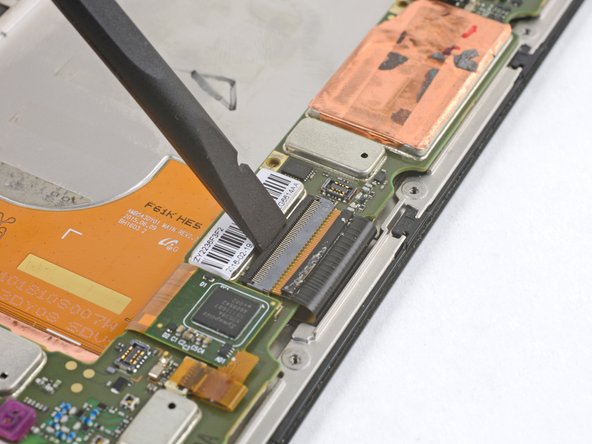
Use the point of a spudger to pry up and disconnect the flash connector.
To re-attach press connectors like this one, carefully align and press down on one side until it clicks into place, then repeat on the other side. Do not press down on the middle. If the connector is misaligned, the pins can bend, causing permanent damage.
Remove the following T3 screws securing the midframe:
Thirteen 3.1 mm black screws
Four 4.3 mm silver screws
Due to screw and bit variance, you may have better luck with a T4 driver. The proper bit should seat fully in the screwhead and feel slightly loose. The bit should not feel like it's stuck in the screwhead.
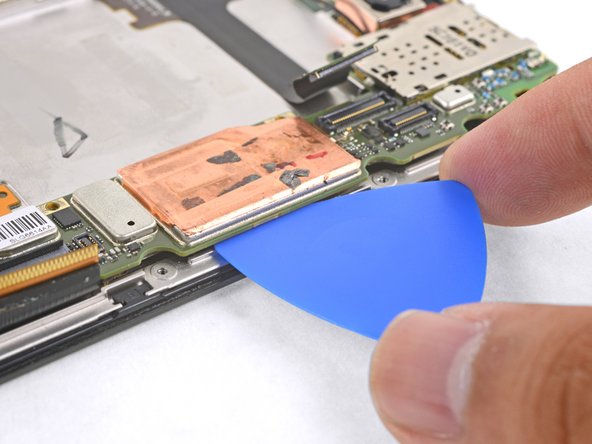
Apply firm, constant prying pressure to the picks to release the battery from the frame.
As the battery loosens from the frame, move the picks inward and continue to pry upwards.
The battery is secured to the frame with strong double-sided tape. To help release the battery, apply some high concentration (90% or higher) isopropyl alcohol under the battery to help loosen the adhesive.
Don't deform or puncture the battery, or it may leak dangerous chemicals or catch fire.
Never reinstall a damaged or deformed battery. Replace the battery.
To reinstall the battery, orient it such that the wires exit near the bottom towards the motherboard side.
To help with alignment, connect the battery temporarily to the motherboard before adhering it in place. Disconnect the battery before you continue with re-assembly.
Clean off any adhesive residue which may prevent the battery from sitting flush against the frame. Use a few strips of adhesive included in the battery kit or some double-sided tape to secure the battery to the frame.
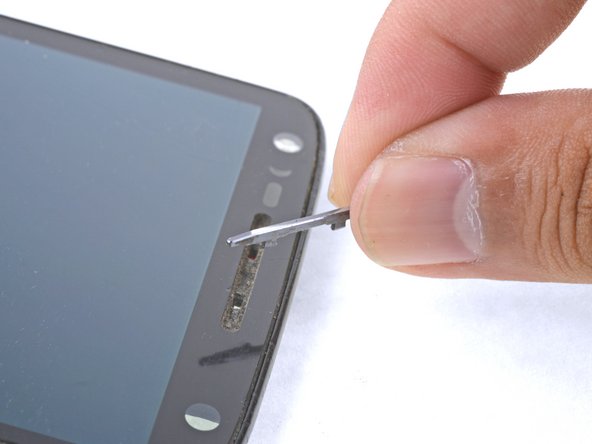
Only the LCD screen and digitizer assembly (with frame) should remain.
Compare your new replacement part to the original part. You may need to transfer remaining components or remove adhesive backings from the new part before installing.