소개
Click here for an updated version of this guide. The version you are viewing is retained for historical purposes.
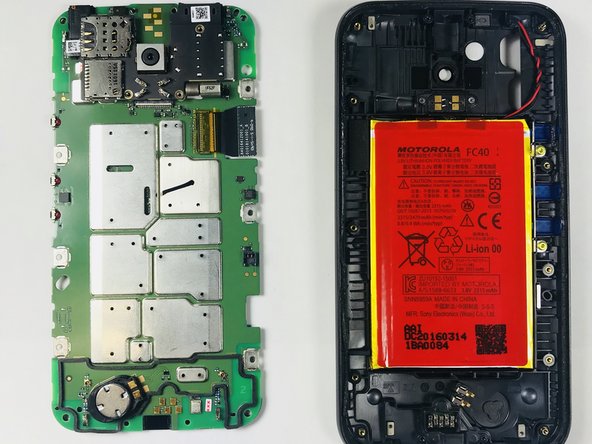
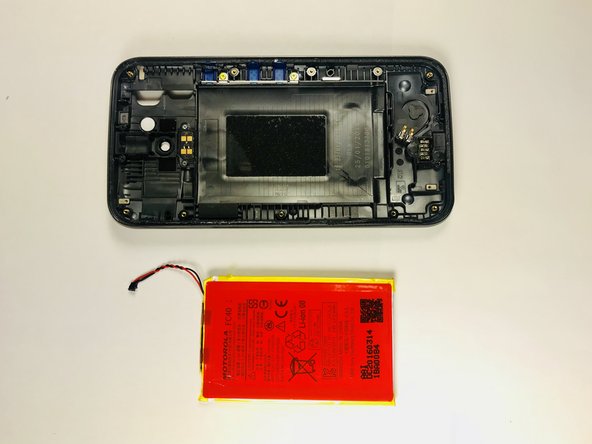
If your battery is swollen, take appropriate precautions.
필요한 것
-
-
Use the plastic opening tool to open the back cover as shown in the photo.
-
-
-
Apply the plastic opening tool on the edge of the screen near the front camera.
-
After creating enough space, allow the opening tool to be inserted on the side of the phone.
-
Create another space on the other side of the screen.
-
Leave the opening tool inserted.
-
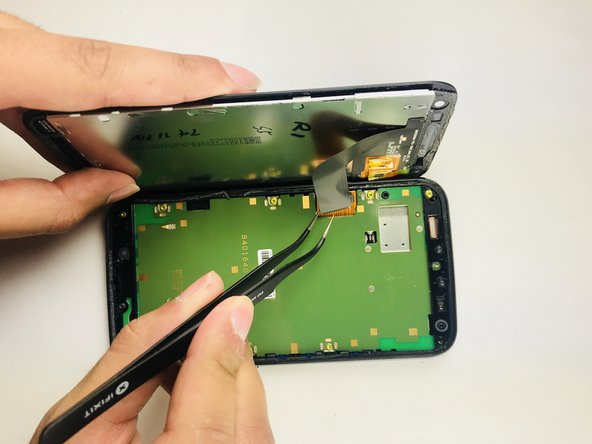
Carefully apply the larger plastic opening tool by sliding it through the longer edge of the screen.
-
-
-
-
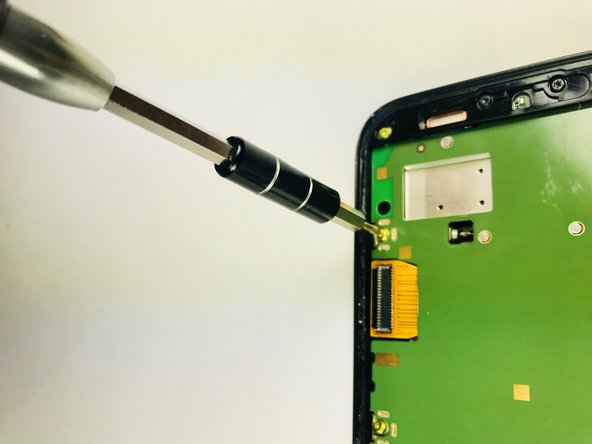
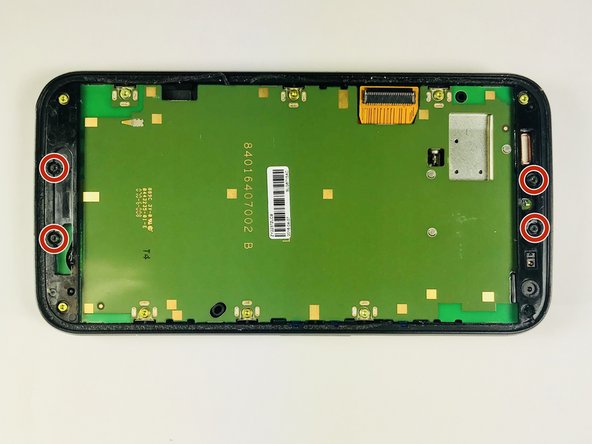
With a T4 screwdriver, remove the 10 "yellow" 2mm screws and 4 "black" 2mm screws.
-


To reassemble your device, follow these instructions in reverse order.
To reassemble your device, follow these instructions in reverse order.
다른 4명이 해당 안내서를 완성하였습니다.

팀

Baylor, Team S5-G3, Williams Spring 2018 Baylor, Team S5-G3, Williams Spring 2018 회원
BU-WILLIAMS-S18S5G3
3 회원들
안내서 9개 작성하였습니다