소개
Once the back cover has been removed, the microphone can be accessed as shown in this guide.
필요한 것
-
-
Slide the cover release button towards the bottom of the phone
-
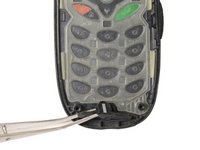
Once the battery cover pops up, slide the cover towards the top of the phone and lift up.
 FixBot에 문의하기
-
-
-
-
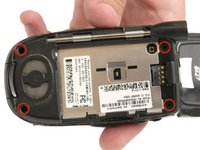
With a T5 screwdriver, unscrew the four T5 sized screws that hold the case back cover onto the rest of the case.
-
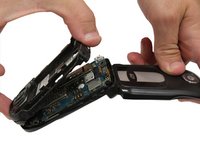
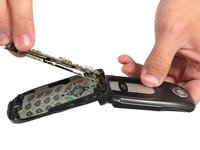
Remove the plastic case back cover by gently pulling it away from the body of the phone, starting at one edge and working your way down to the other.
-
-
이 단계에 사용된 도구:Tweezers$4.99
-
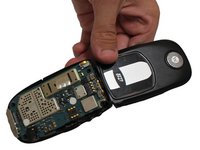
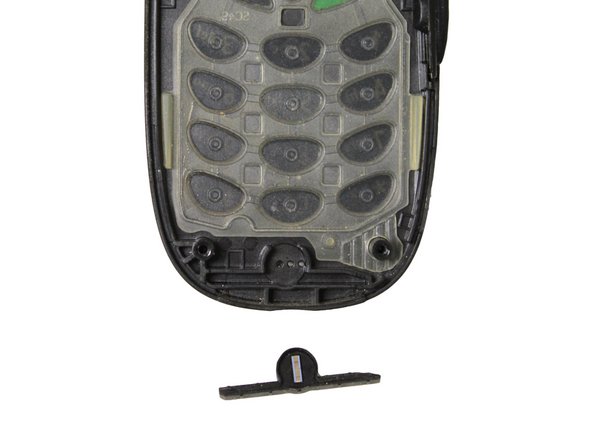
Lift the circuit board away from the case of the phone, being careful not to break the wire that goes up into the hinge. This will give you access to the microphone.
-
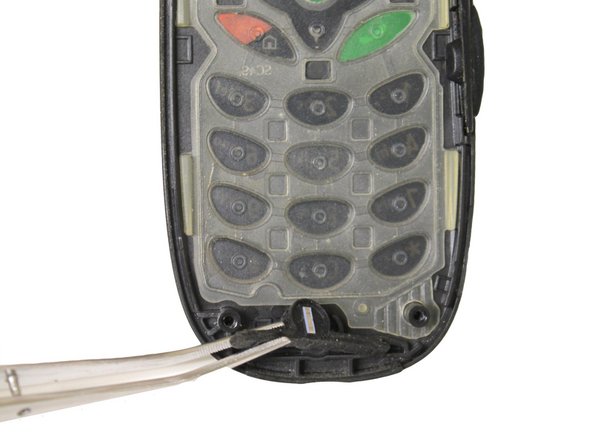
The microphone sits just below the keys on the front cover molding.
-
Grasp the microphone with tweezers and lift it out of the front cover.
-


To reassemble your device, follow these instructions in reverse order.
팀

Clemson, Team 14-2, Benson Fall 2012 Clemson, Team 14-2, Benson Fall 2012 회원
CLEM-BENSON-F12S14G2
4 회원들
안내서 29개를 작성함