소개
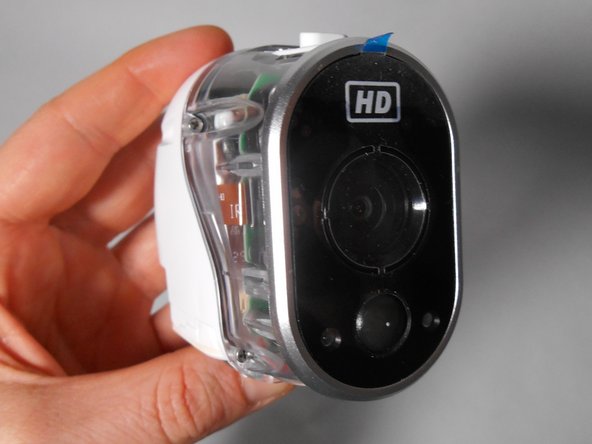
This guide will provide instructions on removing the damaged or broken case. To best use this guide the Phillips 00 screwdriver is recommended. The Phillips 000 or 0 may work as well, please note that the smaller the screwdriver the higher chances of stripping the screw. It is also recommended to have a plastic opening tool (blue) to gently pull the device apart and a bowl or container to keep the small and easily lost screws in.
필요한 것
-
-
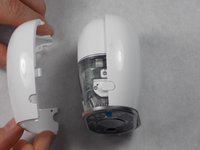
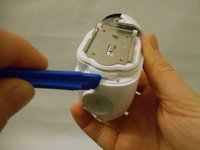
Remove the bottom piece of the case over the battery compartment by placing a plastic opening tool underneath the edge of the case and prying it up.
-
Unscrew the four 3.0 mm Phillips #00 screws on the outside of the battery pocket.
-
-
-
-
When facing the camera lens, the left panel of the case will be removed first (more steps are needed for the right panel).
-
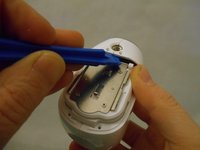
Place the plastic opening tool between the two pieces of the case and pry them apart from the bottom.
-
Gently pull the side of the case off as it comes loose.
-
-
-
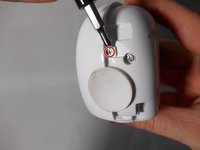
Unscrew the smaller 3.0 mm Phillips #00 screw in the center on the back of the device.
-
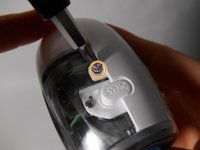
Flip the camera over and unscrew the center 3.0 mm Phillips #00 screw above the SYNC button.
-
-
-
Using the plastic opening tool, gently pry the right panel from the device.
-
Replace either side of the plastic case as needed.
-


To reassemble your device, follow these instructions in reverse order.
팀

UMass Dartmouth, Team S2-G4, Peak Fall 2018 UMass Dartmouth, Team S2-G4, Peak Fall 2018 회원
UMASSD-PEAK-F18S2G4
3 회원들
안내서 10개를 작성함