주요 콘텐츠로 건너뛰기
수리 커뮤니티 가입 - 계정 만들기

Nexus One Screen Replacement

필요한 것

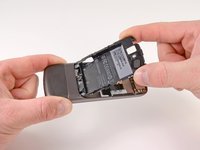
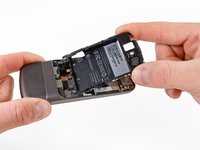
  1. Nexus One Screen Replacement, Rear Cover: 1 단계, 이미지 2개 중 1개 Nexus One Screen Replacement, Rear Cover: 1 단계, 이미지 2개 중 2개
    • Using two fingers, push up on the rear cover.

    댓글 쓰기

  2. Nexus One Screen Replacement: 2 단계, 이미지 1개 중 1개
    • The rear cover slides up and off.

    댓글 쓰기

  3. Nexus One Screen Replacement, Battery: 3 단계, 이미지 1개 중 1개
    • Using the plastic opening tools, pry the left bottom corner of the battery up.

    댓글 쓰기

  4. Nexus One Screen Replacement: 4 단계, 이미지 1개 중 1개
    • Pull the battery up and out.

    댓글 쓰기

  5. Nexus One Screen Replacement, Battery Housing: 5 단계, 이미지 1개 중 1개
    • Remove the two Torx T5 screws.

    • Remove the one Philips #00 screw.

    댓글 쓰기

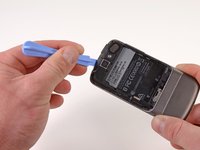
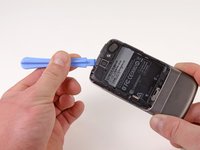
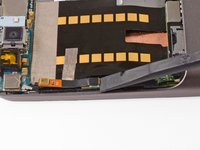
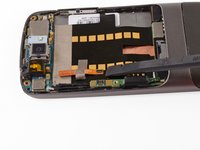
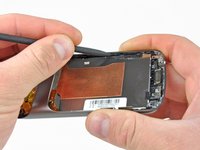
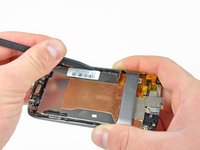
  6. Nexus One Screen Replacement: 6 단계, 이미지 2개 중 1개 Nexus One Screen Replacement: 6 단계, 이미지 2개 중 2개
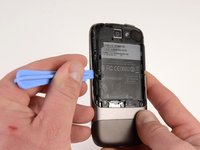
    • Using the plastic opening tool, pry up the battery housing upwards.

    • Push pry tool down, undoing the plastic tab.

    댓글 쓰기

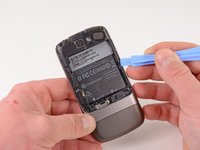
  7. Nexus One Screen Replacement: 7 단계, 이미지 2개 중 1개 Nexus One Screen Replacement: 7 단계, 이미지 2개 중 2개
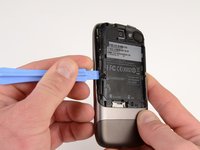
    • Pry the upper left tab open on the battery housing.

    댓글 쓰기

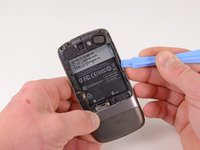
  8. Nexus One Screen Replacement: 8 단계, 이미지 2개 중 1개 Nexus One Screen Replacement: 8 단계, 이미지 2개 중 2개
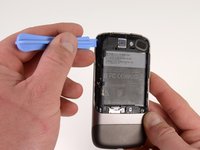
    • Pry the top tab of the battery housing.

    댓글 쓰기

  9. Nexus One Screen Replacement: 9 단계, 이미지 2개 중 1개 Nexus One Screen Replacement: 9 단계, 이미지 2개 중 2개
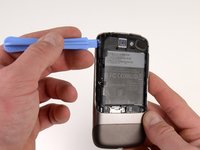
    • Pry the right side tab of the battery housing.

    댓글 쓰기

  10. Nexus One Screen Replacement: 10 단계, 이미지 2개 중 1개 Nexus One Screen Replacement: 10 단계, 이미지 2개 중 2개
    • Pull up on the battery housing.

    • Slide the battery housing out to remove it.

    댓글 쓰기

  11. Nexus One Screen Replacement, Lower Cover: 11 단계, 이미지 2개 중 1개 Nexus One Screen Replacement, Lower Cover: 11 단계, 이미지 2개 중 2개
    • Using the plastic opening tool, push the blade into the space between the case and lower cover.

    • Turn the opening tool slightly, the lower cover will detach on that side.

    • Repeat on other side of the seam.

    • The lower cover will slide off.

    댓글 쓰기

  12. Nexus One Screen Replacement, Antenna Housing: 12 단계, 이미지 1개 중 1개
    • Remove the one T5 Torx screw

    • Remove the one #00 Philips screw

    • Lift up the end of the antenna housing and slide it outwards.

    댓글 쓰기

  13. Nexus One Screen Replacement, Antenna Cable: 13 단계, 이미지 2개 중 1개 Nexus One Screen Replacement, Antenna Cable: 13 단계, 이미지 2개 중 2개
    • Pry the antenna cable up.

    댓글 쓰기

  14. Nexus One Screen Replacement: 14 단계, 이미지 1개 중 1개
    • Carefully pull up on the microphone board to release the tape from the phone.

    댓글 쓰기

  15. Nexus One Screen Replacement, Motherboards: 15 단계, 이미지 2개 중 1개 Nexus One Screen Replacement, Motherboards: 15 단계, 이미지 2개 중 2개
    • Insert the spudger under the connector.

    • Push the spudger up and twist to release the connector.

    • Repeat for the next connector.

    댓글 쓰기

  16. Nexus One Screen Replacement: 16 단계, 이미지 3개 중 1개 Nexus One Screen Replacement: 16 단계, 이미지 3개 중 2개 Nexus One Screen Replacement: 16 단계, 이미지 3개 중 3개
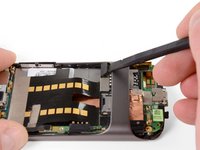
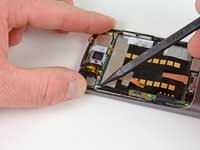
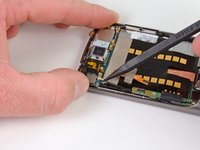
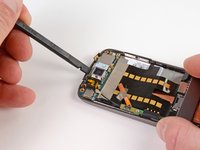
    • Push on the USB port to expose the black connector.

    • Use the spudger to pry the connector upwards.

    댓글 쓰기

  17. Nexus One Screen Replacement: 17 단계, 이미지 2개 중 1개 Nexus One Screen Replacement: 17 단계, 이미지 2개 중 2개
    • Place the spugder under the antenna connector.

    • Pry connector up vertically.

    댓글 쓰기

  18. Nexus One Screen Replacement: 18 단계, 이미지 3개 중 1개 Nexus One Screen Replacement: 18 단계, 이미지 3개 중 2개 Nexus One Screen Replacement: 18 단계, 이미지 3개 중 3개
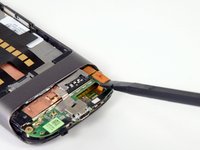
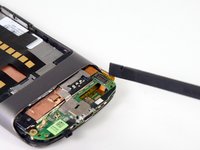
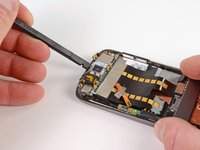
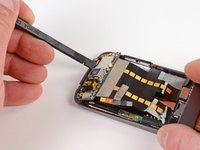
    • Insert the spudger into tab above the camera.

    • Slide upwards until the board detaches from the case.

    댓글 쓰기

  19. Nexus One Screen Replacement: 19 단계, 이미지 1개 중 1개
    • Press the pointed tip of the spudger into the space below the button assembly.

    • Wiggle the spudger tip towards the outside of the button.

    • The button assembly is under some tension and may fly off.

    댓글 쓰기

  20. Nexus One Screen Replacement: 20 단계, 이미지 1개 중 1개
    • Push the pointed tip of the spudger into the base of the side button board.

    • Lift up, the board will disconnect from the case.

    댓글 쓰기

  21. Nexus One Screen Replacement: 21 단계, 이미지 3개 중 1개 Nexus One Screen Replacement: 21 단계, 이미지 3개 중 2개 Nexus One Screen Replacement: 21 단계, 이미지 3개 중 3개
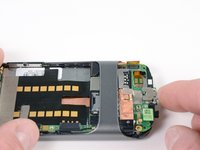
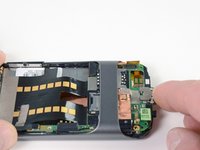
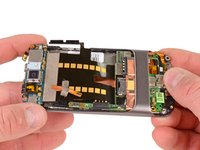
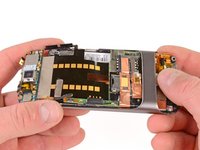
    • Push on the lower motherboard until it slides under the case support.

    • The motherboard assembly comes out as a single piece.

    • Save the small black rubber rectangular sound guide under the motherboard, to replace over the microphone.

    댓글 쓰기

  22. Nexus One Screen Replacement, Screen: 22 단계, 이미지 1개 중 1개
    • Remove the seven #00 Philips screws

    댓글 쓰기

  23. Nexus One Screen Replacement: 23 단계, 이미지 3개 중 1개 Nexus One Screen Replacement: 23 단계, 이미지 3개 중 2개 Nexus One Screen Replacement: 23 단계, 이미지 3개 중 3개
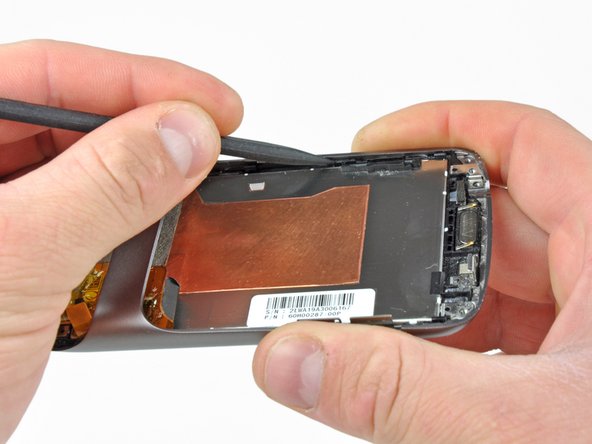
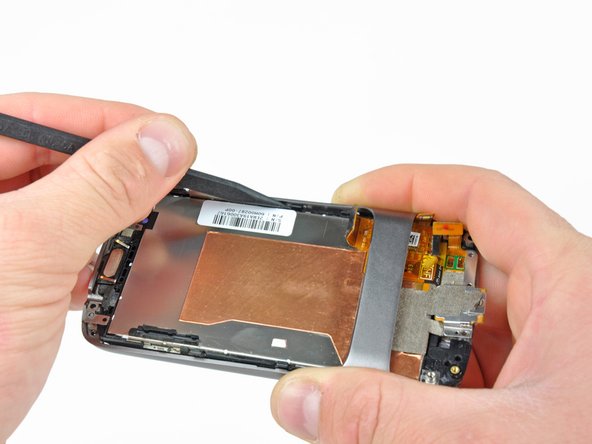
    • Use the spudger to pop the 3 latches holding the screen down.

    댓글 쓰기

  24. Nexus One Screen Replacement: 24 단계, 이미지 1개 중 1개
    • Pull up on the screen so it slides out of the case.

    댓글 쓰기

    • Make sure to peel off the digitizer connector from the back of the LCD

    댓글 쓰기

결론

To reassemble your device, follow these instructions in reverse order.

취소: 해당 안내서를 완성하지 않았습니다.

다른 5명이 해당 안내서를 완성하였습니다.

작성자

4다른 기여자 명과 함께

Niklas Johnson

회원 가입일: 01/31/12

1,207 평판

안내서 18개를 작성함

0가이드 댓글

댓글 쓰기

조회 통계:

지난 24시간: 1

지난 7일: 14

지난 30일: 49

전체 시간: 8,088