주요 콘텐츠로 건너뛰기
수리 커뮤니티 가입 - 계정 만들기

Ninja Foodi SP101 Heating Coils Replacement

필요한 것

    1. Ninja Foodi SP101 Heating Coils Replacement, Feet: 1 단계, 이미지 2개 중 1개 Ninja Foodi SP101 Heating Coils Replacement, Feet: 1 단계, 이미지 2개 중 2개
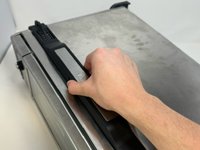
      • Use a TR10 screwdriver to remove the four 11mm screws holding the black lever bar in place.

      댓글 쓰기

    2. Ninja Foodi SP101 Heating Coils Replacement: 2 단계, 이미지 1개 중 1개
      • Remove the black lever bar.

      댓글 쓰기

    1. Ninja Foodi SP101 Heating Coils Replacement, Side Panels: 3 단계, 이미지 1개 중 1개
      • Use a Phillips #1 screwdriver to remove the three 8mm screws on each side of the back panel.

      댓글 쓰기

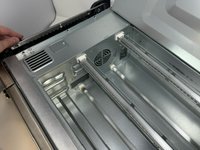
    2. Ninja Foodi SP101 Heating Coils Replacement: 4 단계, 이미지 2개 중 1개 Ninja Foodi SP101 Heating Coils Replacement: 4 단계, 이미지 2개 중 2개
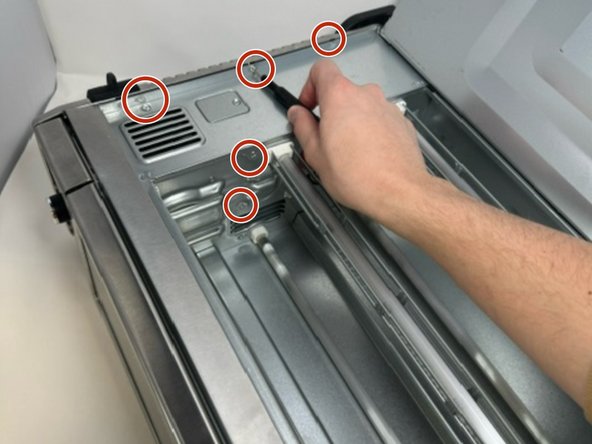
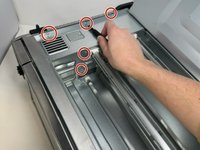
      • Flip the device upside down and open the bottom panel.

      • Remove the 3 x philips #2 screws along the top edge of the interior using a screwdriver. The Bottom 2 do not have to be removed.

      댓글 쓰기

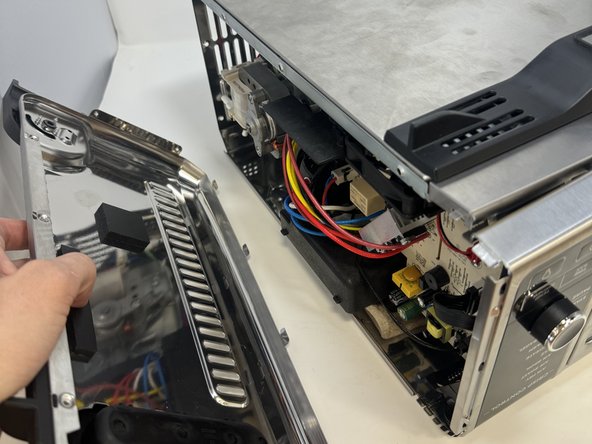
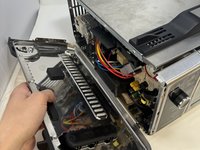
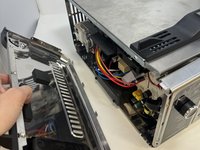
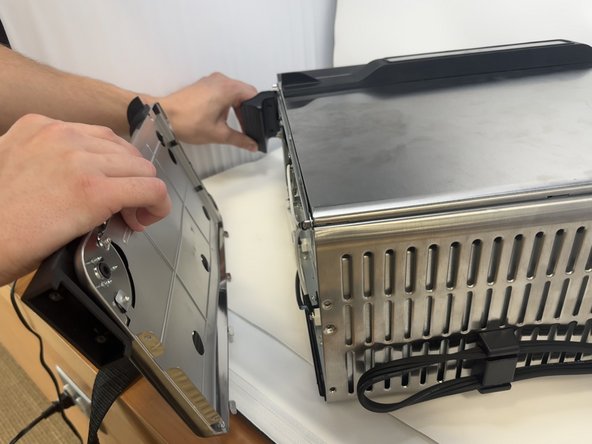
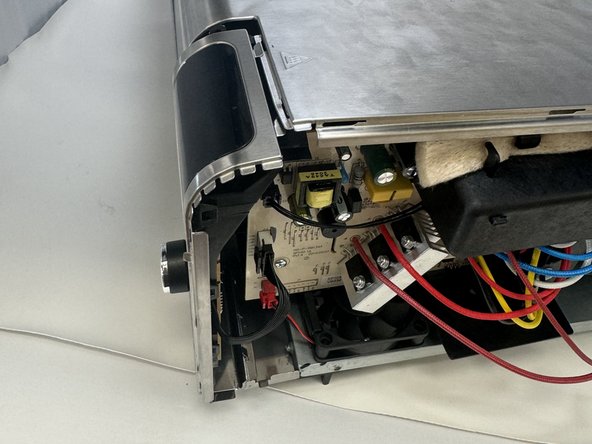
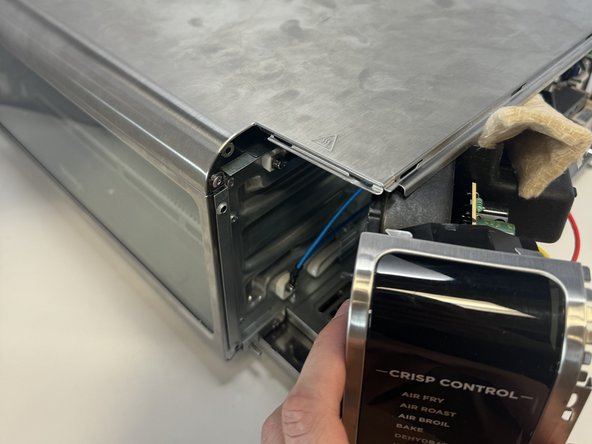
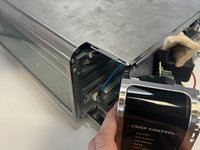
    3. Ninja Foodi SP101 Heating Coils Replacement: 5 단계, 이미지 3개 중 1개 Ninja Foodi SP101 Heating Coils Replacement: 5 단계, 이미지 3개 중 2개 Ninja Foodi SP101 Heating Coils Replacement: 5 단계, 이미지 3개 중 3개
      • Remove the control side panel. To remove it, push forward towards then front control panel to release the tabs out of the main body. Fold away the side panel when the tabs have visually released from their slots in the main body.

      댓글 쓰기

    4. Ninja Foodi SP101 Heating Coils Replacement: 6 단계, 이미지 2개 중 1개 Ninja Foodi SP101 Heating Coils Replacement: 6 단계, 이미지 2개 중 2개
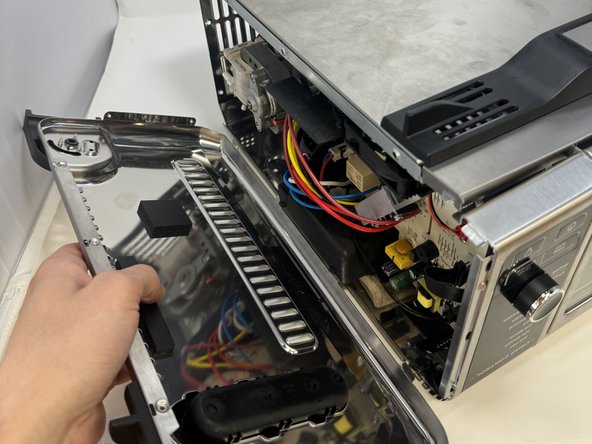
      • Lift the handle and pull the side panel out.

      • Remove the handle side panel.

      댓글 쓰기

    1. Ninja Foodi SP101 Heating Coils Replacement, Heating Coils: 7 단계, 이미지 1개 중 1개
      • Using a Phillips #1 screwdriver, remove the six 8mm screws on inside of the handle-side panel.

      댓글 쓰기

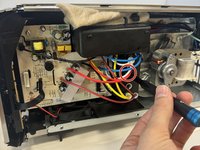
    2. Ninja Foodi SP101 Heating Coils Replacement: 8 단계, 이미지 3개 중 1개 Ninja Foodi SP101 Heating Coils Replacement: 8 단계, 이미지 3개 중 2개 Ninja Foodi SP101 Heating Coils Replacement: 8 단계, 이미지 3개 중 3개
      • Flip the device to the control panel side.

      • Remove the single 10 mm screw with a Phillips #1 screwdriver.

      • Remove the control panel by sliding it up and out.

      댓글 쓰기

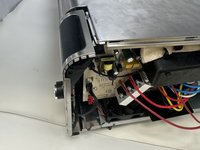
    3. Ninja Foodi SP101 Heating Coils Replacement: 9 단계, 이미지 2개 중 1개 Ninja Foodi SP101 Heating Coils Replacement: 9 단계, 이미지 2개 중 2개
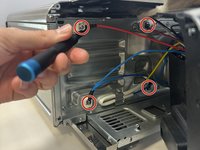
      • Remove the four 8 mm screws behind the control panel using a Phillips #1 screwdriver.

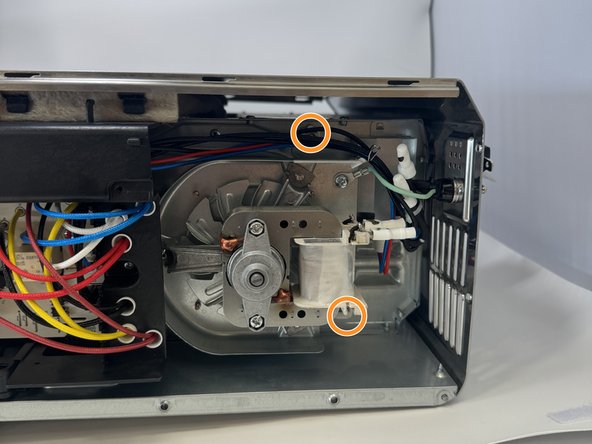
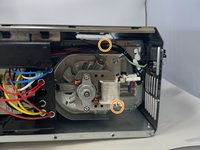
      • Remove two more screws located behind the motor.

      • You do not need to remove the motor.

      댓글 쓰기

    4. Ninja Foodi SP101 Heating Coils Replacement: 10 단계, 이미지 1개 중 1개
      • Lift the coils up and outward for removal.

      댓글 쓰기

결론

To reassemble your device, follow these instructions in reverse order.

취소: 해당 안내서를 완성하지 않았습니다.

다른 한 분이 해당 안내서를 완성하였습니다.

작성자

2다른 기여자 명과 함께

Griffin Peterson

회원 가입일: 01/30/24

652 평판

안내서 6개를 작성함

Utah Tech University, Team 1-4, McMurrin Spring 2024 Utah Tech University, Team 1-4, McMurrin Spring 2024 회원

UTAHTECH-MCMURRIN-S24S1G4

2 회원들

안내서 18개를 작성함

9가이드 댓글

Where do you get the replacement element?

Rhonda Rankin - 답글 공유

Did you find out if you can get the element anywhere?

Tarik Browne - 답글 공유

Has anyone found a viable replacement element being sold?

lilfrankiejohnson - 답글 공유

Same question. The ones on mine say 230V 335W.

Itamar Storm - 답글 공유

Anybody get a reply?

Joerider - 답글 공유

댓글 쓰기

조회 통계:

지난 24시간: 3

지난 7일: 31

지난 30일: 159

전체 시간: 3,528