소개
This guide will show you how to remove the faceplate. With the faceplate removed, you can clean the keypad if it is sticking or completely replace the keypad if it is broken.
필요한 것
-
-
Using your thumbs, press and slide down the back cover of the Nokia 1010.
 FixBot에 문의하기
-
-
-
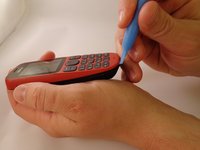
Insert the prying tool in the notch above the battery.
-
Once the prying tool is inserted, lift up the battery.
-
-
-
-
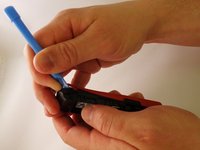
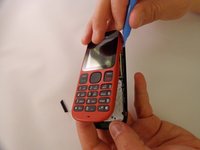
Insert the prying tool between the seam of the faceplate and the body.
-
-
-
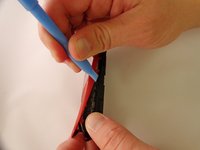
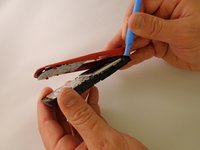
Starting from the bottom of the phone, begin prying around the base of the phone alternating form left to right.
-
-
-
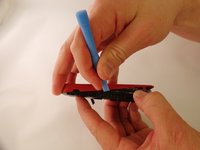
As the base loosens, slowly increase the separation between the plates and the body of the phone.
-


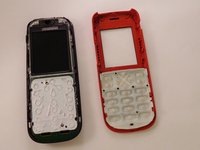
To reassemble your device, follow these instructions in reverse order.
다른 9명이 해당 안내서를 완성하였습니다.

팀

Eastern Washington University, Team 1-1, Plummer Spring 2015 Eastern Washington University, Team 1-1, Plummer Spring 2015 회원
EWU-PLUMMER-S15S1G1
4 회원들
안내서 24개를 작성함