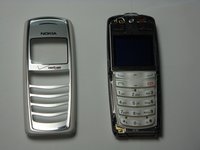
주요 콘텐츠로 건너뛰기
수리 커뮤니티 가입 - 계정 만들기

Nokia 2128i LCD Screen Replacement

필요한 것

  1. Nokia 2128i LCD Screen Replacement, Battery: 1 단계, 이미지 3개 중 1개 Nokia 2128i LCD Screen Replacement, Battery: 1 단계, 이미지 3개 중 2개 Nokia 2128i LCD Screen Replacement, Battery: 1 단계, 이미지 3개 중 3개
    • Be sure cell phone is off before you begin to disassemble the phone.

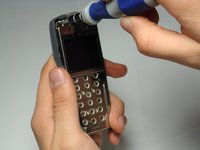
    • Press the button on the bottom of the back of the cell phone.

    • Slide rear panel down and remove it.

  2. Nokia 2128i LCD Screen Replacement: 2 단계, 이미지 3개 중 1개 Nokia 2128i LCD Screen Replacement: 2 단계, 이미지 3개 중 2개 Nokia 2128i LCD Screen Replacement: 2 단계, 이미지 3개 중 3개
    • Using your fingernail, pry the back of the battery upwards and pull out.

  3. Nokia 2128i LCD Screen Replacement, Faceplate: 3 단계, 이미지 3개 중 1개 Nokia 2128i LCD Screen Replacement, Faceplate: 3 단계, 이미지 3개 중 2개 Nokia 2128i LCD Screen Replacement, Faceplate: 3 단계, 이미지 3개 중 3개
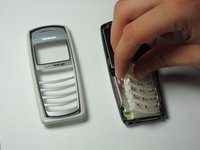
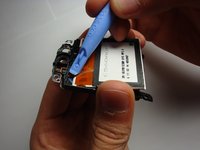
    • Insert the plastic opening tool under the faceplate.

    • Separate the faceplate from main body by twisting the prying tool with some force.

    • The faceplate is held by three plastic fasteners, so pry evenly on both sides of phone.

  4. Nokia 2128i LCD Screen Replacement, Keypad: 4 단계, 이미지 3개 중 1개 Nokia 2128i LCD Screen Replacement, Keypad: 4 단계, 이미지 3개 중 2개 Nokia 2128i LCD Screen Replacement, Keypad: 4 단계, 이미지 3개 중 3개
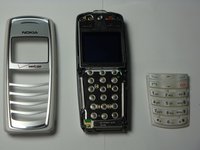
    • With the faceplate removed, simply peel off rubber key pad and remove.

  5. Nokia 2128i LCD Screen Replacement, Motherboard Assembly: 5 단계, 이미지 3개 중 1개 Nokia 2128i LCD Screen Replacement, Motherboard Assembly: 5 단계, 이미지 3개 중 2개 Nokia 2128i LCD Screen Replacement, Motherboard Assembly: 5 단계, 이미지 3개 중 3개
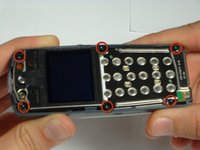
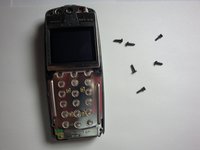
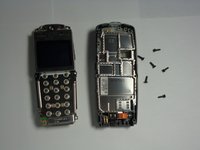
    • Locate and remove the six screws on the front of the phone using a T6 Torx.

    • All 6 screws are 6.9mm long.

  6. Nokia 2128i LCD Screen Replacement: 6 단계, 이미지 3개 중 1개 Nokia 2128i LCD Screen Replacement: 6 단계, 이미지 3개 중 2개 Nokia 2128i LCD Screen Replacement: 6 단계, 이미지 3개 중 3개
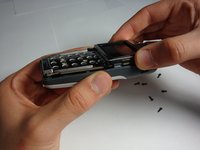
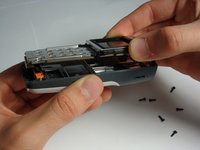
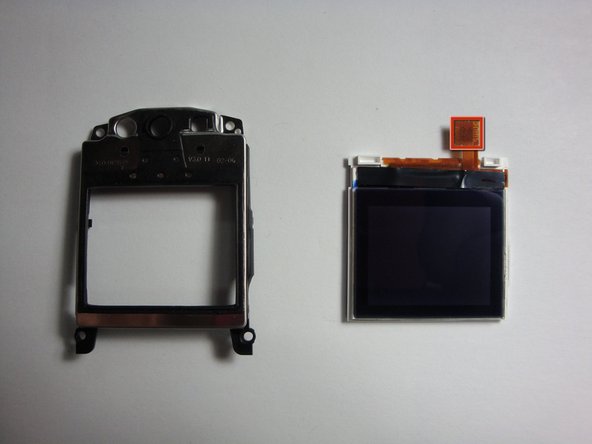
    • After removing screws, lift the motherboard assembly straight off the cell phone body.

  7. Nokia 2128i LCD Screen Replacement, Speaker: 7 단계, 이미지 3개 중 1개 Nokia 2128i LCD Screen Replacement, Speaker: 7 단계, 이미지 3개 중 2개 Nokia 2128i LCD Screen Replacement, Speaker: 7 단계, 이미지 3개 중 3개
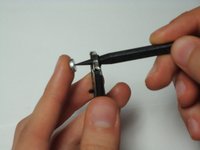
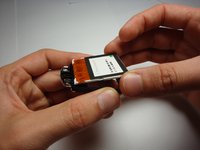
    • With the LCD unit removed, gently press out the speaker with a non-metallic pointed object.

  8. Nokia 2128i LCD Screen Replacement, LCD Screen: 8 단계, 이미지 3개 중 1개 Nokia 2128i LCD Screen Replacement, LCD Screen: 8 단계, 이미지 3개 중 2개 Nokia 2128i LCD Screen Replacement, LCD Screen: 8 단계, 이미지 3개 중 3개
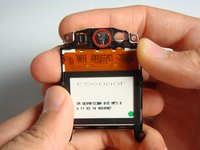
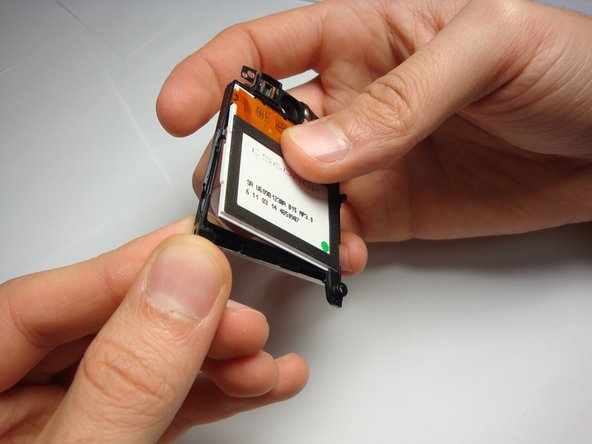
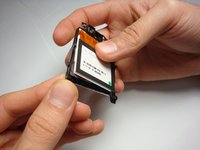
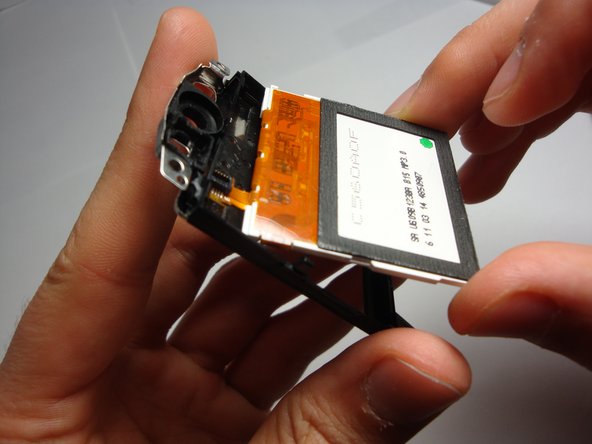
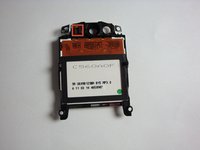
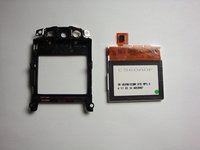
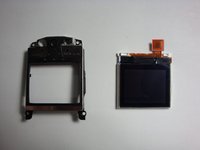
    • Pull one of the bottom corners of the rubber casing outward and detach LCD screen.

  9. Nokia 2128i LCD Screen Replacement: 9 단계, 이미지 3개 중 1개 Nokia 2128i LCD Screen Replacement: 9 단계, 이미지 3개 중 2개 Nokia 2128i LCD Screen Replacement: 9 단계, 이미지 3개 중 3개
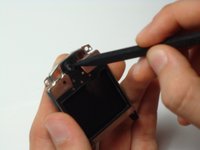
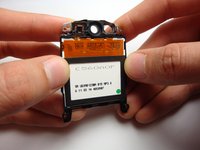
    • Once the LCD screen is detached from a majority of the rubber casing, pry out the highlighted portion.

  10. Nokia 2128i LCD Screen Replacement: 10 단계, 이미지 2개 중 1개 Nokia 2128i LCD Screen Replacement: 10 단계, 이미지 2개 중 2개
    • The highlighted portion is fragile. Pry gently when removing from rubber casing.

결론

To reassemble your device, follow these instructions in reverse order.

작성자

5다른 기여자 명과 함께

Curtis Lutje

회원 가입일: 10/07/10

43 평판

안내서 6개를 작성함

Cal Poly, Team 20-8, Maness Fall 2010 Cal Poly, Team 20-8, Maness Fall 2010 회원

CPSU-MANESS-F10S20G8

4 회원들

안내서 24개를 작성함

0가이드 댓글

댓글 쓰기

조회 통계:

지난 24시간: 1

지난 7일: 5

지난 30일: 32

전체 시간: 1,675