소개
This guide shows how to replace the Nook HD+ motherboard in 7 easy to understand steps. The tools needed to replace this piece of the Nook HD+ are the plastic opening tool, a T5 screwdriver, and tweezers.
No hazards are present in this guide, but be mindful of how rough the motherboard and ribbons are treated.
필요한 것
-
-
-
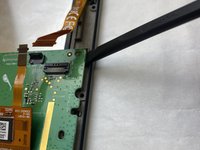
Open the plastic frame by wedging the plastic iFixit opening tool under the plastic frame to remove adhesive.
-
Pop up all plastic tabs that secure the frame to the chassis.
 FixBot에 문의하기
-
-
-
Remove twenty 5.0 mm Torx T5 screws that hold the chassis to the back casing using a screwdriver.
-
Disconnect battery from motherboard.
-
Remove back casing.
-
-
이 단계에 사용된 도구:Tweezers$4.99
-
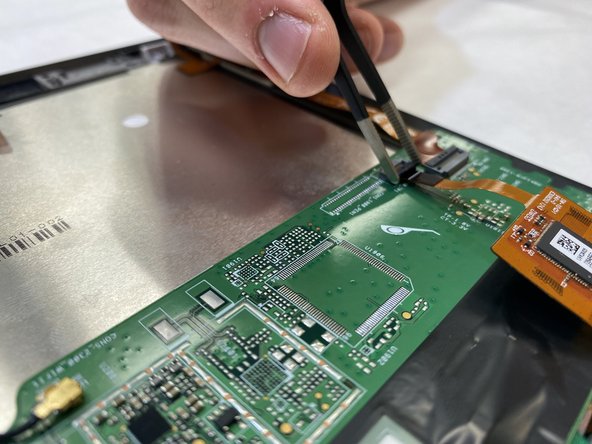
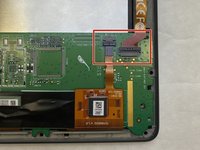
Disconnect both ribbons from the motherboard by pulling up on the dark grey flaps and pulling out the ribbons.
-
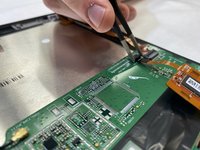
Use tweezers to lift the flaps.
-
-
-
-
Disconnect the small red and black ribbon connected to the speaker from the white clip on the motherboard.
-
No tool is needed. Gently pull on the wires until the piece disconnects.
-
-
-
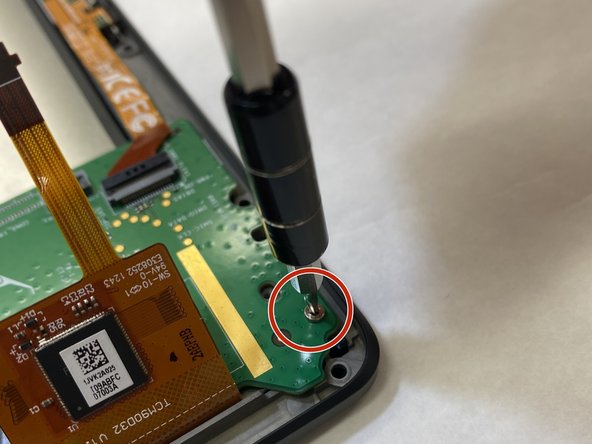
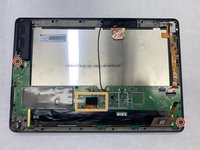
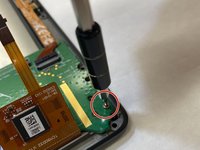
Remove two 5.0 mm Torx T5 screws attached to the motherboard using a screwdriver.
-
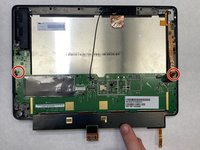
Lift the small foam piece attached to the black strip on the motherboard and gently pull up.
-
-
-
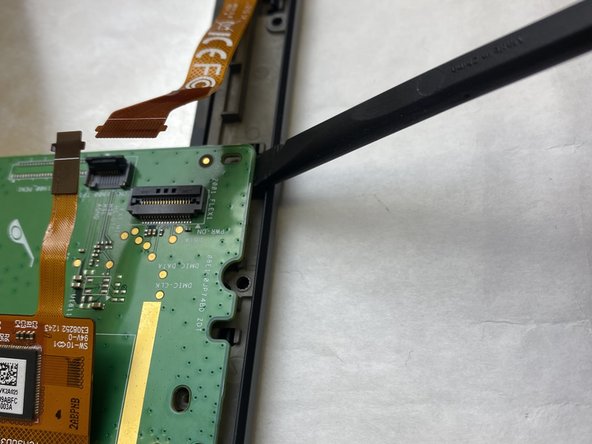
With the black strip lifted, carefully snap the motherboard out of the plastic pieces holding it down.
-
Remove the motherboard.
-
-






To reassemble your device, follow these instructions in reverse order.

팀

IUPUI, Team 3-3, Harley Spring 2022 IUPUI, Team 3-3, Harley Spring 2022 회원
IUPUI-HARLEY-S22S3G3
3 회원들
안내서 3개를 작성함
