소개
Does your Nook Simple Touch with GlowLight no longer charge? Or charge much more slowly than it used to? You may need to replace the charging port.
Before using this guide make sure you check out our trouble shooting page to rule out other issues like the battery.
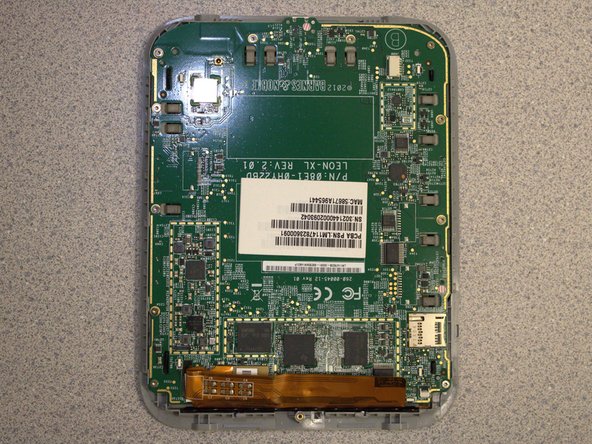
The charging port is soldered to the motherboard, so it would be easiest to replace the entire motherboard if you have a faulty charging port. However, it is possible to replace the charging port and keep the same motherboard. The following steps will explain how.
Never work on a device that is plugged into a power outlet. Before starting this guide, ensure that the Nook is powered off and the power adapter is disconnected.
필요한 것
-
-
-
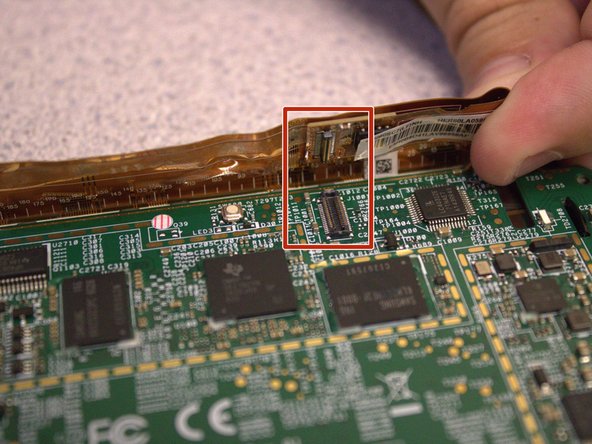
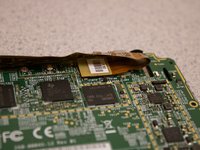
Detach the white cable connector from the motherboard.
-
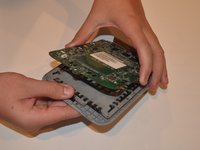
Remove the battery from the device.
-
-
-
Using a soldering iron, disconnect the charging port from the motherboard.
-
Use the soldering iron to attach the new charging port to the motherboard.
-


To reassemble your device, follow these instructions in reverse order.

팀

University of Delaware, Team 12-3, McGuire Spring 2023 University of Delaware, Team 12-3, McGuire Spring 2023 회원
UD-MCGUIRE-S23S12G3
5 회원들
안내서 5개를 작성함