소개
The Nvidia Shield controller uses an internal fan to help cool its other internal components. Eventually, the fan could require replacement after normal use. Repairing the fan will help to avoid the controller’s internal components overheating, therefore prolonging the life of the device. This guide will explain how to replace the fan using easily found tools, with no special skills needed.
필요한 것
-
-
Remove the seven 6.4mm T5 Torx screws from the back panel.
-
Use the spudger to separate the front and back panels.
 FixBot에 문의하기
-
-
-
-
Remove the six 6.5mm T5 Torx screws.
-
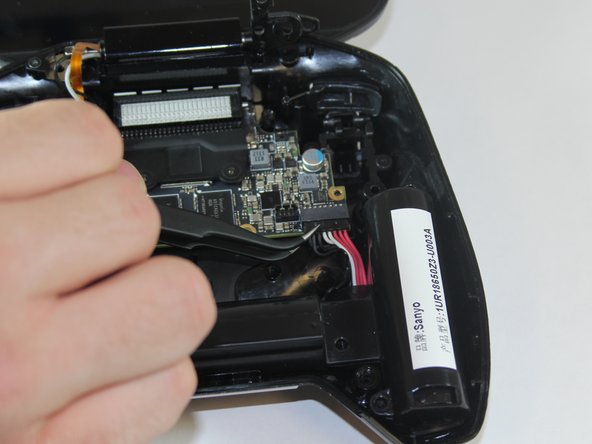
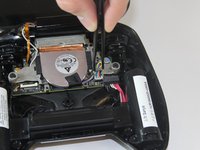
Disconnect the power wires.
-
Peel back the copper tape and disconnect the black and white wires.
-
-
-
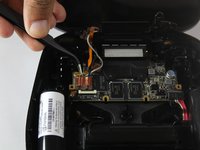
Pull the battery apparatus out once all cables are removed.
-
-
-
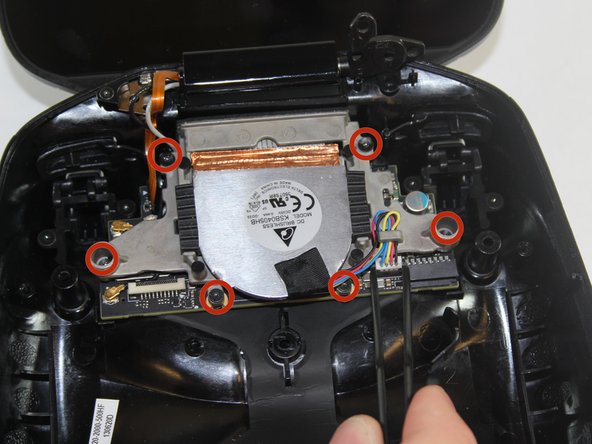
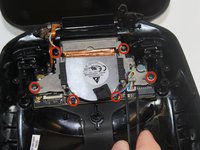
Remove the two 7.3mm and four 8.4mm T5 Torx screws and disconnect the power cable.
-
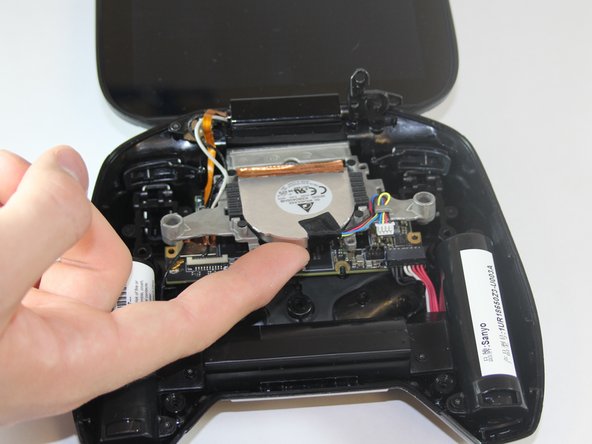
Lift the fan free after the screws and cable are removed.
-


To reassemble your device, follow these instructions in reverse order.
다른 4명이 해당 안내서를 완성하였습니다.

팀

USF Tampa, Team 1-1, Hickman Fall 2014 USF Tampa, Team 1-1, Hickman Fall 2014 회원
USFT-HICKMAN-F14S1G1
4 회원들
안내서 18개를 작성함