소개
The following steps will guide you through the process of taking apart the Oculus Rift headset to replace the Tracker V2 Board. The Tracker V2 board is the Oculus Rifts Accelerometer and allows it to track your movement. You may need to replace the tracker if the headset does not register your movements, even after it has been calibrated.
필요한 것
-
-
Use a Phillips #01 screwdriver to unscrew the four 9 mm Phillips #01 screws. (Two screws are shown in the picture, and two more screws are on the left side across from the right screws.)
-
-
-
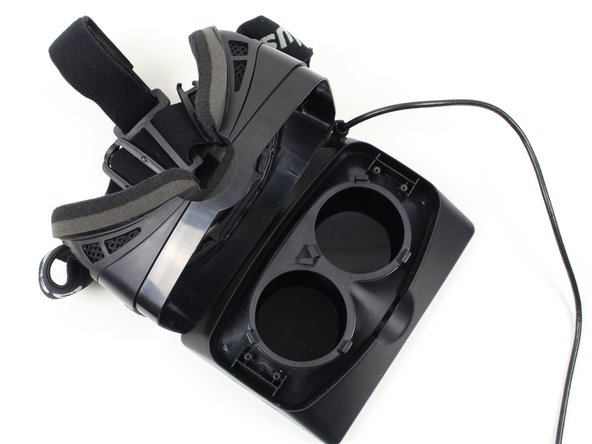
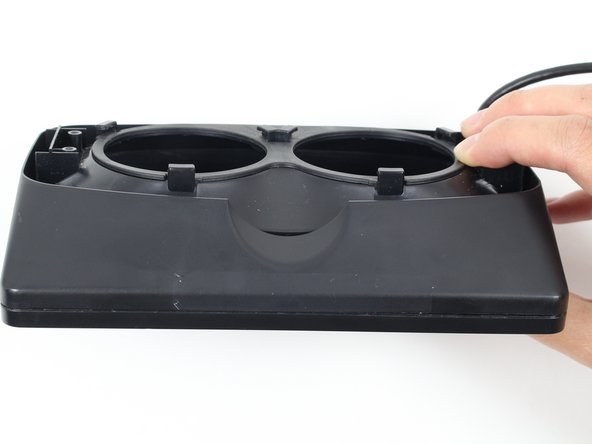
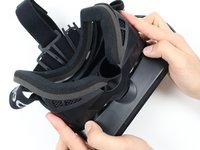
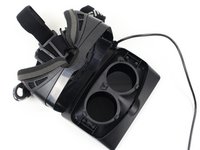
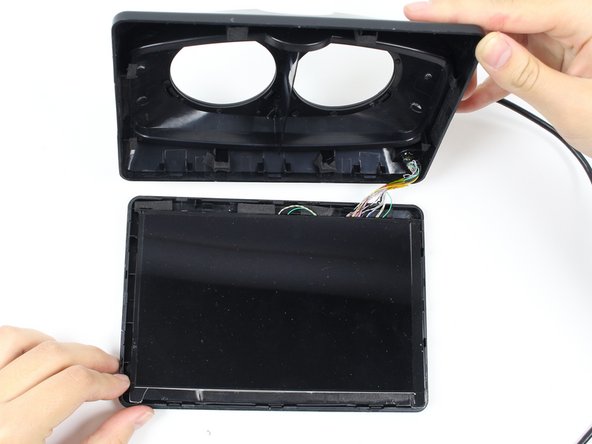
Carefully lift the headstrap from the display. The two parts should separate easily enough with some force.
-
-
-
-
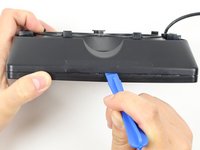
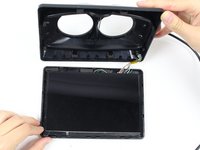
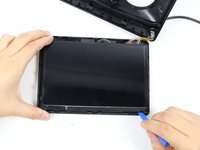
Using the plastic opening tool, pry open the display box to reveal the LCD (Liquid Crystal Display) screen. Run the plastic opening tool around all four edges. Prying open the box may take a good amount of force.
-
-
-
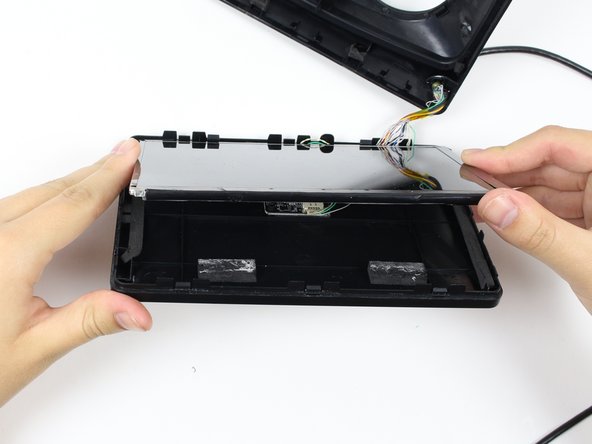
Run the plastic opening tool along the bottom edge under the LCD screen to separate the adhesive holding the LCD to the display box.
-
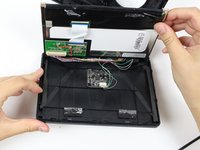
Lift the screen up to reveal the wires and circuit board.
-
-
-
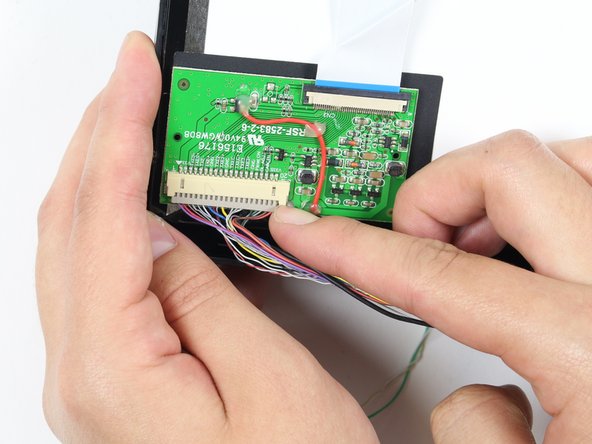
Remove the wires from the circuit board on the LCD display using your fingernail or a plastic opening tool. This may take some pushing and pulling of the plastic piece.
-
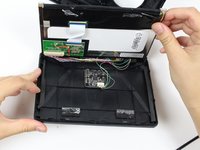
You can now completely separate the LCD screen from the rest of the device!
-
-
-
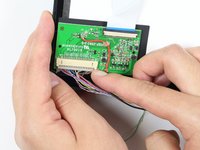
Remove wires from the Tracker V2 Board using your fingernail or a plastic opening tool.
-
-
-
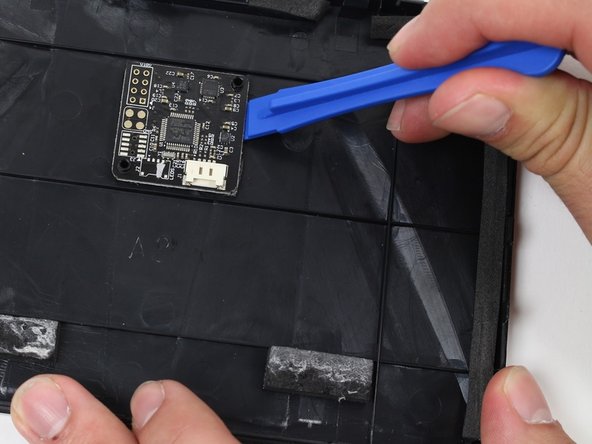
On the front cover of the Oculus Headset, locate the Tracker V2 Board.
-
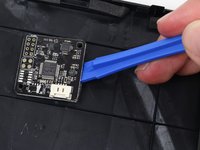
Using the Plastic Opening Tool, pry the board from the adhesive. You will need to lift from both sides of the board.
-


To reassemble your device, follow these instructions in reverse order.
다른 2명이 해당 안내서를 완성하였습니다.
팀

Cal Poly, Team 70-5, Forte Winter 2015 Cal Poly, Team 70-5, Forte Winter 2015 회원
CPSU-FORTE-W15S70G5
4 회원들
안내서 6개를 작성함