주요 콘텐츠로 건너뛰기
수리 커뮤니티 가입 - 계정 만들기

Olympus Stylus 725 SW LCD Screen Replacement

필요한 것

    1. Olympus Stylus 725 SW LCD Screen Replacement, Disassembling Olympus Stylus 725 SW Battery: 1 단계, 이미지 2개 중 1개 Olympus Stylus 725 SW LCD Screen Replacement, Disassembling Olympus Stylus 725 SW Battery: 1 단계, 이미지 2개 중 2개
      • The battery is located on the bottom of the camera.

      • Remove the battery by placing your thumb on the bottom flap and sliding the release button away from the side the lens is on. (The screwdriver is simply used as a reference point, no screws need to be removed)

      • If the battery is dead, charge it for 60-90 minutes.

      • When installing a charged battery, align the battery appropriately. The positive signs and negative should line up.

      댓글 쓰기

    1. Olympus Stylus 725 SW LCD Screen Replacement, Disassembling Olympus Stylus 725 SW Back Panel: 2 단계, 이미지 3개 중 1개 Olympus Stylus 725 SW LCD Screen Replacement, Disassembling Olympus Stylus 725 SW Back Panel: 2 단계, 이미지 3개 중 2개 Olympus Stylus 725 SW LCD Screen Replacement, Disassembling Olympus Stylus 725 SW Back Panel: 2 단계, 이미지 3개 중 3개
      • Remove the four 3 mm long cover screws at the corners of the camera using a Phillips #00 screwdriver.

      • Remove the 2 mm long screws securing the sides of the camera which holds the back panel using a Phillips #00 screwdriver.

      댓글 쓰기

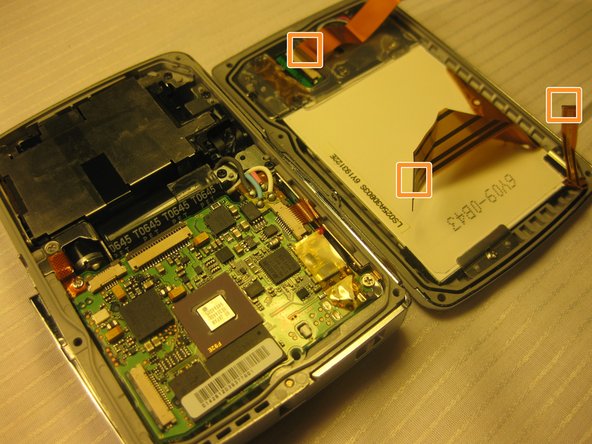
    2. Olympus Stylus 725 SW LCD Screen Replacement: 3 단계, 이미지 2개 중 1개 Olympus Stylus 725 SW LCD Screen Replacement: 3 단계, 이미지 2개 중 2개
      이 단계에 사용된 도구:
      Tweezers
      $4.99
      • Be careful when removing the back cover; you will need to detach the connecting ribbons. Use tweezers if necessary.

      • Detach the ribbons using your thumb, sliding them out of their slots.

      • Set the back panel face up to keep the ribbons from touching anything.

      댓글 쓰기

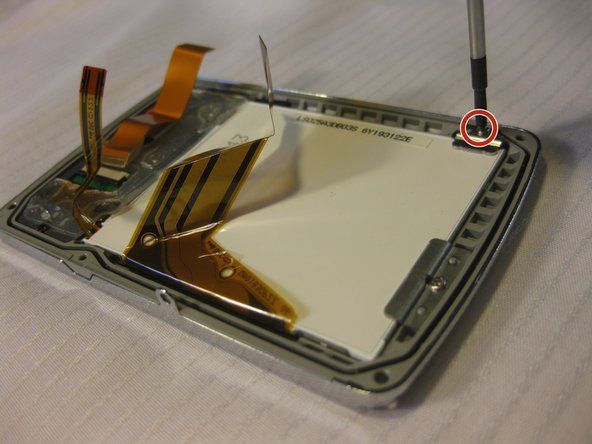
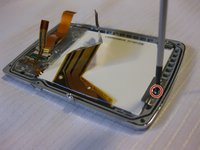
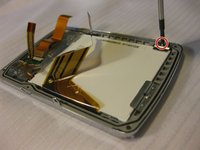
    1. Olympus Stylus 725 SW LCD Screen Replacement, LCD Screen: 4 단계, 이미지 3개 중 1개 Olympus Stylus 725 SW LCD Screen Replacement, LCD Screen: 4 단계, 이미지 3개 중 2개 Olympus Stylus 725 SW LCD Screen Replacement, LCD Screen: 4 단계, 이미지 3개 중 3개
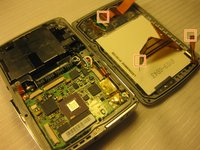
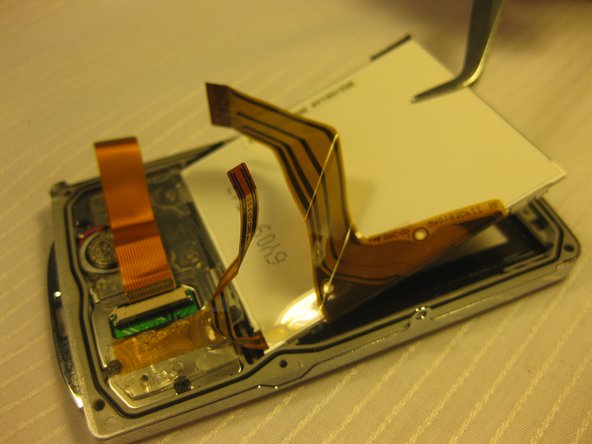
      • Remove the screws in the back panel using a Phillips #00 screwdriver.

      • Detach the ribbon cables that connect the LCD to the back panel of the camera.

      댓글 쓰기

    2. Olympus Stylus 725 SW LCD Screen Replacement: 5 단계, 이미지 2개 중 1개 Olympus Stylus 725 SW LCD Screen Replacement: 5 단계, 이미지 2개 중 2개
      이 단계에 사용된 도구:
      Tweezers
      $4.99
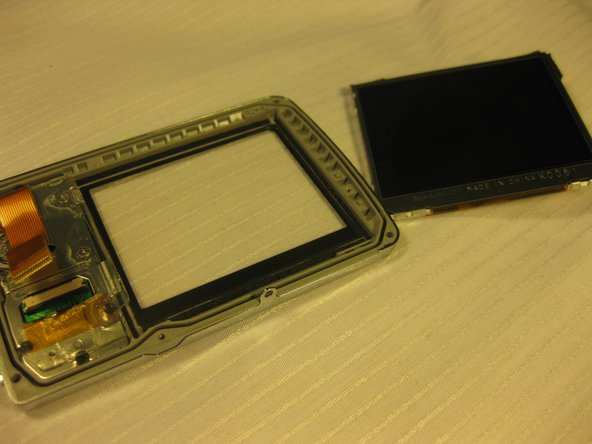
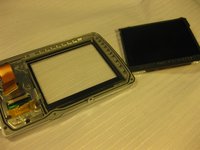
      • Use tweezers to remove the loosened LCD screen.

      • Be careful to not scratch the new LCD screen when replacing it.

      • Carefully place the new screen in place of the old, making sure the label faces up.

      댓글 쓰기

결론

To reassemble your device, follow these instructions in reverse order.

취소: 해당 안내서를 완성하지 않았습니다.

다른 한 분이 해당 안내서를 완성하였습니다.

작성자

8다른 기여자 명과 함께

Bobby Hodges

회원 가입일: 04/18/10

49 평판

안내서 6개를 작성함

Cal Poly, Team 33-71, Johann Spring 2010 Cal Poly, Team 33-71, Johann Spring 2010 회원

CPSU-JOHANN-S10S33G71

4 회원들

안내서 6개를 작성함

0가이드 댓글

댓글 쓰기

조회 통계:

지난 24시간: 1

지난 7일: 9

지난 30일: 40

전체 시간: 8,675