주요 콘텐츠로 건너뛰기
수리 커뮤니티 가입 - 계정 만들기

Olympus VR-350 Power Button Replacement

필요한 것

    1. Olympus VR-350 Power Button Replacement, Front Plate: 1 단계, 이미지 2개 중 1개 Olympus VR-350 Power Button Replacement, Front Plate: 1 단계, 이미지 2개 중 2개
      • Remove the two 4mm screws from each side of the camera with a Phillips PH000 screwdriver.

      댓글 쓰기

    2. Olympus VR-350 Power Button Replacement: 2 단계, 이미지 1개 중 1개
      • Remove the four 4mm screws from the bottom of the camera with a Phillips PH000 screwdriver.

      댓글 쓰기

    3. Olympus VR-350 Power Button Replacement: 3 단계, 이미지 3개 중 1개 Olympus VR-350 Power Button Replacement: 3 단계, 이미지 3개 중 2개 Olympus VR-350 Power Button Replacement: 3 단계, 이미지 3개 중 3개
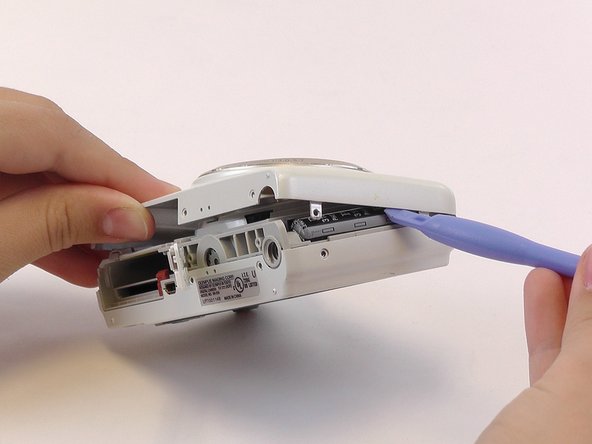
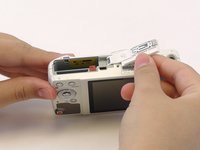
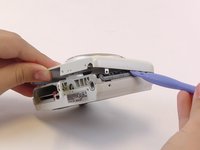
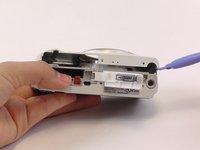
      • Use the plastic opening tools and your fingers to pry the front plate from the camera.

      • You might need to open the battery cover to remove the front plate.

      댓글 쓰기

    1. Olympus VR-350 Power Button Replacement, Back Plate: 4 단계, 이미지 2개 중 1개 Olympus VR-350 Power Button Replacement, Back Plate: 4 단계, 이미지 2개 중 2개
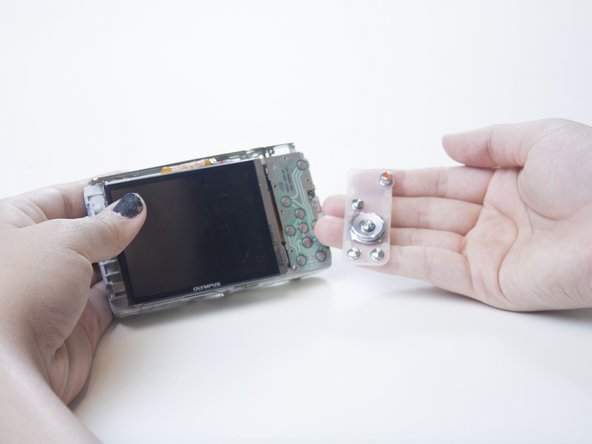
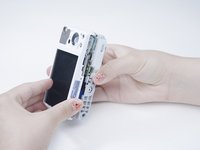
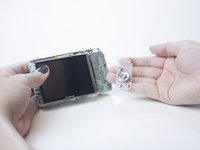
      • Use your fingers to pry open the back cover.

      • When you remove the back of the camera, the button membrane might fall out. Don’t lose this sheet.

      • The LCD screen is connected to the body of the camera by an orange ribbon cable. Don’t pull this ribbon cable out.

      댓글 쓰기

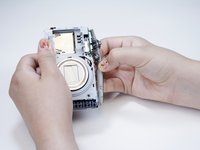
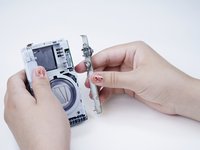
    1. Olympus VR-350 Power Button Replacement, Power Button: 5 단계, 이미지 2개 중 1개 Olympus VR-350 Power Button Replacement, Power Button: 5 단계, 이미지 2개 중 2개
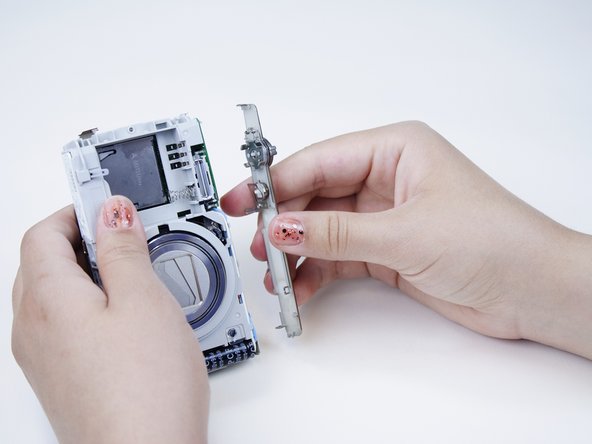
      • Remove the silver panel from the top of the camera.

      댓글 쓰기

    2. Olympus VR-350 Power Button Replacement: 6 단계, 이미지 1개 중 1개
      • Flip the silver panel over. The power button is the smaller button covered by a metal backing.

      댓글 쓰기

    3. Olympus VR-350 Power Button Replacement: 7 단계, 이미지 1개 중 1개
      • Pull the metal backing away from the silver panel.

      댓글 쓰기

    4. Olympus VR-350 Power Button Replacement: 8 단계, 이미지 1개 중 1개
      • Push the power button down and out of the silver panel with your finger.

      댓글 쓰기

결론

To reassemble your device, follow these instructions in reverse order.

취소: 해당 안내서를 완성하지 않았습니다.

다른 2명이 해당 안내서를 완성하였습니다.

작성자

1다른 기여자 명과 함께

Adri

회원 가입일: 02/23/15

456 평판

안내서 3개를 작성함

USF Tampa, Team 1-3, Leahy Winter 2015 USF Tampa, Team 1-3, Leahy Winter 2015 회원

USFT-LEAHY-W15S1G3

3 회원들

안내서 30개를 작성함

0가이드 댓글

댓글 쓰기

조회 통계:

지난 24시간: 1

지난 7일: 12

지난 30일: 43

전체 시간: 2,012