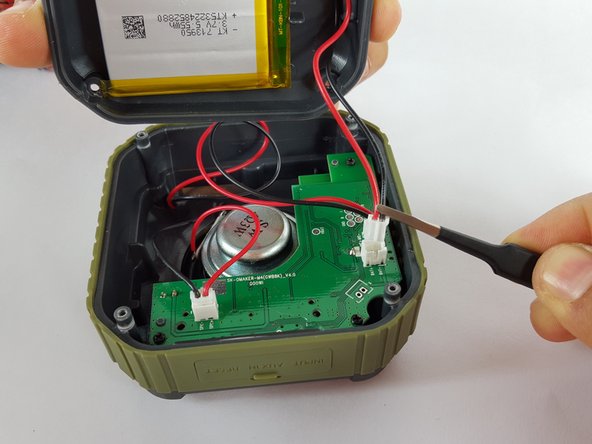
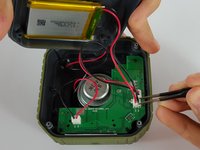
주요 콘텐츠로 건너뛰기

Omaker M4 Back Case Replacement

필요한 것

  1. Omaker M4 Back Case Replacement, Back Case: 1 단계, 이미지 1/1
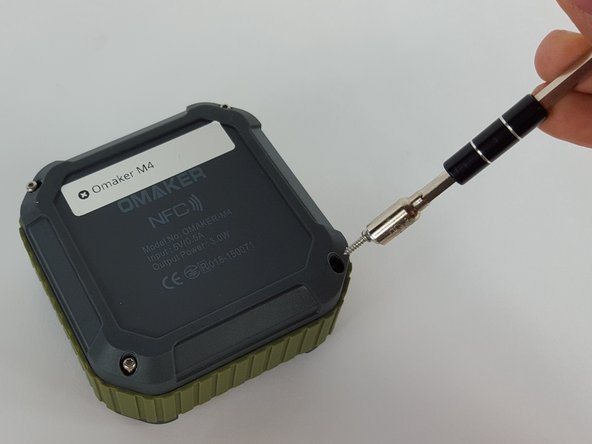
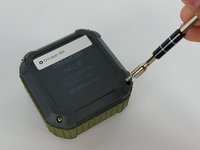
    • Flip the device over so the front of the speaker is facing down. Make sure to place the speaker on a flat surface

  2. Omaker M4 Back Case Replacement: 2 단계, 이미지 1/2 Omaker M4 Back Case Replacement: 2 단계, 이미지 2/2
    • Use a T6 Torx screwdriver to remove the four 9mm screws from the back of the device.

  3. Omaker M4 Back Case Replacement: 3 단계, 이미지 1/2 Omaker M4 Back Case Replacement: 3 단계, 이미지 2/2
    • Use a magnet to remove the screws after unscrewing them and place them aside.

  4. Omaker M4 Back Case Replacement: 4 단계, 이미지 1/1
    • Carefully remove the back cover without breaking the battery wire.

  5. Omaker M4 Back Case Replacement: 5 단계, 이미지 1/2 Omaker M4 Back Case Replacement: 5 단계, 이미지 2/2
    • Remove the end of the battery connection from the motherboard by holding the end of the wire and carefully pulling it out of the socket using tweezers.

    • The battery is still attached to the back cover.

결론

To reassemble your device, follow these instructions in reverse order.

다른 3명이 해당 안내서를 완성하였습니다.

[deleted]

회원 가입일: 02/17/16

679 평판

안내서 4개 작성하였습니다

댓글 0개

댓글 쓰기

조회 통계:

24 시간 전: 0

7일 전: 0

30일 전: 5

전체 시간: 793