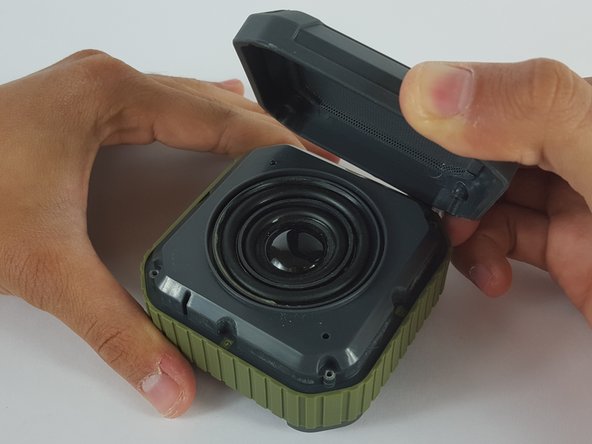
주요 콘텐츠로 건너뛰기

Omaker M4 Front Case Replacement

필요한 것

  1. Omaker M4 Front Case Replacement, Front Case: 1 단계, 이미지 1/1
    • Flip the device over so the front of the device is facing upwards. Make sure to place the speaker on a flat surface

  2. Omaker M4 Front Case Replacement: 2 단계, 이미지 1/2 Omaker M4 Front Case Replacement: 2 단계, 이미지 2/2
    • Use a T6 Torx Screwdriver to remove the four screws from the front of the device.

  3. Omaker M4 Front Case Replacement: 3 단계, 이미지 1/1
    • Use a magnet to remove the screws after unscrewing them and place them aside.

  4. Omaker M4 Front Case Replacement: 4 단계, 이미지 1/2 Omaker M4 Front Case Replacement: 4 단계, 이미지 2/2
    • Carefully remove the front case by gently pulling it from the body of the device.

결론

To reassemble your device, follow these instructions in reverse order.

다른 3명이 해당 안내서를 완성하였습니다.

[deleted]

회원 가입일: 02/17/16

679 평판

안내서 4개 작성하였습니다

댓글 0개

댓글 쓰기

조회 통계:

24 시간 전: 0

7일 전: 0

30일 전: 1

전체 시간: 631