주요 콘텐츠로 건너뛰기
수리 커뮤니티 가입 - 계정 만들기

One Education Infinity Upper Hinge Assembly Replacement

단지 전제 조건
이 가이드는 전제 조건만을 다룹니다! 이 가이드는 다른 절차의 일부이며 단독으로 사용할 수 없습니다.

필요한 것

  1. One Education Infinity Upper Hinge Assembly Replacement, Back Case: 1 단계, 이미지 3개 중 1개 One Education Infinity Upper Hinge Assembly Replacement, Back Case: 1 단계, 이미지 3개 중 2개 One Education Infinity Upper Hinge Assembly Replacement, Back Case: 1 단계, 이미지 3개 중 3개
    • Always power off your device before beginning disassembly.

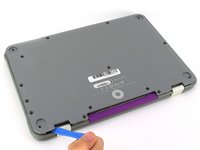
    • Remove the screw covers and rubber feet from the bottom of the laptop with a metal spudger.

    댓글 쓰기

  2. One Education Infinity Upper Hinge Assembly Replacement: 2 단계, 이미지 2개 중 1개 One Education Infinity Upper Hinge Assembly Replacement: 2 단계, 이미지 2개 중 2개
    • Using a Phillips #00 screwdriver, remove the sixteen 5.0 mm black screws from the back panel.

    댓글 쓰기

  3. One Education Infinity Upper Hinge Assembly Replacement: 3 단계, 이미지 3개 중 1개 One Education Infinity Upper Hinge Assembly Replacement: 3 단계, 이미지 3개 중 2개 One Education Infinity Upper Hinge Assembly Replacement: 3 단계, 이미지 3개 중 3개
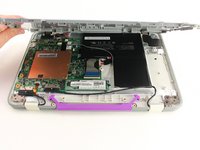
    • Using the iFixit plastic opening tool or spudger, start near the white hinge of the device and lift along the outer edges of the device until all clips are released.

    • Lift the back case off of the device.

    • Removing the back may create a loud snapping noise.

    댓글 쓰기

  4. One Education Infinity Upper Hinge Assembly Replacement, Battery: 4 단계, 이미지 3개 중 1개 One Education Infinity Upper Hinge Assembly Replacement, Battery: 4 단계, 이미지 3개 중 2개 One Education Infinity Upper Hinge Assembly Replacement, Battery: 4 단계, 이미지 3개 중 3개
    • There may be black tape inside your device covering components or holding down wires. This tape is unimportant for the function of the device, and can be removed.

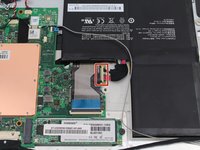
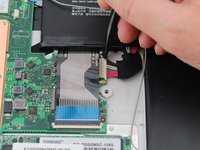
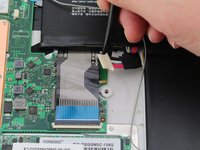
    • Carefully wiggle the battery cable to the right and out of the port with a plastic spudger.

    댓글 쓰기

  5. One Education Infinity Upper Hinge Assembly Replacement: 5 단계, 이미지 3개 중 1개 One Education Infinity Upper Hinge Assembly Replacement: 5 단계, 이미지 3개 중 2개 One Education Infinity Upper Hinge Assembly Replacement: 5 단계, 이미지 3개 중 3개
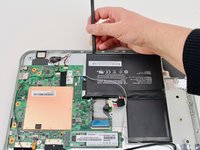
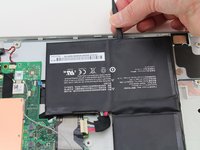
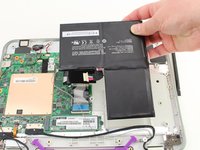
    • Wedge a plastic spudger underneath the battery from the upper edge and slide it carefully along the length of the battery to separate it from the case.

    • There is a mild adhesive holding down the battery. Take care not to puncture or excessively bend the battery while freeing it from the adhesive.

    • Lift the battery out from the internal case.

    댓글 쓰기

  6. One Education Infinity Upper Hinge Assembly Replacement, Upper Case: 6 단계, 이미지 3개 중 1개 One Education Infinity Upper Hinge Assembly Replacement, Upper Case: 6 단계, 이미지 3개 중 2개 One Education Infinity Upper Hinge Assembly Replacement, Upper Case: 6 단계, 이미지 3개 중 3개
    • Flip open the laptop so that the screen is exposed.

    • We found it convenient to flip the laptop into tablet mode for added support.

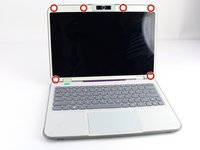
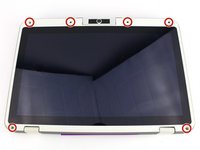
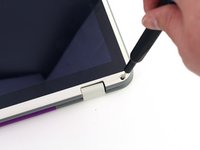
    • Using a spudger, remove the six screw covers along the bezel of the screen.

    댓글 쓰기

  7. One Education Infinity Upper Hinge Assembly Replacement: 7 단계, 이미지 2개 중 1개 One Education Infinity Upper Hinge Assembly Replacement: 7 단계, 이미지 2개 중 2개
    • Remove the six 2.8 mm Phillips #00 screws along the bezel.

    댓글 쓰기

  8. One Education Infinity Upper Hinge Assembly Replacement: 8 단계, 이미지 3개 중 1개 One Education Infinity Upper Hinge Assembly Replacement: 8 단계, 이미지 3개 중 2개 One Education Infinity Upper Hinge Assembly Replacement: 8 단계, 이미지 3개 중 3개
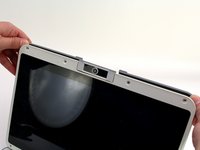
    • Use the two tabs on the top edge of the screen to pry the case apart.

    • Once the two top clips have been disengaged, start to work your way around the rest of the screen.

    댓글 쓰기

  9. One Education Infinity Upper Hinge Assembly Replacement: 9 단계, 이미지 1개 중 1개
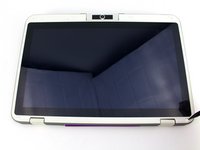
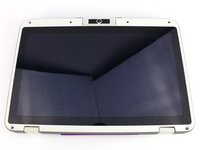
    • Once all the clips have been popped off, remove the upper case from the back of the display assembly.

    • You may want to close the laptop while disconnecting the hinge-side edge, as it will give you extra clearance for the upper case.

    댓글 쓰기

  10. One Education Infinity Upper Hinge Assembly Replacement, Upper Hinge Assembly: 10 단계, 이미지 2개 중 1개 One Education Infinity Upper Hinge Assembly Replacement, Upper Hinge Assembly: 10 단계, 이미지 2개 중 2개
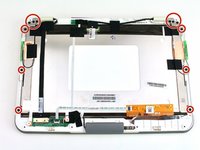
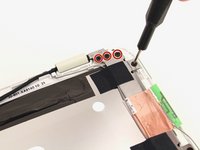
    • Remove the twelve 3.8 mm Phillips #00 screws from the hinge brackets extending along the height of the display.

    댓글 쓰기

  11. One Education Infinity Upper Hinge Assembly Replacement: 11 단계, 이미지 3개 중 1개 One Education Infinity Upper Hinge Assembly Replacement: 11 단계, 이미지 3개 중 2개 One Education Infinity Upper Hinge Assembly Replacement: 11 단계, 이미지 3개 중 3개
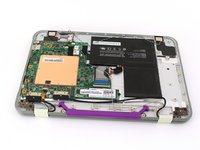
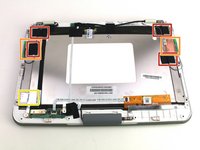
    • Peel back the four pieces of black tape.

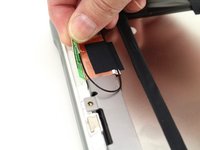
    • Peel back the antenna cable boards off of the display hinges.

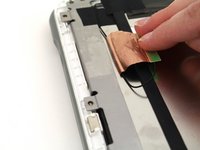
    • Peel off the silver tape from the display hinges.

    댓글 쓰기

  12. One Education Infinity Upper Hinge Assembly Replacement: 12 단계, 이미지 3개 중 1개 One Education Infinity Upper Hinge Assembly Replacement: 12 단계, 이미지 3개 중 2개 One Education Infinity Upper Hinge Assembly Replacement: 12 단계, 이미지 3개 중 3개
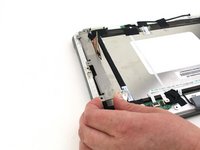
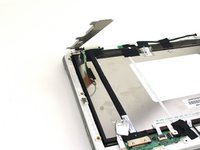
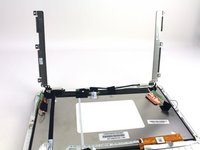
    • Lift up both hinges, ensuring that they clear all tape and wires.

    댓글 쓰기

결론

To reassemble your device, follow these instructions in reverse order.

취소: 해당 안내서를 완성하지 않았습니다.

작성자

1다른 기여자 명과 함께

Austin Blakely

회원 가입일: 03/11/19

23,072 평판

안내서 53개를 작성함

iFixit iFixit 회원

Staff

123 회원들

안내서 31,534개를 작성함

0가이드 댓글

댓글 쓰기

조회 통계:

지난 24시간: 1

지난 7일: 1

지난 30일: 7

전체 시간: 166