Is the rear glass on your OnePlus 9 Pro cracked and shattered? If so, use this guide to remove and replace the glass on the back of your OnePlus 9 Pro.
Use caution during this guide since glass is always dangerous to deal with, especially when it is broken.
Adhesive is needed to put the back glass back on the phone. This phone is also water resistant and will only retain that water resistance if the adhesive is properly put down while repairing.
For your safety, discharge your battery below 25% before disassembling your phone.
This reduces the risk of a dangerous thermal event if the battery is accidentally damaged during the repair. If your battery is swollen, take appropriate precautions.
For your safety, discharge your battery below 25% before disassembling your phone. This reduces the risk of a dangerous thermal event if the battery is accidentally damaged during the repair. If your battery is swollen, take appropriate precautions.
Unplug any chargers/peripheries and power off your phone.
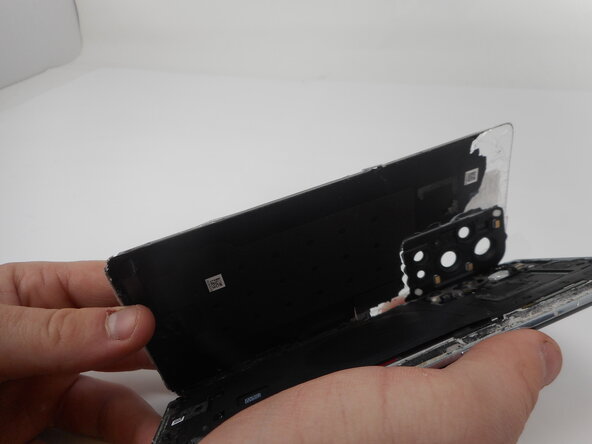
Carefully lift the rear glass up and off of the phone.
During reassembly secure the rear glass with pre-cut adhesive or double-sided adhesive tape. After installing the rear glass, apply strong, steady pressure to your phone for several minutes to help the adhesive form a good bond—a stack of heavy books works well.
To reassemble your device, follow the above steps in reverse order. Repair didn’t go as planned? Try some basic troubleshooting or ask our Answers community for help.