소개
Use this guide to replace a faulty microphone unit in your Oregon Scientific Meep! X2 tablet.
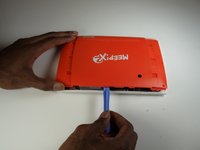
필요한 것
-
-
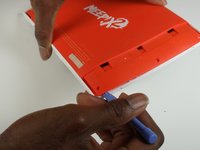
Remove the orange covers from the left and right sides of the device by sliding up against the tabs.
-
-
-
이 단계에 사용된 도구:Tweezers$4.99
-
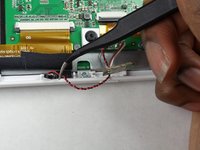
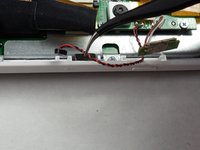
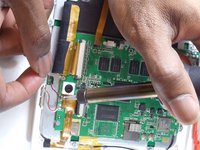
Use your tweezers to gently remove the microphone from the slot in the casing.
-


결론
To reassemble your device, follow these instructions in reverse order.
팀

USF Tampa, Team 9-1, Blackwell Winter 2015 USF Tampa, Team 9-1, Blackwell Winter 2015 회원
USFT-BLACKWELL-W15S9G1
3 회원들
안내서 16개를 작성함