주요 콘텐츠로 건너뛰기
수리 커뮤니티 가입 - 계정 만들기

Oregon Scientific RM318PA Power Switch Replacement

필요한 것

    1. Oregon Scientific RM318PA Power Switch Replacement, Battery Compartment Cover: 1 단계, 이미지 3개 중 1개 Oregon Scientific RM318PA Power Switch Replacement, Battery Compartment Cover: 1 단계, 이미지 3개 중 2개 Oregon Scientific RM318PA Power Switch Replacement, Battery Compartment Cover: 1 단계, 이미지 3개 중 3개
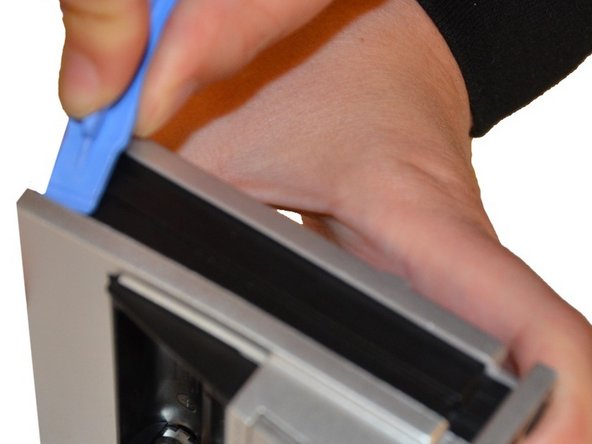
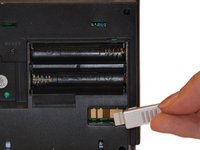
      • Hold clock so that the clock face is facing away from you.

      • Using your thumbs, push up on the battery cover.

      • Once battery cover is removed, pull down on AC Adapter Jack.

      댓글 쓰기

    2. Oregon Scientific RM318PA Power Switch Replacement, Batteries: 2 단계, 이미지 1개 중 1개
      • Use one hand to stabilize the clock.

      • Using your other hand, push batteries toward spring and pull out at an angle.

      댓글 쓰기

    3. Oregon Scientific RM318PA Power Switch Replacement, Back of Projection Clock: 3 단계, 이미지 3개 중 1개 Oregon Scientific RM318PA Power Switch Replacement, Back of Projection Clock: 3 단계, 이미지 3개 중 2개 Oregon Scientific RM318PA Power Switch Replacement, Back of Projection Clock: 3 단계, 이미지 3개 중 3개
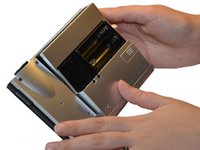
      • Use a Plastic Opening Tool to pry off the silver casing on the back.

      • Pry at the top of device.

      • Once the back is open at the top, pry at the side of the device closest to the battery compartment.

      • On/Off switch should come off with casing.

      댓글 쓰기

    4. Oregon Scientific RM318PA Power Switch Replacement, On/Off Switch: 4 단계, 이미지 2개 중 1개 Oregon Scientific RM318PA Power Switch Replacement, On/Off Switch: 4 단계, 이미지 2개 중 2개
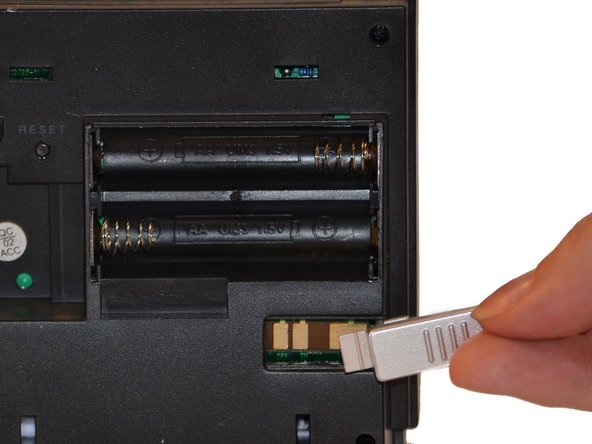
      • Insert switch into slot as shown in picture. Push in until you hear a "click."

      • Replace the back of the clock by pressing cover back into place.

      댓글 쓰기

결론

To reassemble your device, follow these instructions in reverse order.

취소: 해당 안내서를 완성하지 않았습니다.

다른 3명이 해당 안내서를 완성하였습니다.

작성자

3다른 기여자 명과 함께

Maxine Holden

회원 가입일: 10/27/14

500 평판

안내서 4개를 작성함

0가이드 댓글

댓글 쓰기

조회 통계:

지난 24시간: 0

지난 7일: 9

지난 30일: 32

전체 시간: 1,874