주요 콘텐츠로 건너뛰기

Pantech Breakout Back Case Replacement

필요한 것

  1. Pantech Breakout Back Case Replacement, Remove Screws: 1 단계, 이미지 1/1
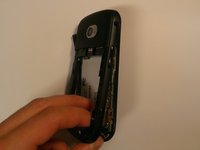
    • With the phone face down on a hard surface, locate the six 3.5mm Phillips screws around the perimeter of the phone.

    • Three of these screws are black, while three are silver.

    • Use a Phillips #00 or #000 screwdriver to remove all six Phillips screws.

    • Righty Tighty, Lefty Loosey!

  2. Pantech Breakout Back Case Replacement, Separating the Back Case: 2 단계, 이미지 1/2 Pantech Breakout Back Case Replacement, Separating the Back Case: 2 단계, 이미지 2/2
    • Be careful when prying the plastic bezel and back case apart from each other; the parts are connected by both snaps and adhesive. Forcing the back case off could result in it breaking or cracking.

    • Slide a Plastic Opening Tool in between the front bezel and the back case, slowly working it around the tight edges.

    • Be patient, it may take several tries to remove the bezel and back case successfully. You may need to slide repeatedly along the edges of the entire phone perimeter to loosen the adhesive between the two pieces.

  3. Pantech Breakout Back Case Replacement, Removing Back Case: 3 단계, 이미지 1/2 Pantech Breakout Back Case Replacement, Removing Back Case: 3 단계, 이미지 2/2
    • Starting at the charging port cover open by prying away from front face to remove back case.

    • Make sure that no part of the back case is caught on any other part of the phone; the USB charging port can get in the way.

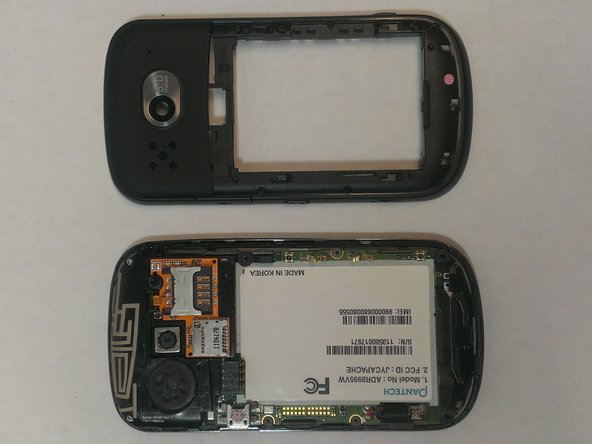
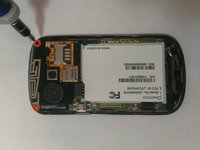
    • After removing the bevel and back case of the phone, you will now see the motherboard and other internal components.

  4. Pantech Breakout Back Case Replacement, Component Board Separation: 4 단계, 이미지 1/3 Pantech Breakout Back Case Replacement, Component Board Separation: 4 단계, 이미지 2/3 Pantech Breakout Back Case Replacement, Component Board Separation: 4 단계, 이미지 3/3
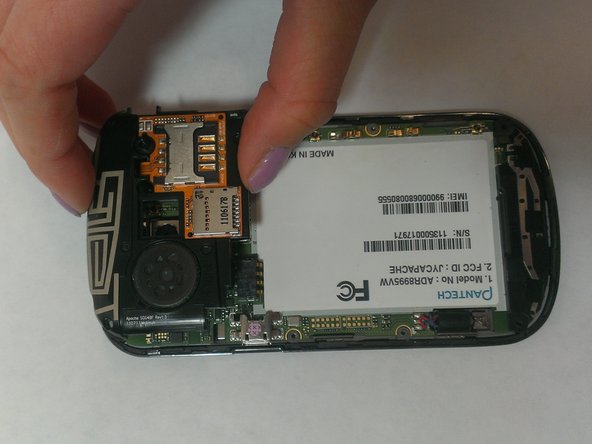
    • After removal of front bezel and back cover, locate and remove two Phillips #000 screws from the top corners of the phone.

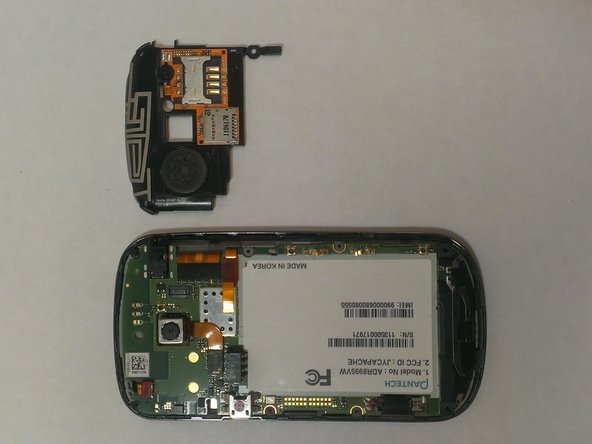
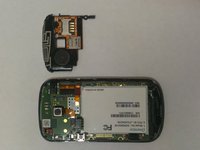
    • After taking out the screws, lift off the black plastic piece containing the speaker, Micro SD card slot and SIM card slot.

결론

To reassemble your device, follow these instructions in reverse order.

Ryan Murphy

회원 가입일: 09/25/14

898 평판

안내서 7개 작성하였습니다

USF Tampa, Team 5-5, Mcgee Fall 2014 USF Tampa, Team 5-5, Mcgee Fall 2014 회원

USFT-MCGEE-F14S5G5

4 회원들

안내서 14개 작성하였습니다

댓글 0개

댓글 쓰기

조회 통계:

24 시간 전: 0

7일 전: 1

30일 전: 2

전체 시간: 398